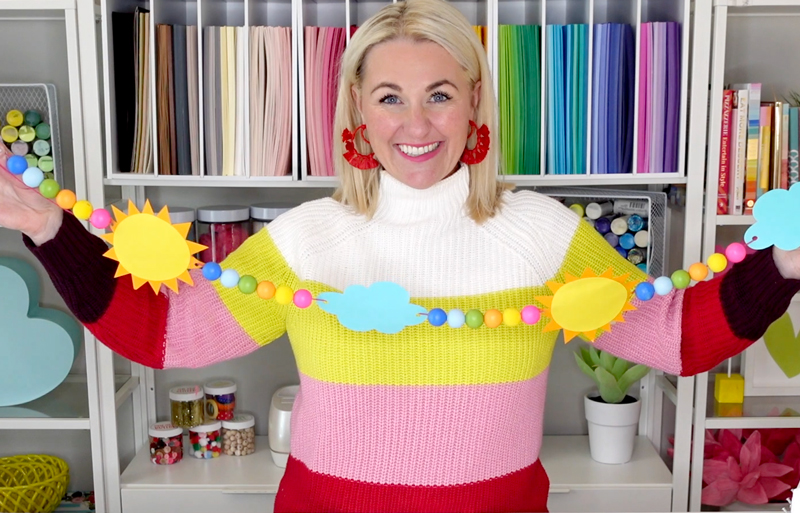
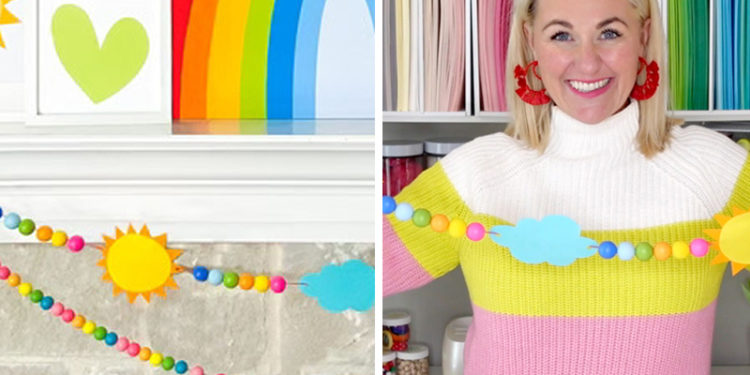
As many of you know, I’ve started design Printable & SVG Bundles and today I’m sharing a DIY Cloud & Sunshine Garland from files from my Rainbow Bundle!
I love this garland so much. I think it would be so adorable for a babies nursery, a rainbow-themed baby shower or for a mantel!
The best part about this Cloud & Sunshine Garland is that it is ridiculously easy to make and you can make it with or without a Cricut machine!
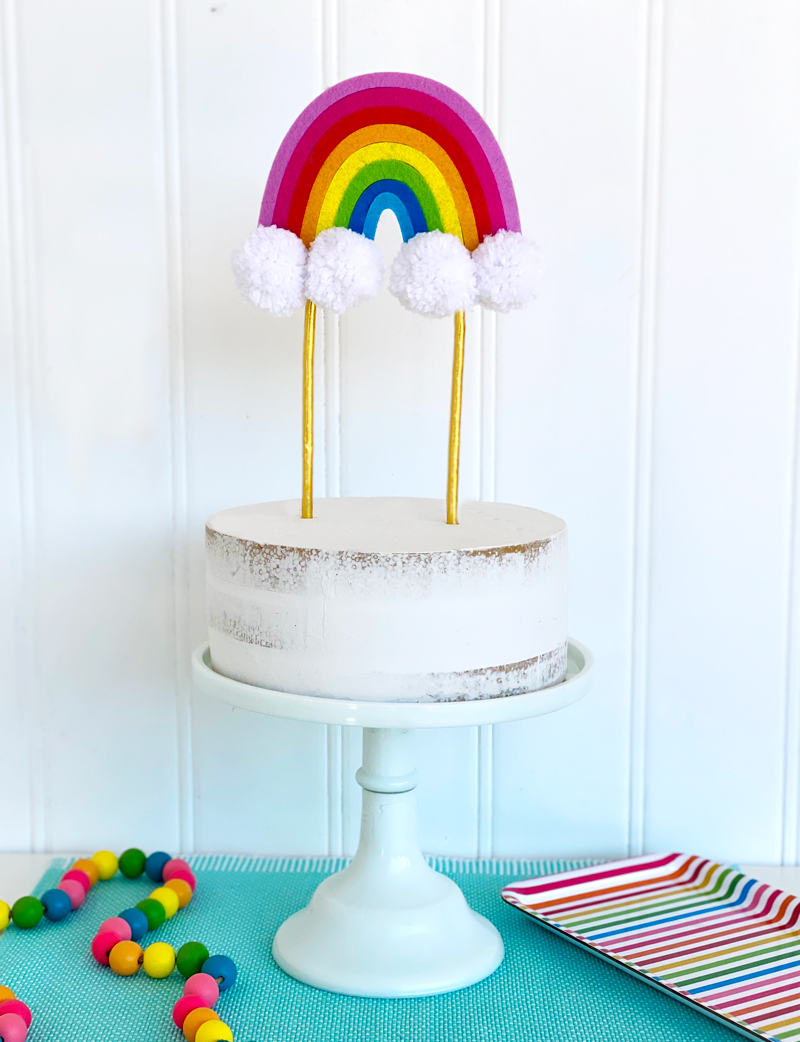
NOTE: Also here are some craft examples from the Rainbow Bundle: Rainbow Cake Topper Tutorial: 3 Different Ways and a Rainbow-Theme Mantel.
HOW TO MAKE A CLOUD & SUNSHINE GARLAND
SUPPLIES YOU’LL NEED
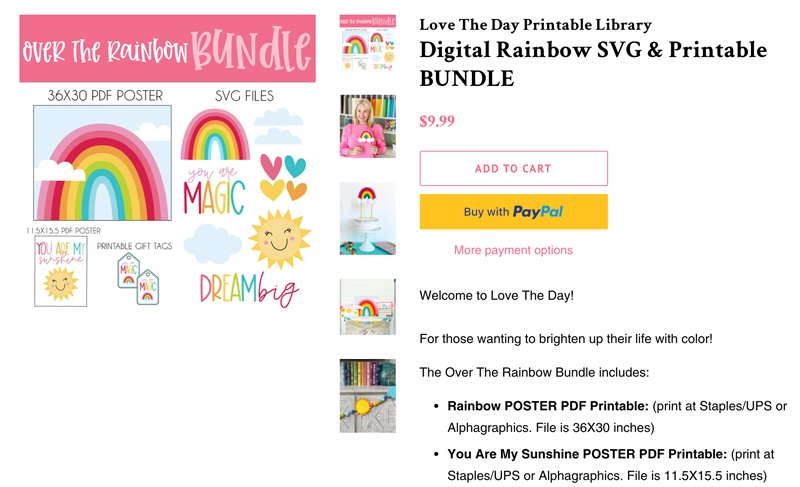
Love The Day Rainbow Bundle
12X12 Colored Cardstock (you’ll need light blue, orange and yellow)
INSTRUCTIONS FOR CLOUD & SUNSHINE GARLAND DIY
1. PURCHASE THE RAINBOW BUNDLE!
The first thing you’ll need to do is purchase the Love The Day Rainbow Bundle from my printable and SVG shop!
This bundle will provide you with the ability to create the cloud and sunshine garland with or without a Cricut Machine.
There is a pdf file of a printable version of both the clouds and sunshines where you download and print the files on 110lb White Cardstock.
There is also a SVG file that allows those with a Cricut Machine to cut and layer the gingerbread garland with paper.
2. PAINT YOUR WOODEN BEADS WITH THE ACRYLIC PAINT
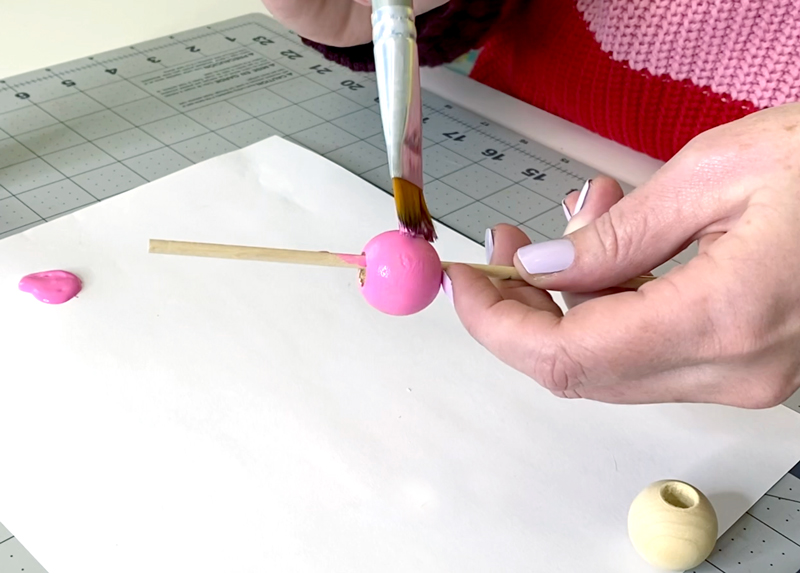
Grab your acrylic paint and paint your wooden beads all the colors of the rainbow! I like to place the beads on a dowel to make the beads easier to paint and dry.
I painted my beads bright pink, green, yellow, green, light and dark blue.
Set them aside to dry!
3. PRINT PRINTABLE OR UPLOAD THE CLOUD & SUNSHINE SVG FILES TO CRICUT DESIGN SPACE
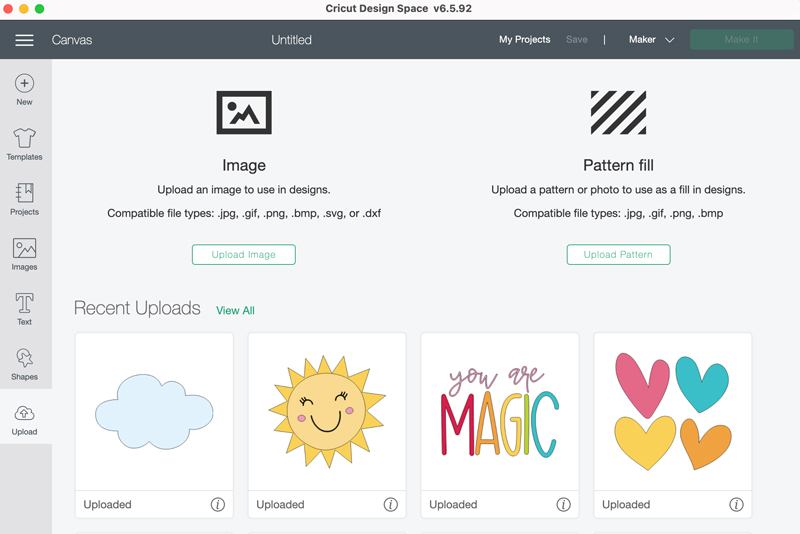
The next step is to either print out the printable cloud and sunshine pages or upload the SVG file to Cricut Design Space.
For those who are using the printable pages, print and begin cutting the clouds and sunshines and skip these Cricut steps!
4. INSERT THE FILE INTO A NEW CANVAS
Insert both your cloud and sunshine files into your Cricut Design Space Canvas.
Resize both the clouds and sunshines to around 5 inches.
If desired, remove the face from the sunshine file.
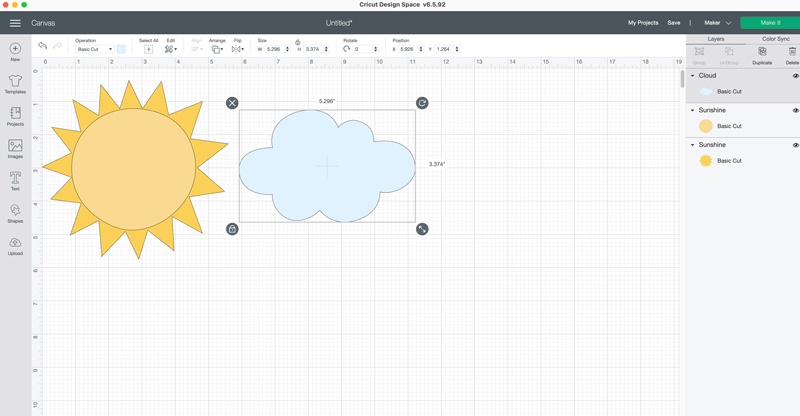
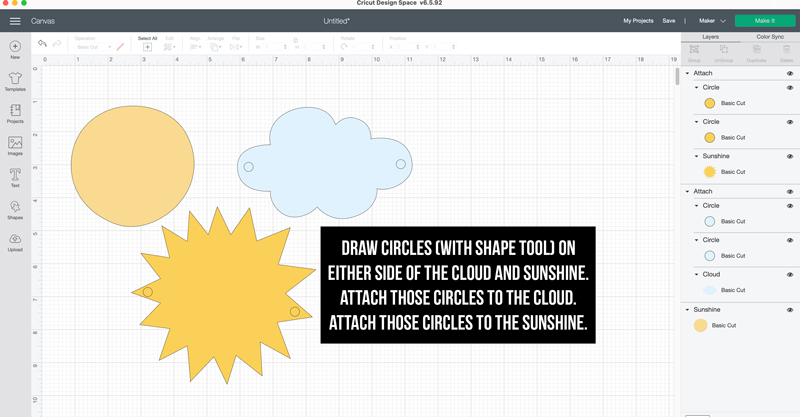
5. CREATE HOLE PUNCHES IN YOUR CLOUD & SUNSHINE
Draw circles on either side of the cloud with the shape tool. Attach the three layers together, telling the Cricut that those circles should be cut within the cloud.
Draw circles on either side of the sunshine rays with the shape tool. Attach the three layers together, telling the Cricut that those circles should be cut within the cloud.
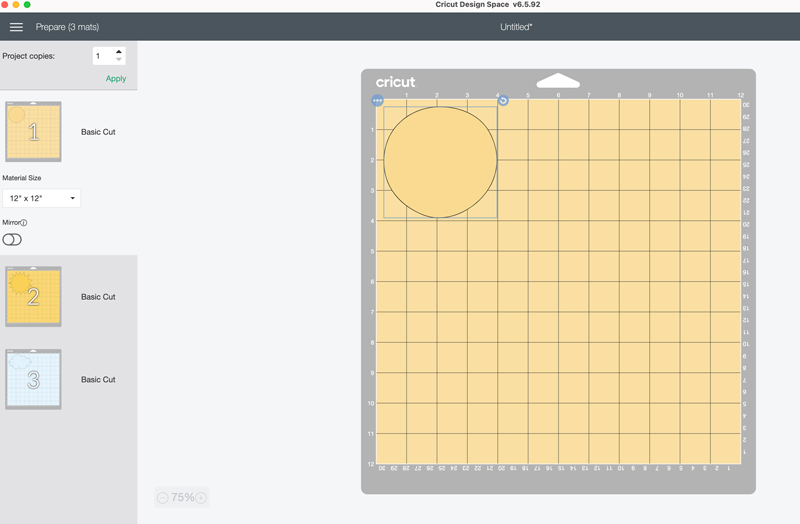
6. PRESS MAKE IT & LET THE CRICUT DO ITS THING!
Next press MAKE IT and let your Cricut work its magic.
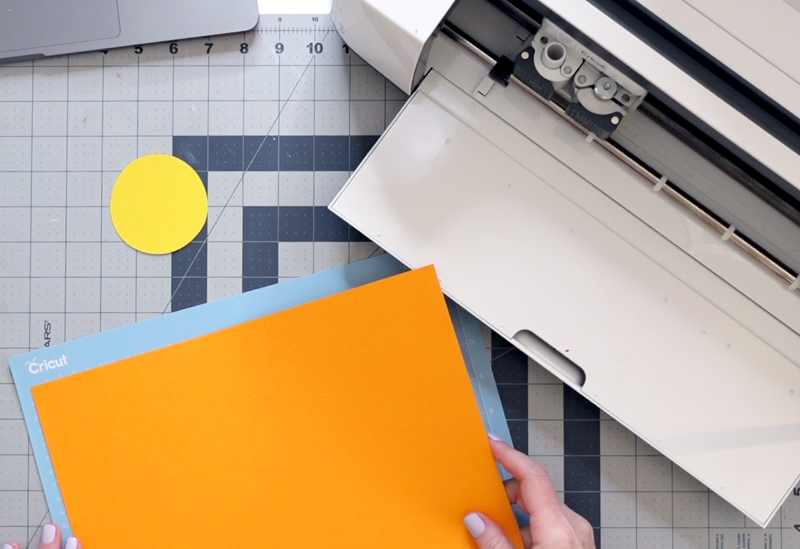
6. GLUE YOUR SUNSHINE TOGETHER!!
Grab your hot glue gun (or Tombow Liquid Glue) and glue the light sunshine circle on top of the sunshine rays!
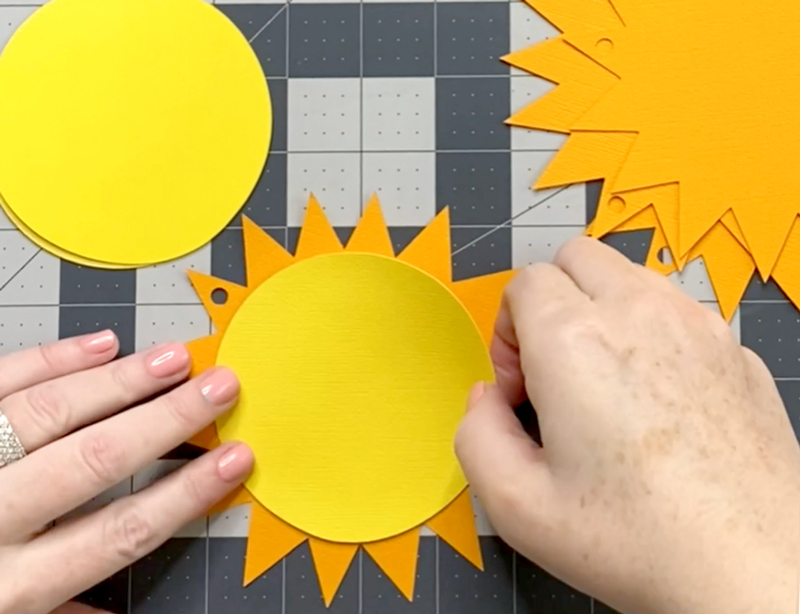
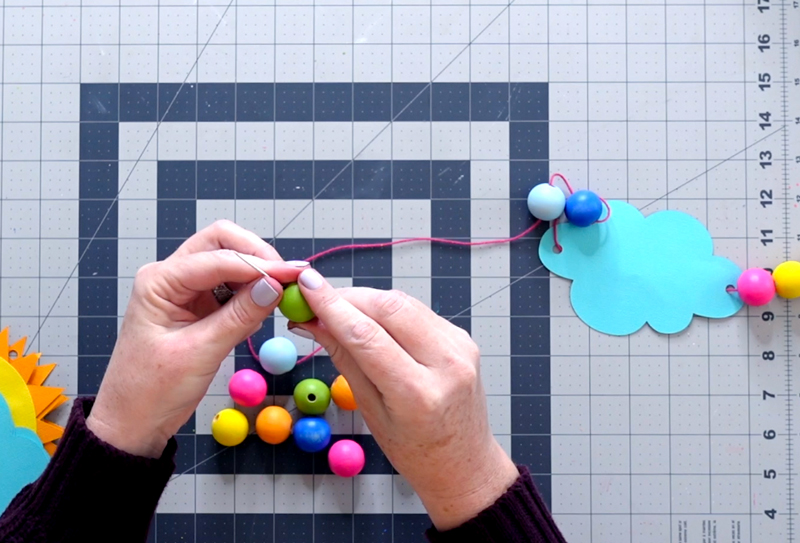
8. STRING YOUR GARLAND TOGETHER WITH TWINE
Grab your pink twine and string your clouds, sunshine and beads!
I use a large/oversize needle to help me string the garland with ease!
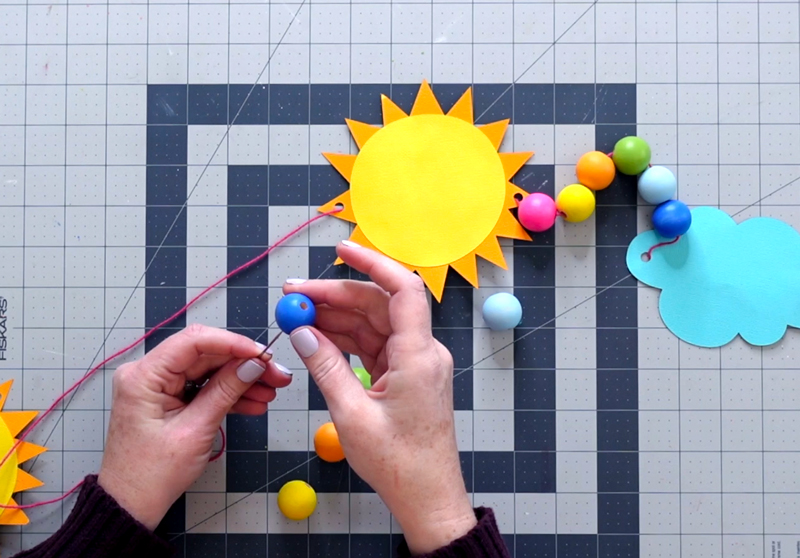
And BAM!! You are finished! How easy was that? Easiest craft ever right?!
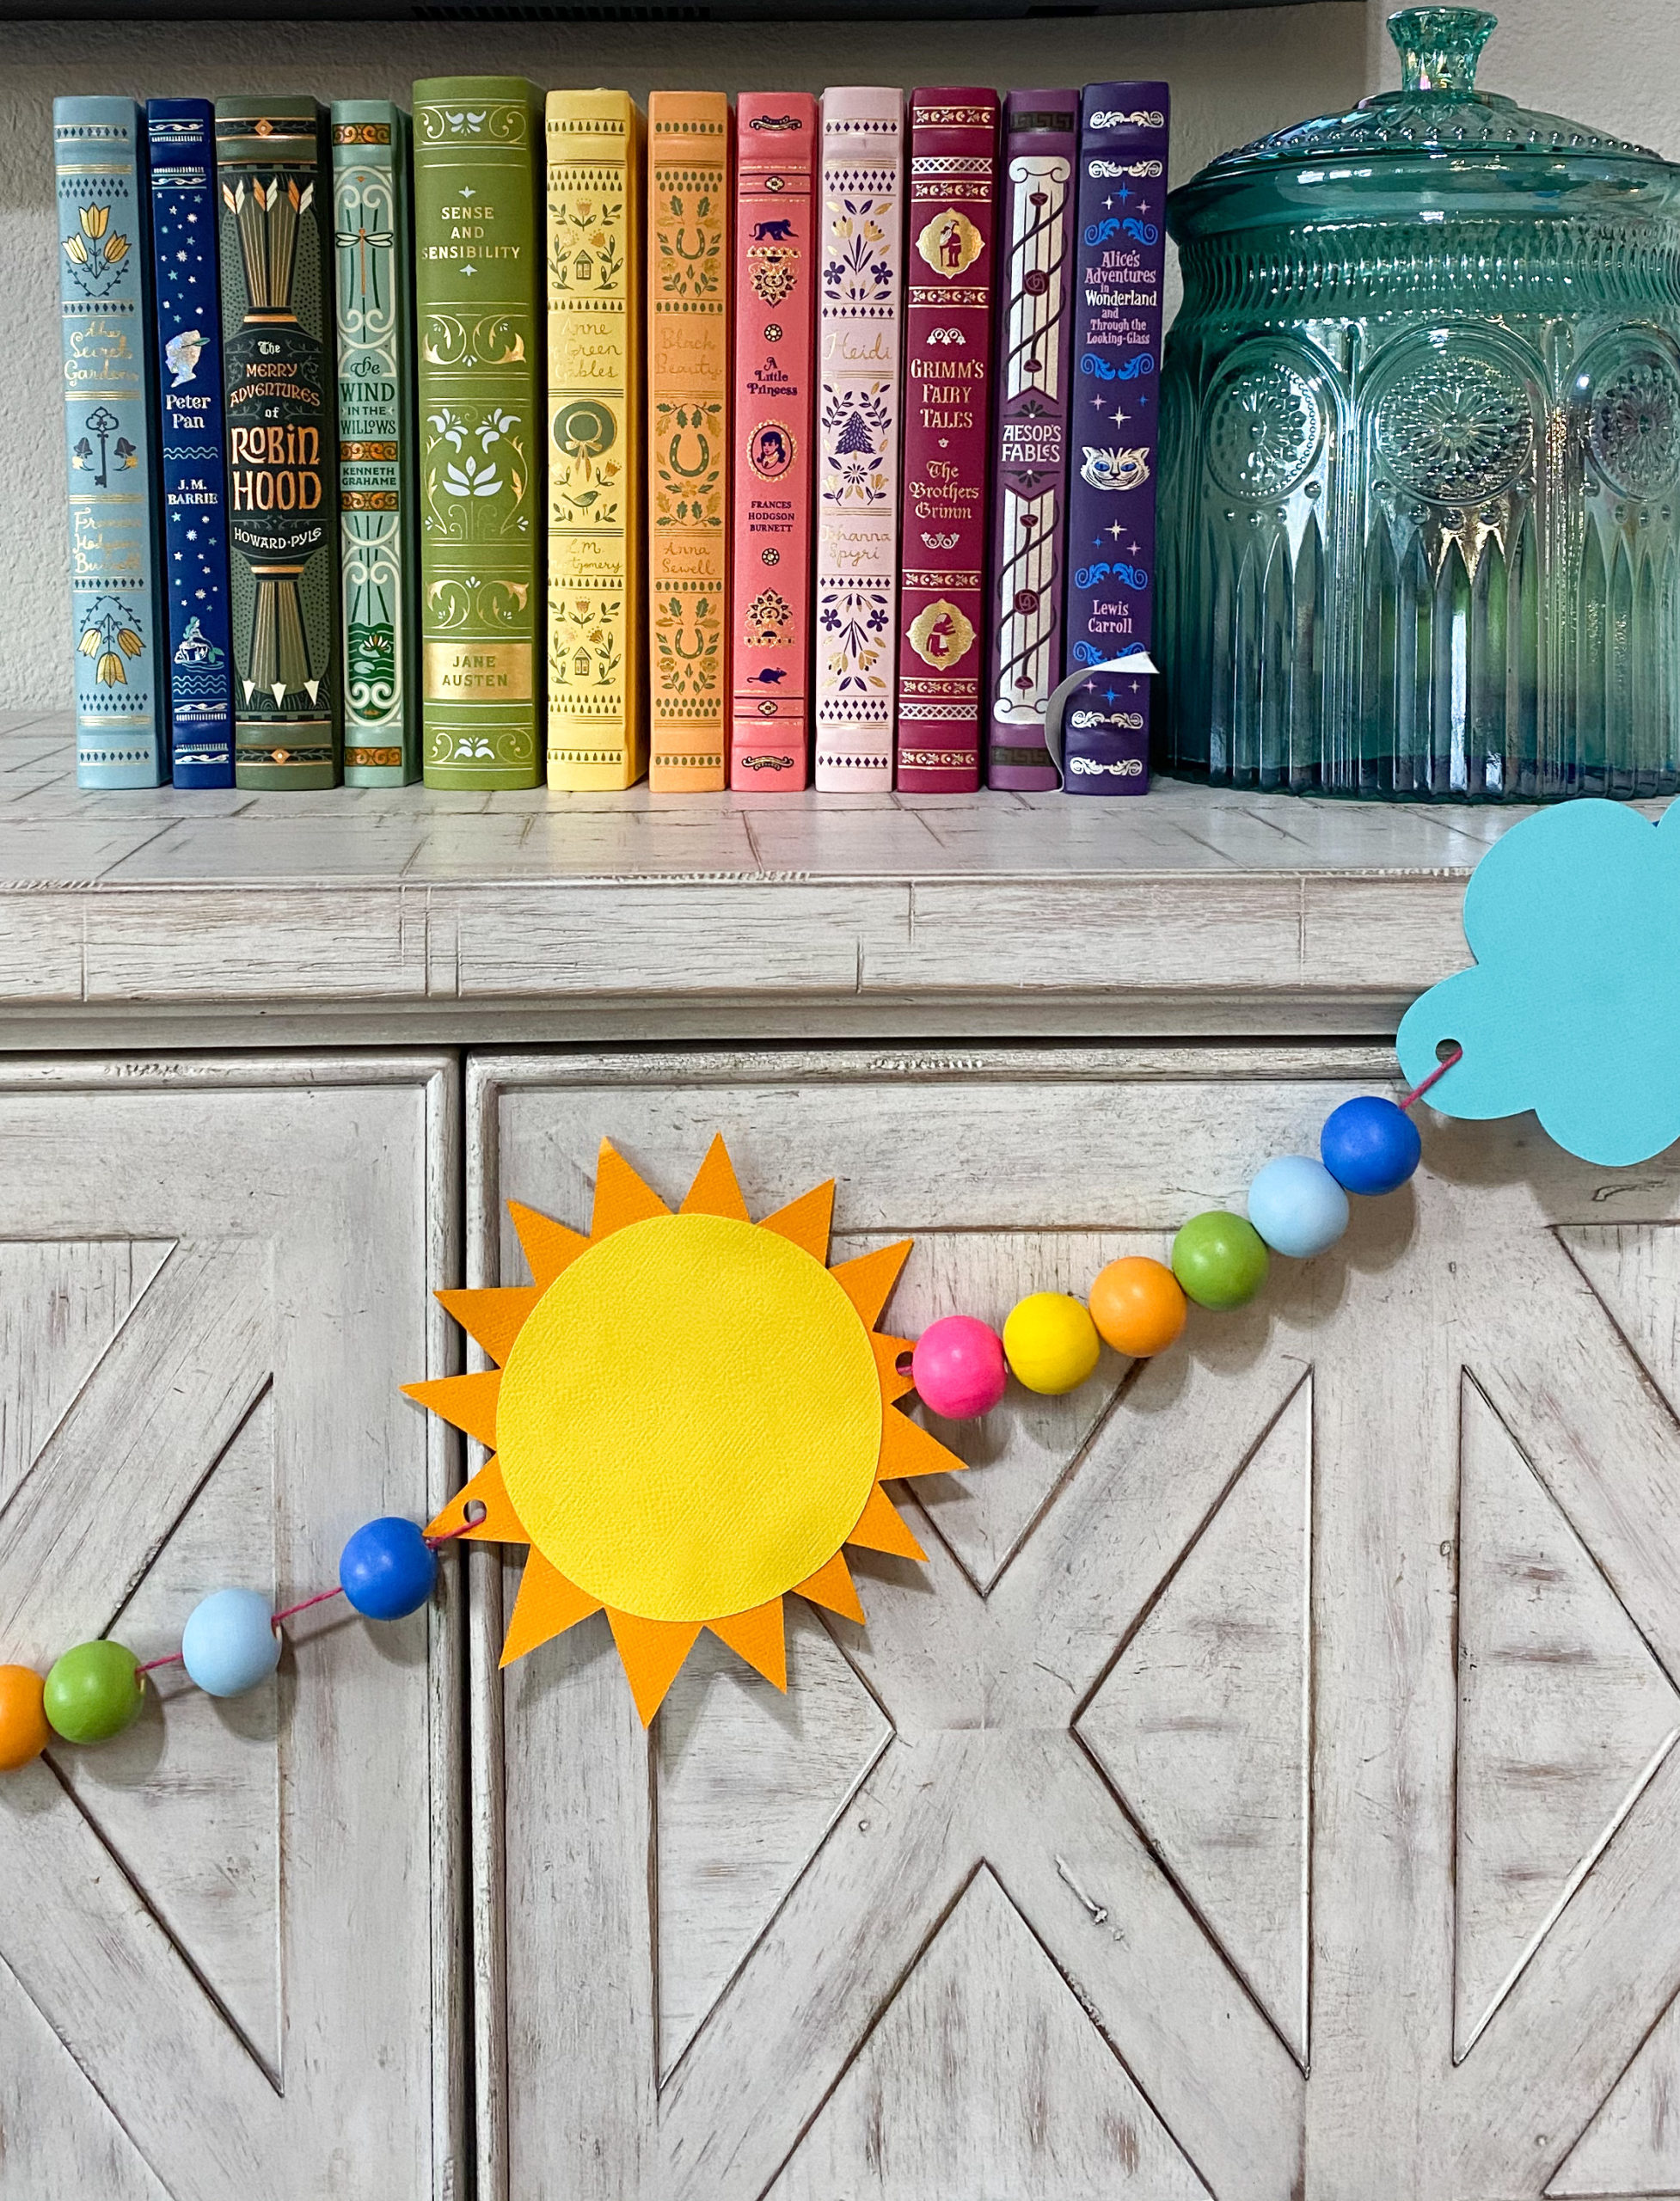
If you create this cloud and sunshine garland DIY, make sure to take a picture and tag me at @lovetheday on Instagram. I’d LOVE to feature you in my stories!
For more sunshine and cloud inspiration, check out these posts!
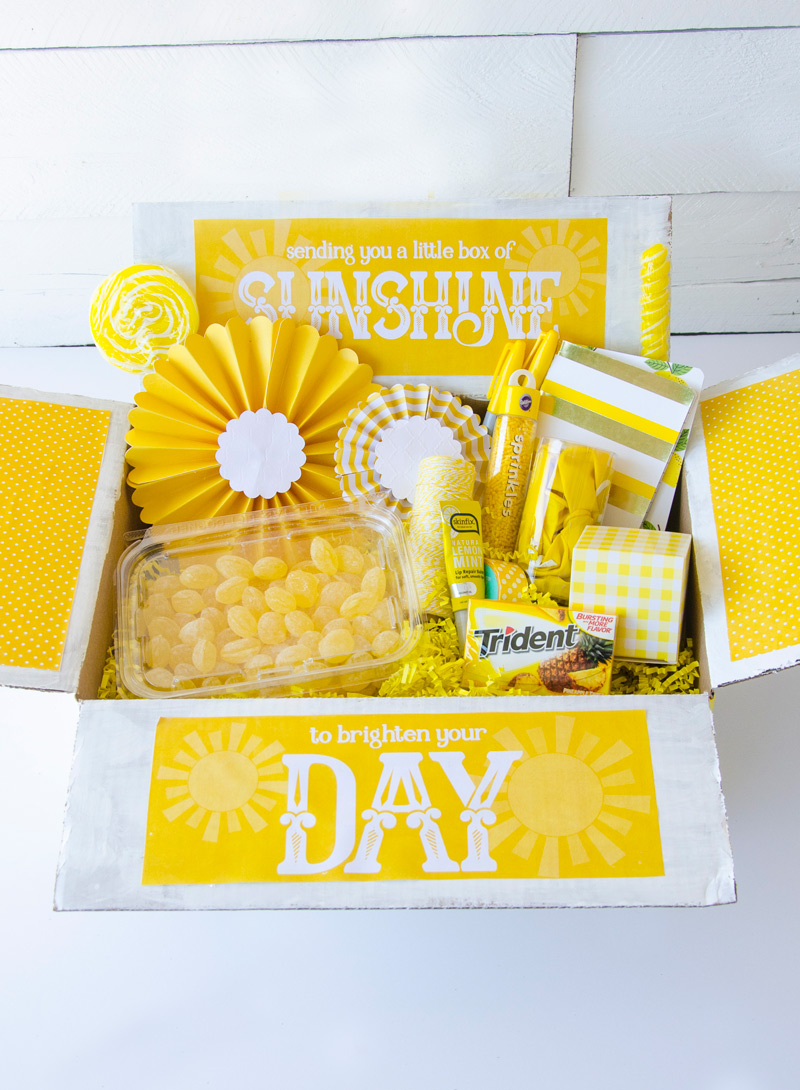
DIY Sunshine Box FREE PRINTABLE
Cloud Nine Baby Shower

Rainbow Cake Topper Tutorial: 3 Different Ways




Each of your projects is a palette of cheerful colors !
I really like these diy colors. The books in the photo are also very special!
@Doodle Jump Unblocked A rainbow of vibrant hues awaits in every one of your creations!
great post!
Doodle Baseball