** This post is sponsored by Cricut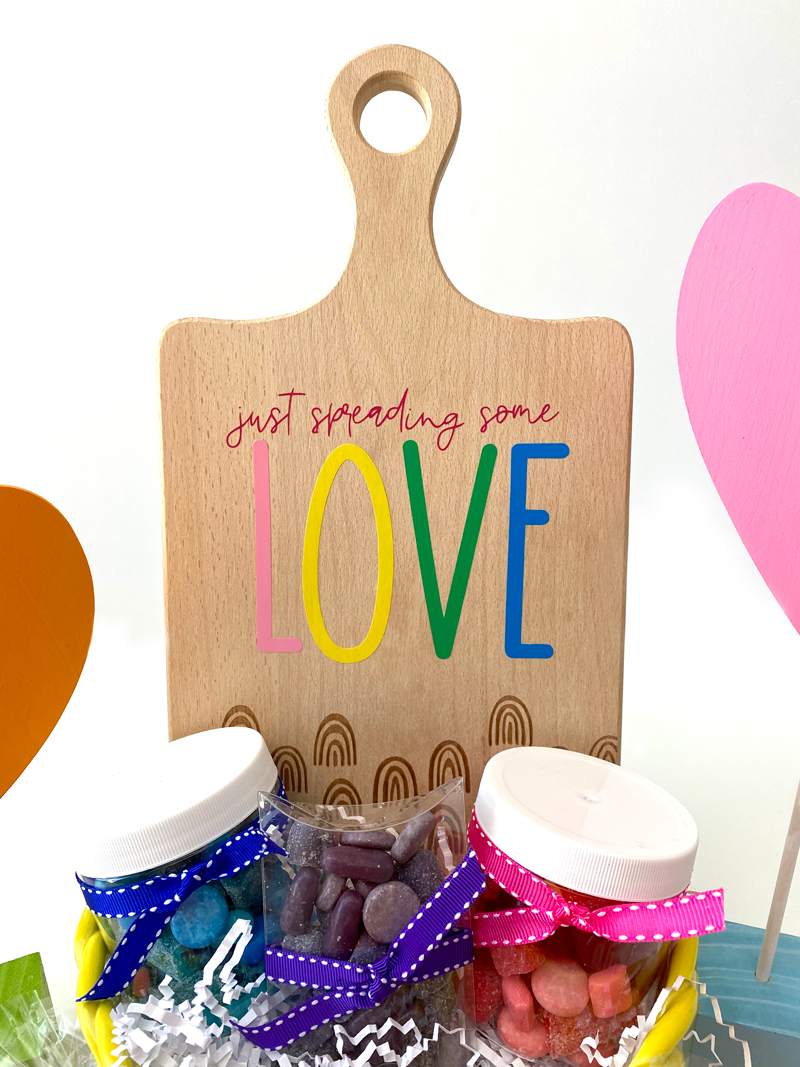
Charcuterie Boards are all the rage! Lately I’ve been looking to brighten the spirits of those around me, so I’ve decided to send Charcuterie Board Gift Basket DIYs to those who are sick or need a colorful boost!
I love how easy it is to assemble this gift basket and how festive it looks.
I can’t wait to share with you how I vinyl the charcuterie board with my Cricut and fill the basket with a rainbow of goodies.
CHARCUTERIE BOARD GIFT BASKET DIY
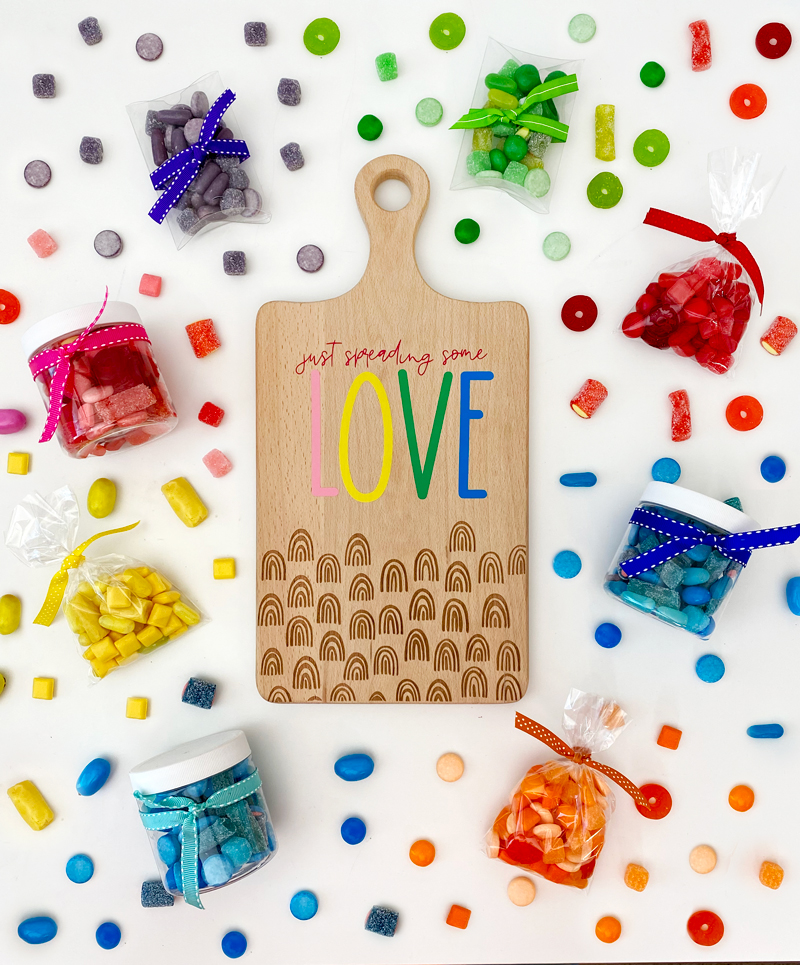
SUPPLIES YOU’LL NEED
Charcuterie Board (I like this one, this one or this one)
Cricut Machine (the Maker & Explore Air 2 work great for this project)
INSTRUCTIONS FOR CHARCUTERIE BOARD DIY
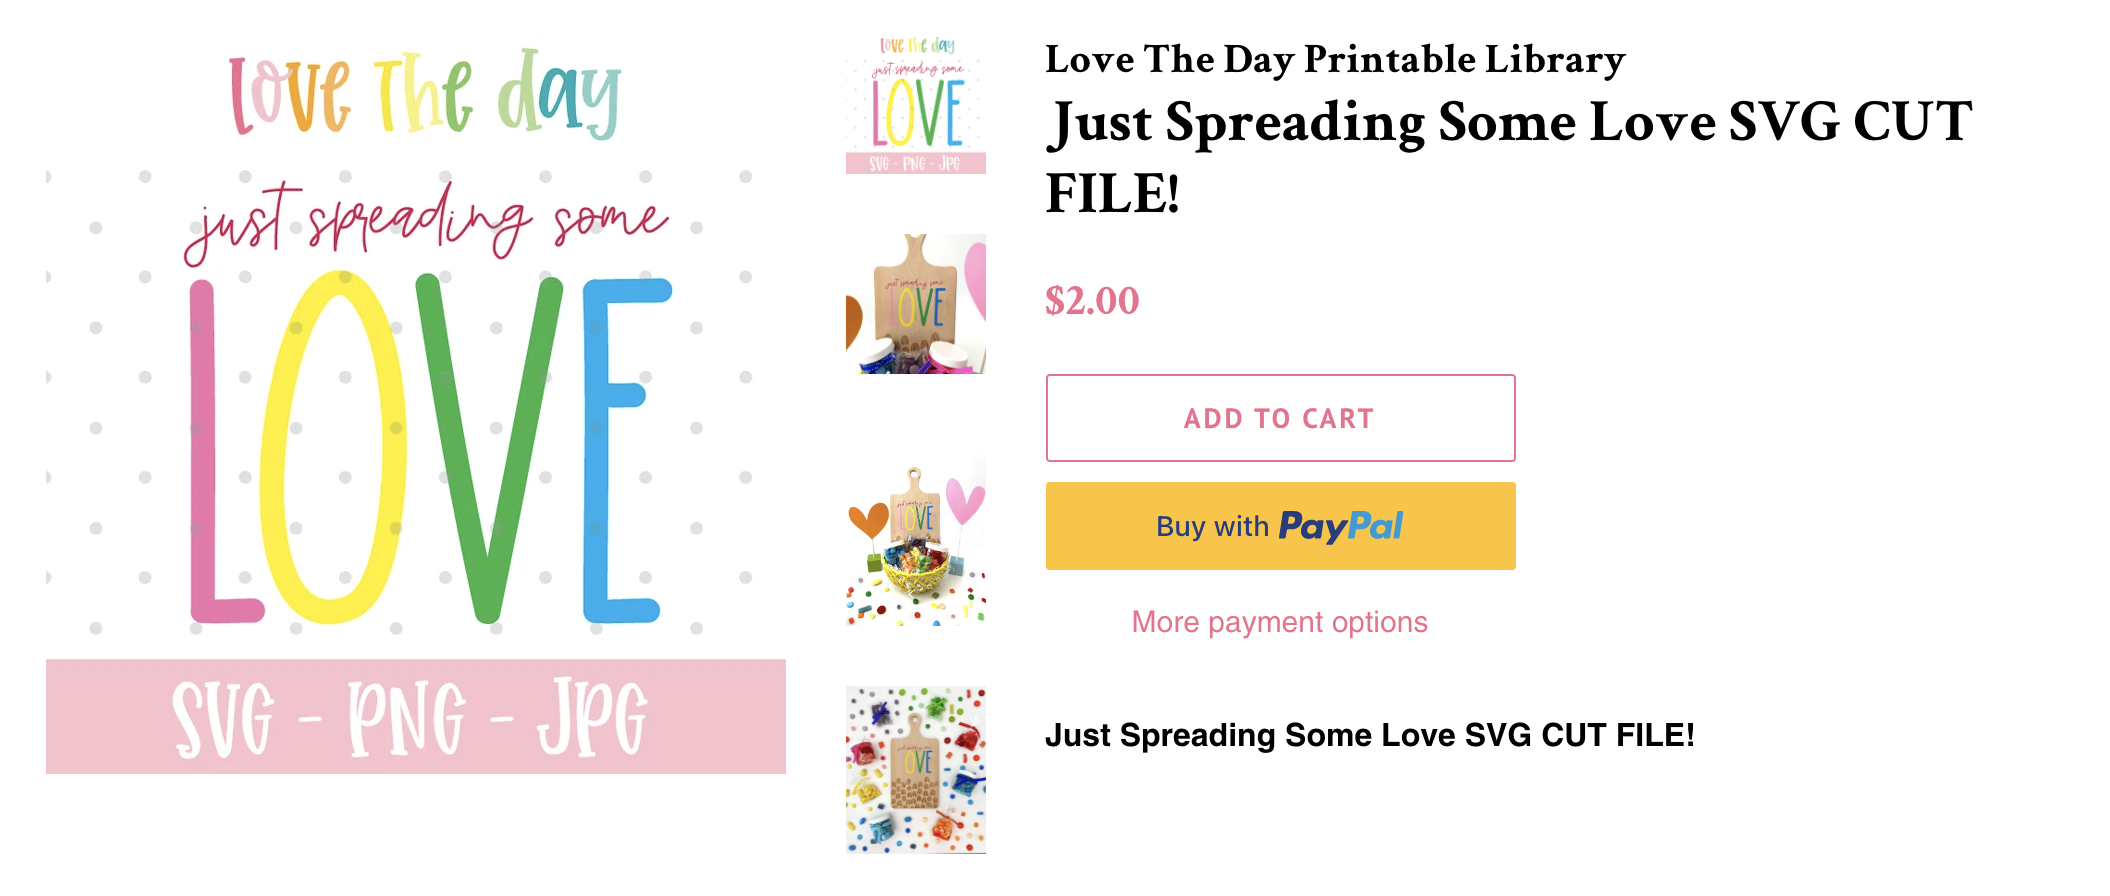
1. PURCHASE THE JUST SPREADING THE LOVE SVG FILE.
The first thing you’ll need to do is purchase the Just Spreading The Love SVG File from my printable and SVG shop!
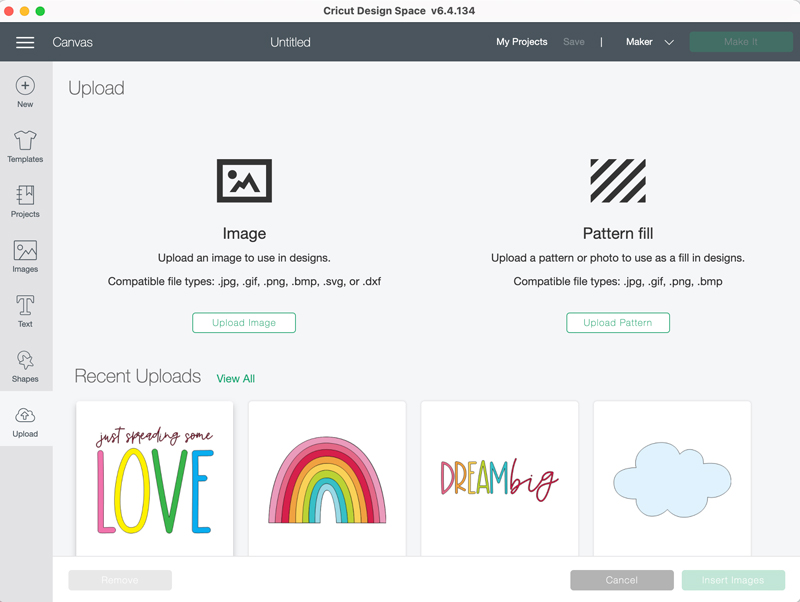
2. UPLOAD THE SPREADING THE LOVE SVG FILE TO CRICUT DESIGN SPACE
The next step is to upload the SVG spreading the love file to Cricut Design Space.
3. INSERT THE FILE INTO A NEW CANVAS
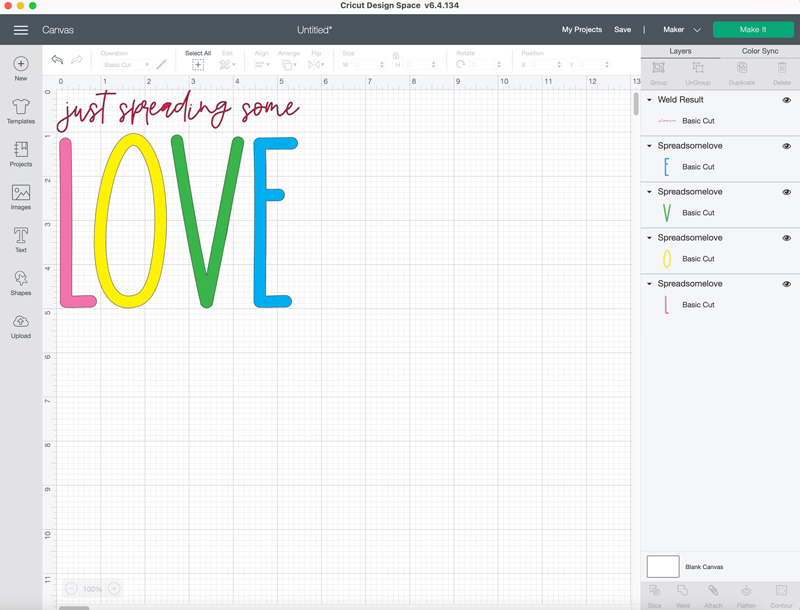
Insert the phrase file onto your canvas! Ungroup the phrase.
Highlight ‘Just Spreading Some’ and weld the phrase together.
I sized my ‘spread the love’ phrase to be 5.5 inches X 5 inches. If you have to resize the file go ahead and do it now.
4. PLACE VINYL ON YOUR MAT
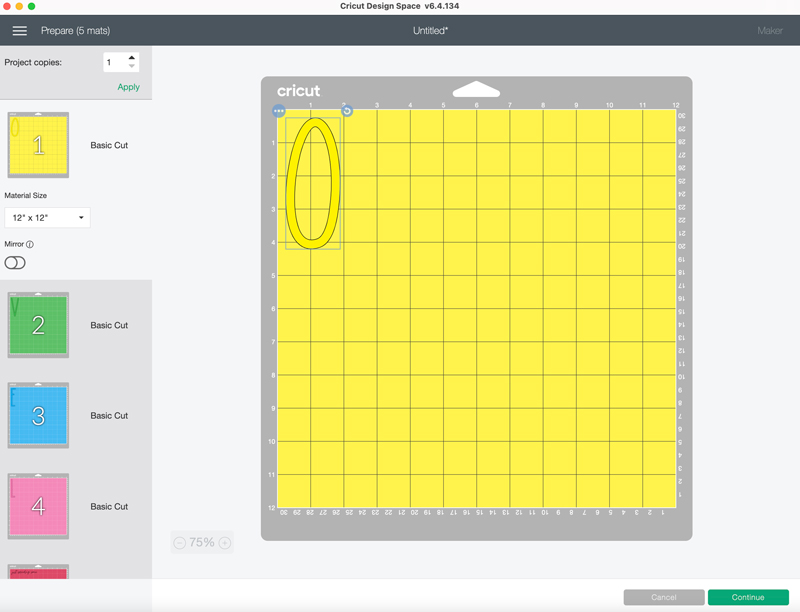
Place vinyl on a Cricut Mat. Since this project is so small, I’m using scraps! The best kind of project!

5. PRESS MAKE IT & LET THE CRICUT DO ITS THING!
Press MAKE IT and let the Cricut get to work cutting your vinyl!
5. WEED YOUR VINYL!
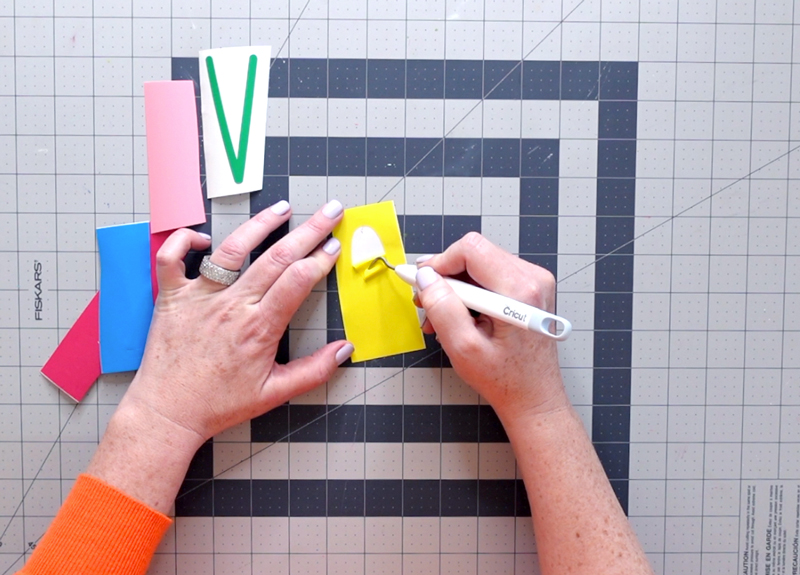
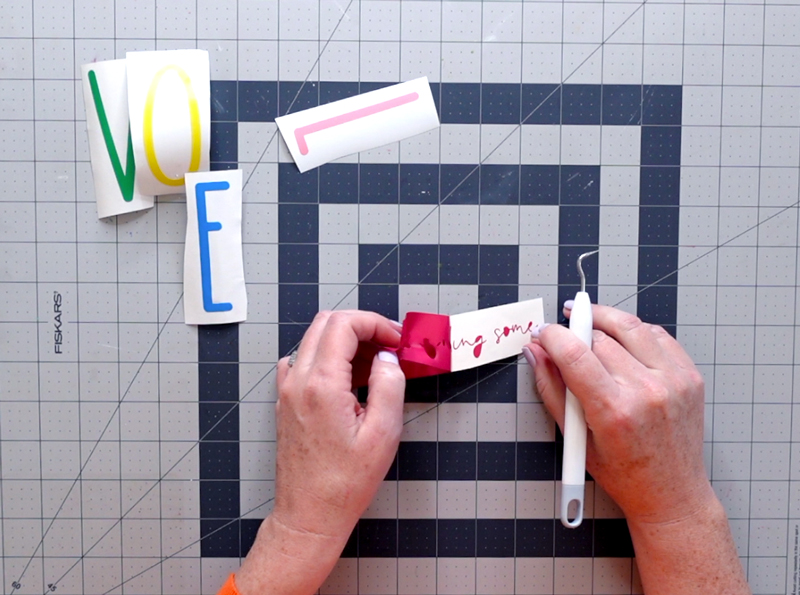
Take your weeding tool and weed around your letters and phrase, leaving them on the plastic backing.
8. TRANSFER YOUR VINYL
Place transfer tape on your letters and phrase and peel them from their backing.
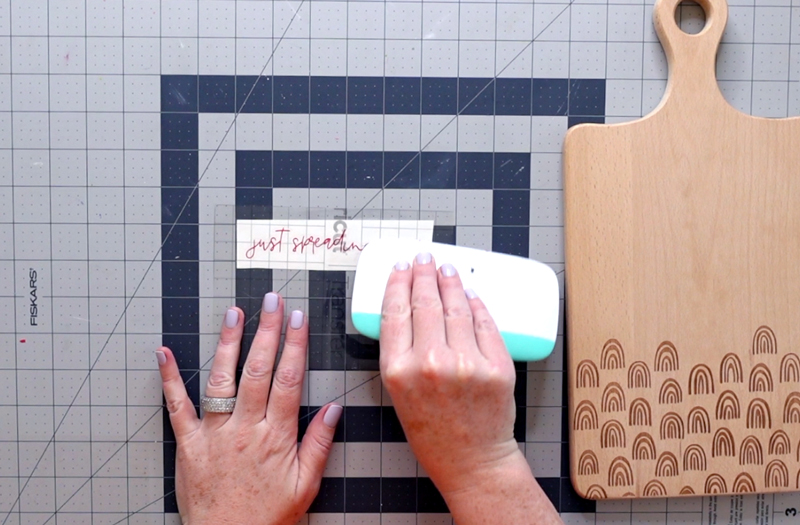
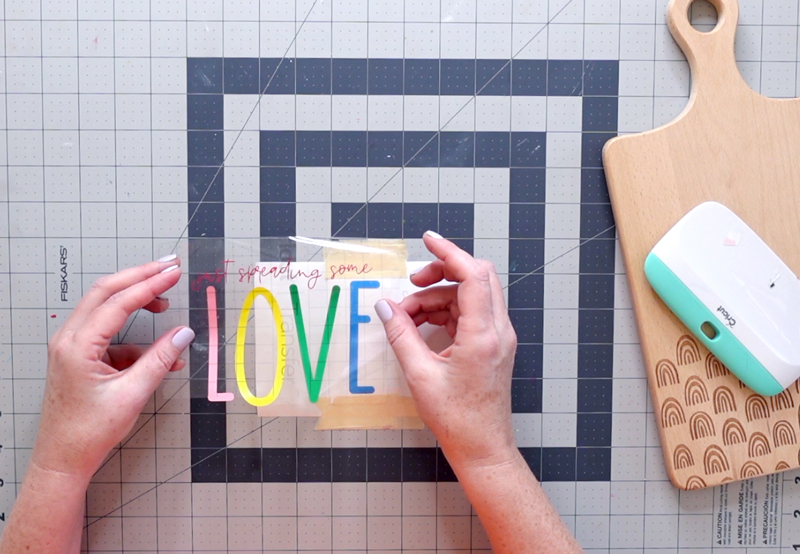
Transfer the ‘just spreading some love’ phrase from the transfer tape to the charcuterie board.
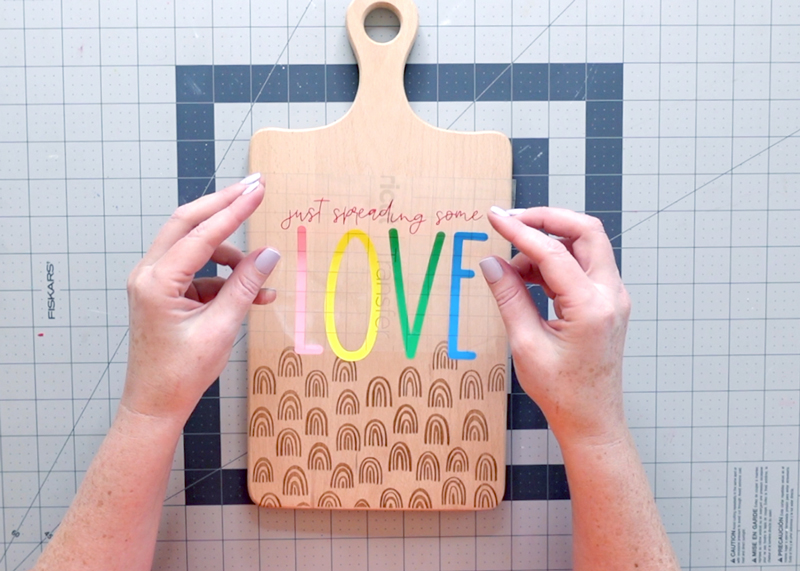
Once the phrase is on the charcuterie board, unpeel the transfer tape tape from your vinyl.
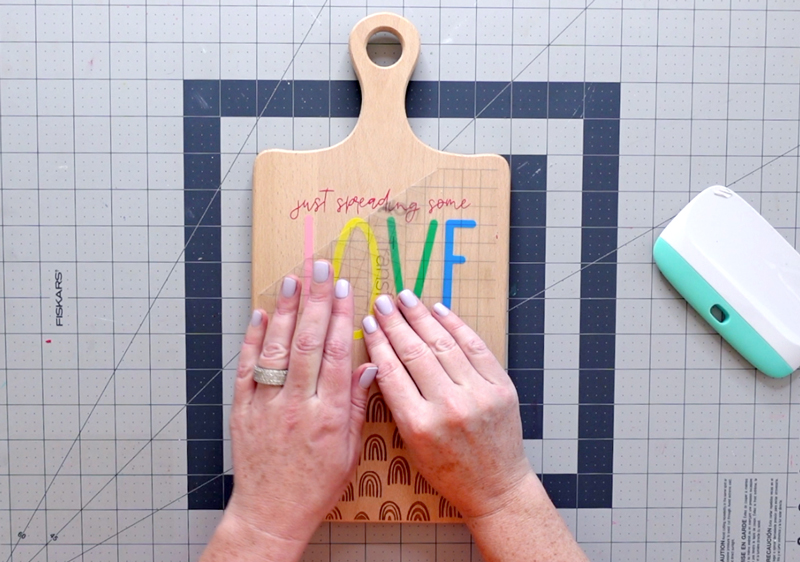
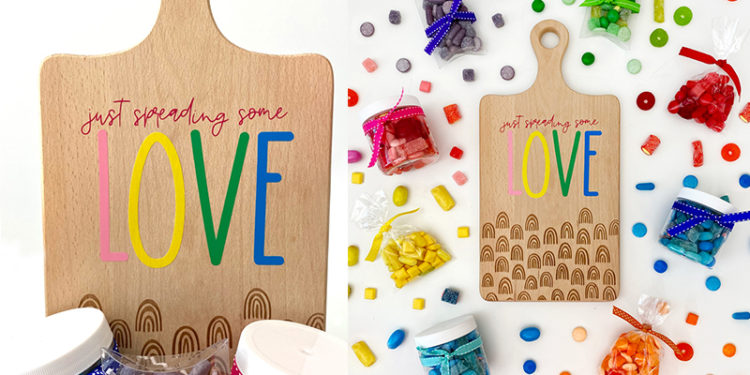
BAM!! You are finished! The vinyl is now perfectly placed on your charcuterie board! Now to place it in a charcuterie board gift basket diy!
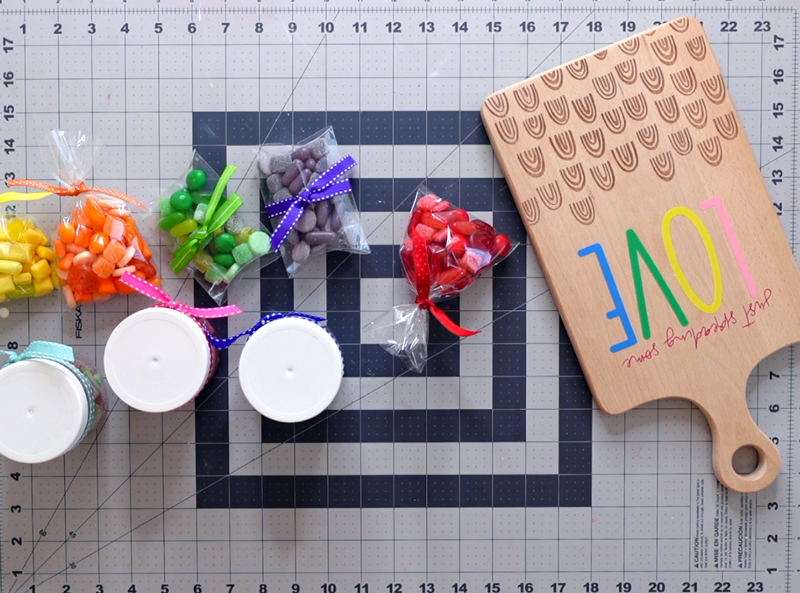
I bought a TON of candy, organized them by color and placed pieces in clear jars, cellophane bags and boxes. I then added bows!
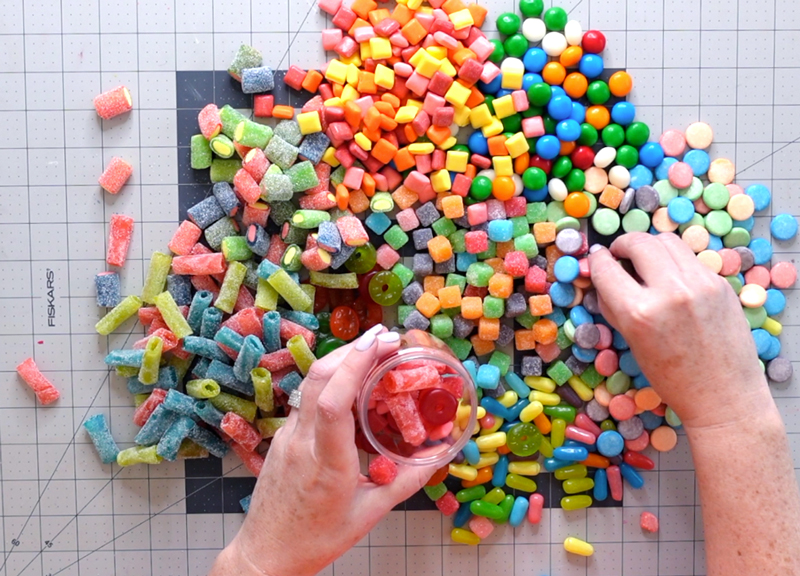
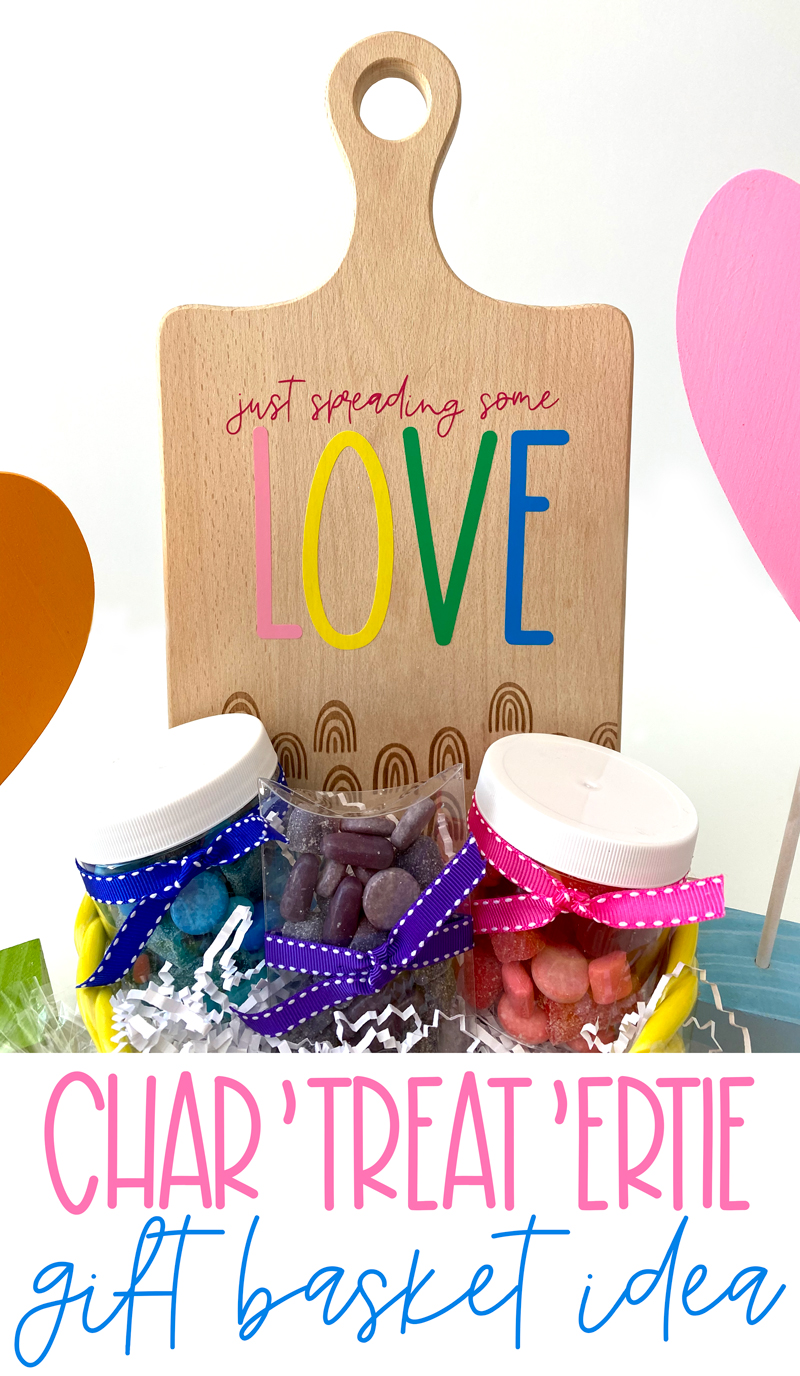
Once all the candy is wrapped, I started assembling the gift basket!
This is how it looks all assembled and I love how it turned out! How fun would it be to receive this?
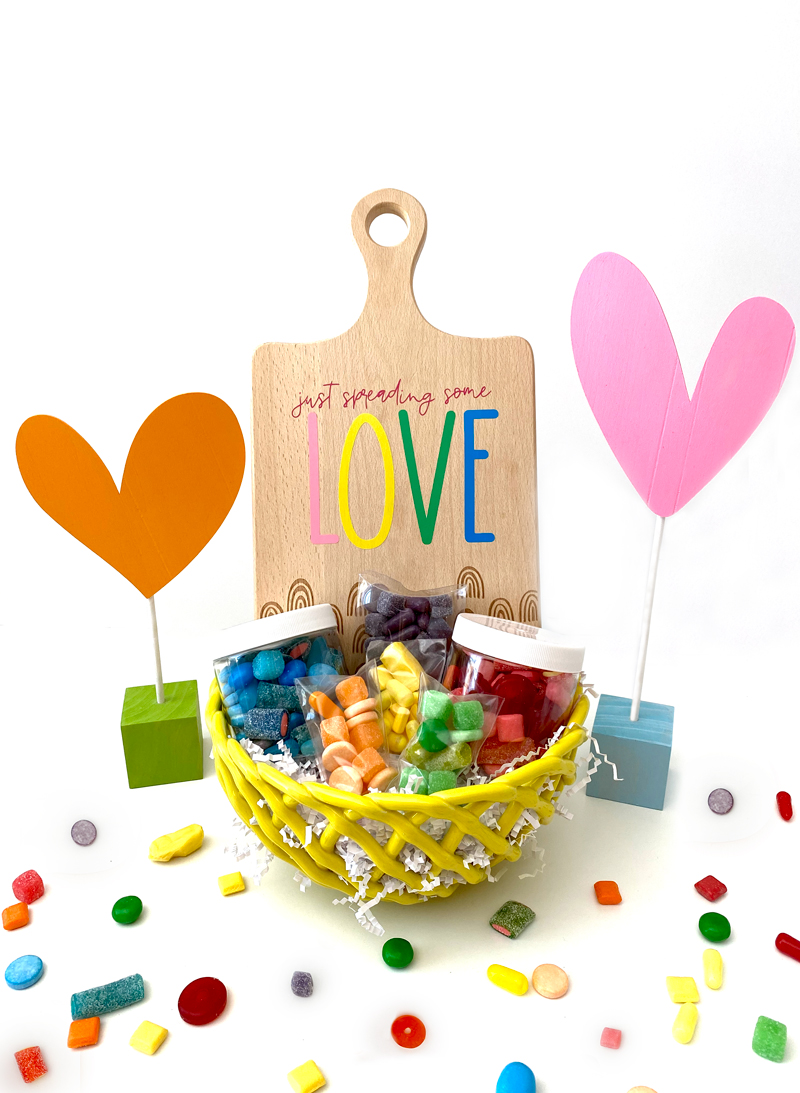
If you create this Charcuterie Board Gift Basket, make sure to take a picture and tag me at @lovetheday on Instagram. I’d LOVE to feature you in my stories!
PIN THIS CHARCUTERIE BOARD GIFT BASKET DIY FOR LATER




I love how bright and colorful this looks! This would be a fun gift for all the candy lovers out there! Can’t wait to make this ☺️
If you create this Charcuterie Board Gift Basket