I’m so, so excited to share this post today. I’m sharing how to store Cricut materials and products. It’s something that has taken me a few years to master, but I feel like I’ve finally found products that I love that help me stay organized!
So this new year, let’s get our craft rooms under control together.
HOW TO STORE A CRICUT MACHINE
To get started, let’s talk about how to store the actual machine. I have both a Cricut Maker and Cricut Explore Air 2. I use both pretty regularly so I actually keep them out on my shelves.
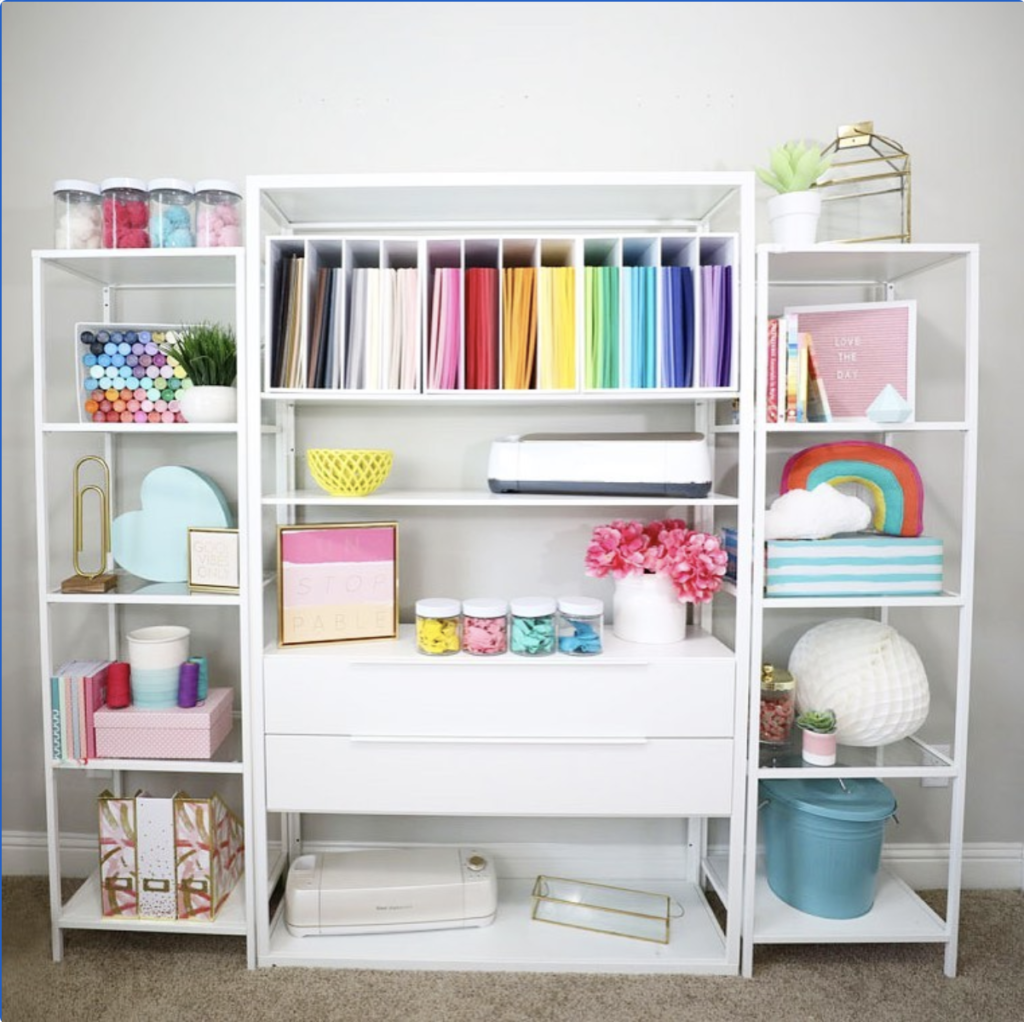
Here is how I’ve set up the ‘focal point’ of my craft area:
In the center is a FJÄLKINGE piece from IKEA. On either side of the piece, I’ve placed VITTSJÖ shelves.
I place both my Cricut Machines on the shelves in addition to a few of my Easy Press Machines (not pictured).
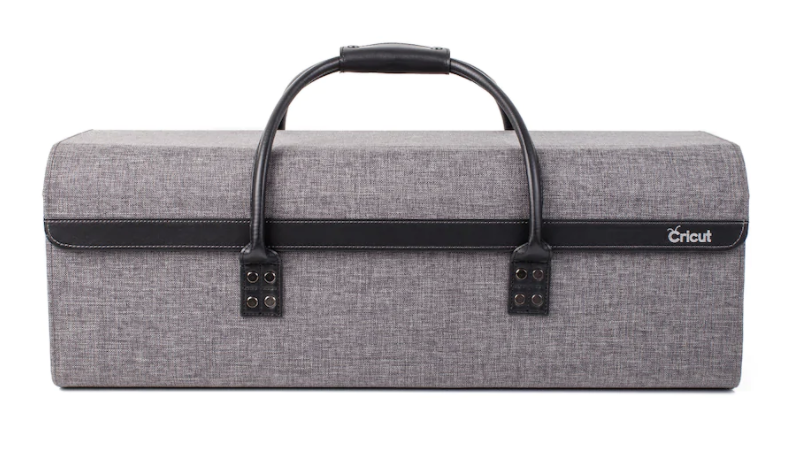
When I travel or head to a crafting ladies night, I transport my Cricut Machine in Cricut Machine Tote Bag.
HOW TO STORE CRICUT VINYL, IRON-ON or INFUSIBLE INK ROLLS
As a Cricut user, you know that Vinyl, Iron-On and Infusible Ink come in rolls. In years past, I’ve tried storing them in drawers, in the IKEA bag holders and even on an open shelf.
They all wound up an entire mess, with scraps everywhere!
I never knew what I had and was left re-organizing my supplies after every project. ENTER 26 QT Latchmate Vinyl Storage Tote from Michaels! The organization bin that changed it all!
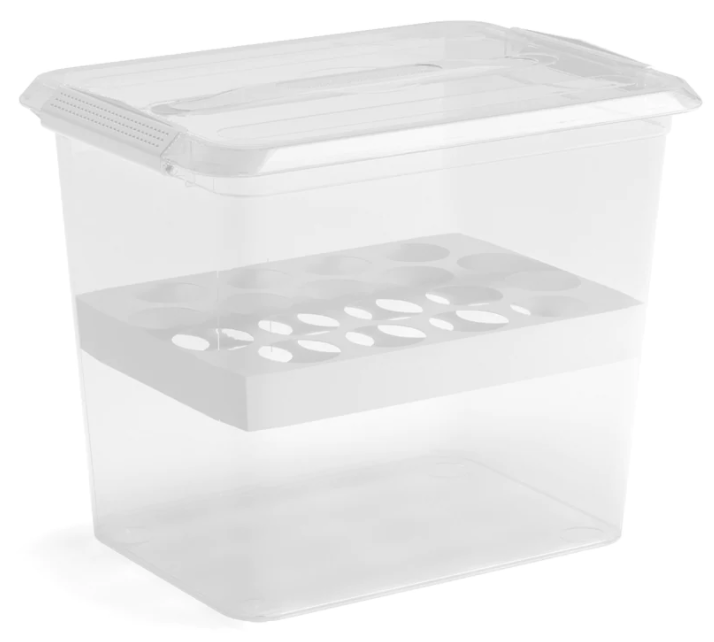
This bin can hold up to 30 rolls and has made my craft room SO, SO much cleaner.
I used vinyl labels on the front of all my totes to distinguish between my VINYL, IRON-ON, INFUSIBLE INK and SCRAP rolls. Now anytime I need a supply, I know right where to go! I start at the SCRAP tote and move on from there.
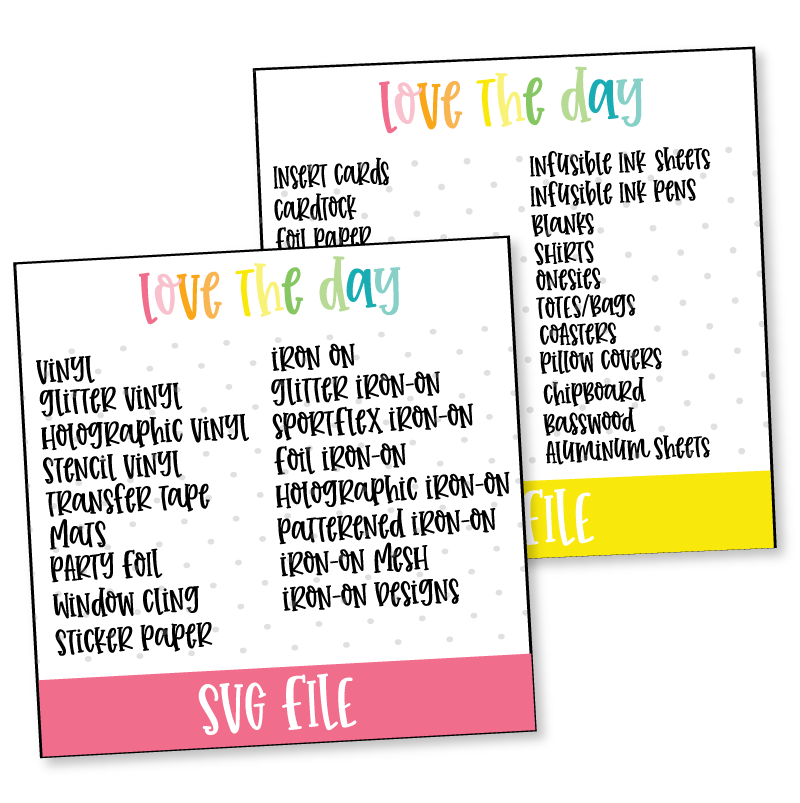
If you’re interested in creating labels for your totes, I’ve designed SVG labels for almost EVERY CRICUT supply
You can find the labels in my SHOP!
Here’s a tutorial how to vinyl your totes.
HOW TO STORE CRICUT CARDSTOCK, LEATHER, FELT, CORRUGATED PAPER, KRAFTBOARD SHEETS & MORE
As with the Cricut rolls, for years I struggled knowing how to store all my Cricut supplies that came in 12X12 sheets. Products like: cardstock, glitter cardstock, leather, felt, corrugated paper and kraftboard!
They all ended up in a huge pile on one of my closet shelves. Then I discovered 12″ x 12″ Storage Keeper by Simply Tidy™!
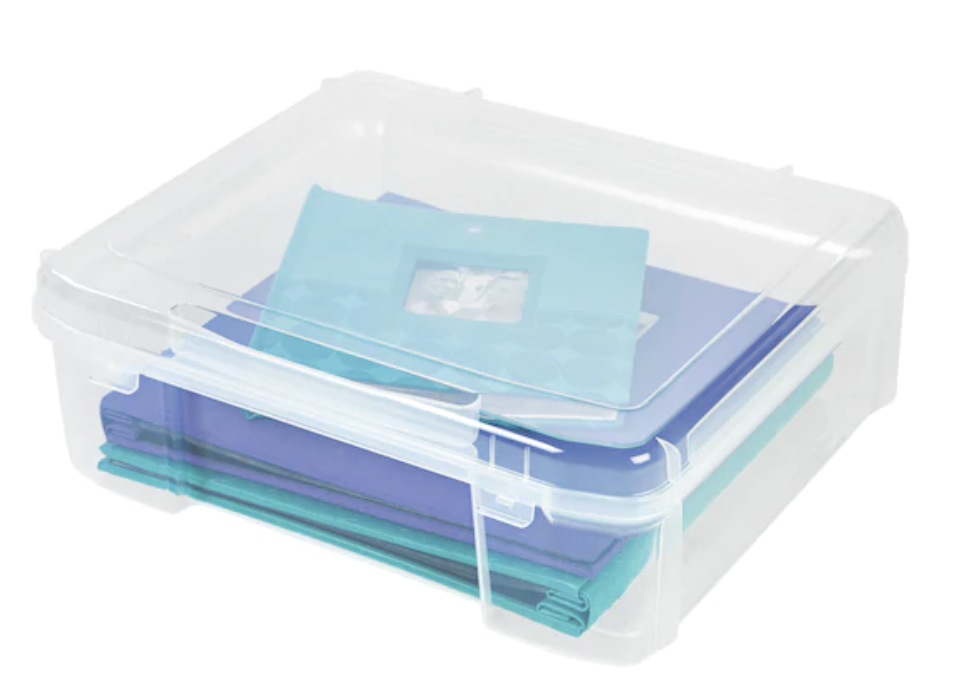
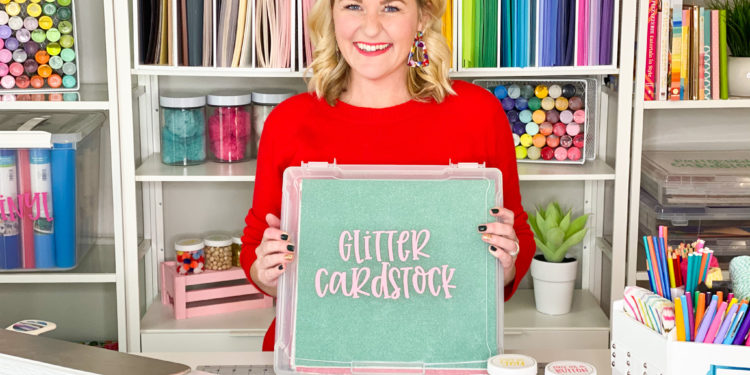
They are the perfect size for all my 12X12 sheets! I now arrange all my Cricut flat supplies in their own tote and label each one (see the video above)!
It keeps all the supplies so, so organized! I’m obsessed!
HOW TO STORE YOUR CRICUT WEEDED, SCRAPER, RULER, SCISSORS & MORE
I’ve tried a bunch of different storage methods when it comes to Cricut Tools. For years I just kept them in the drawer of my FJÄLKINGE piece from IKEA.
It worked fine, but I always found myself turning around to find what I needed.
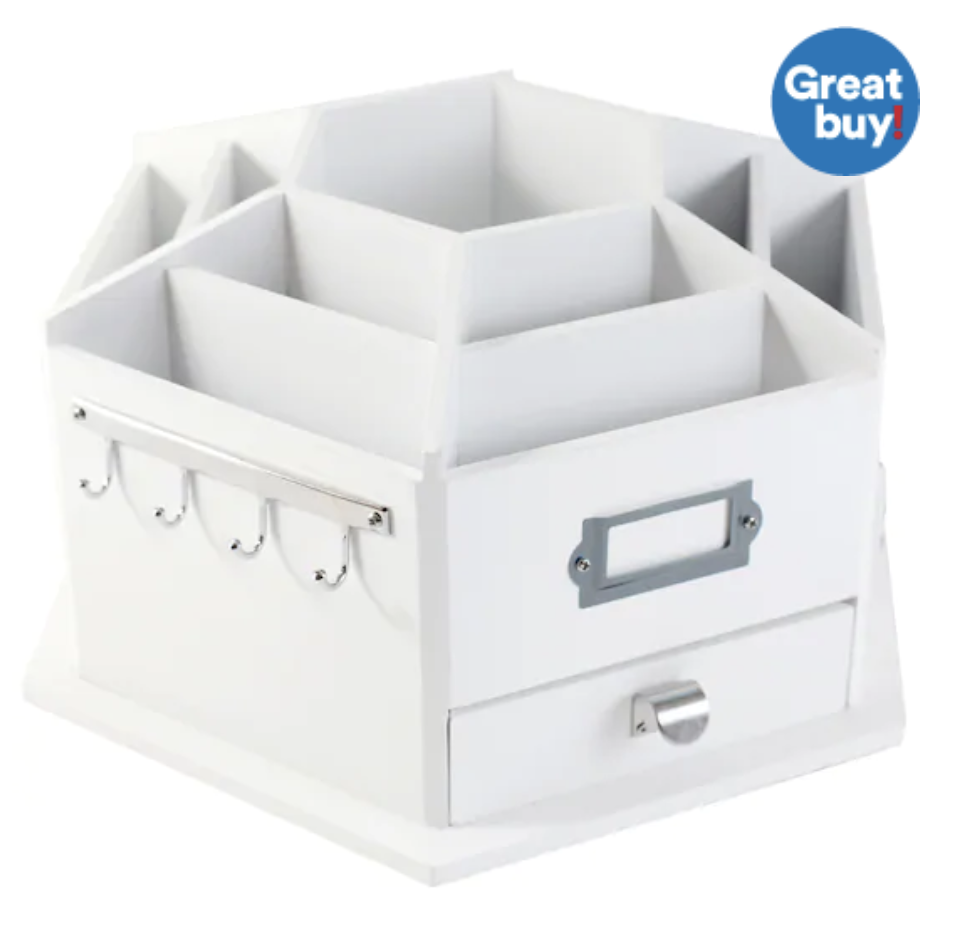
This year I’ve tried something new! I purchased a Storage Desktop Carousel by Ashland® and placed it on my work desk.
I was nervous about having ‘clutter’ on my desk, but I LOVE, LOVE, LOVE it! I have everything I need at my fingertip! Plus, I actually love how crafty it looks!
HOW TO LABEL YOUR CRICUT STORAGE!
If you watch the video above, I’ve labeled ALL my storage. bins with vinyl labels. They help me keep track of all my products and arrange all my supplies in their own space.
I thought you might be interested in placing labels on your bins so I decided to design SVG labels for you. I’ve designed labels for oodles and oodles of Cricut Supplies. I really tried to come up with every Cricut supply you could ever purchase!
YOU CAN FIND THE LABELS HERE.
For more organization ideas, check out these posts:
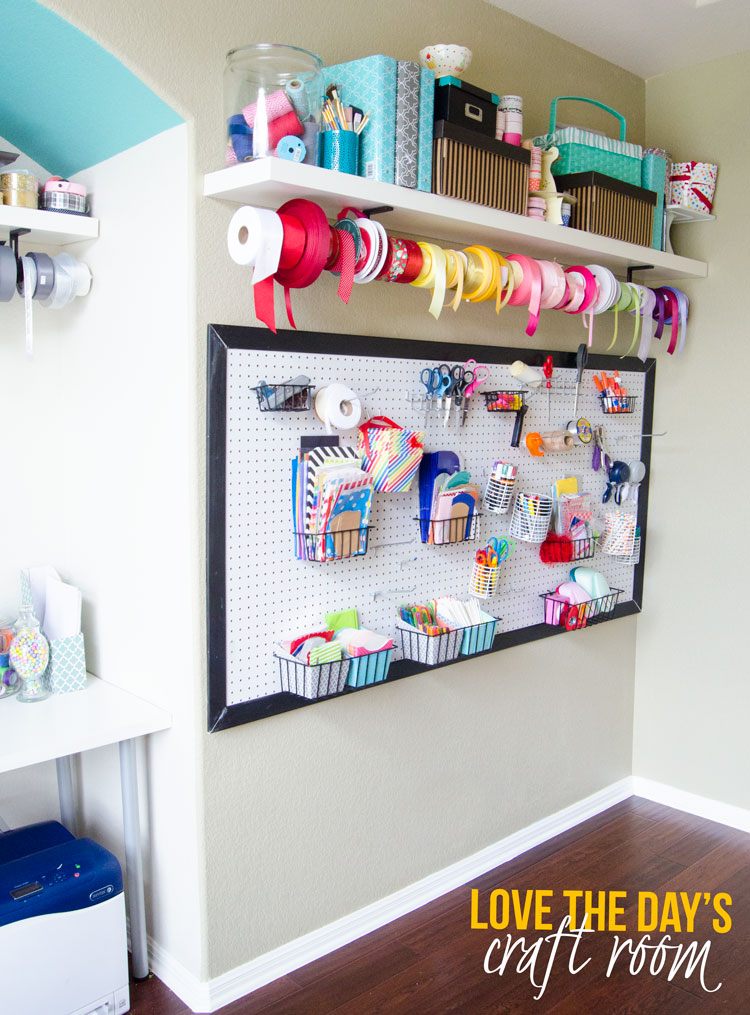
Craft Room Organization Ideas
Teacher Organizing Ideas
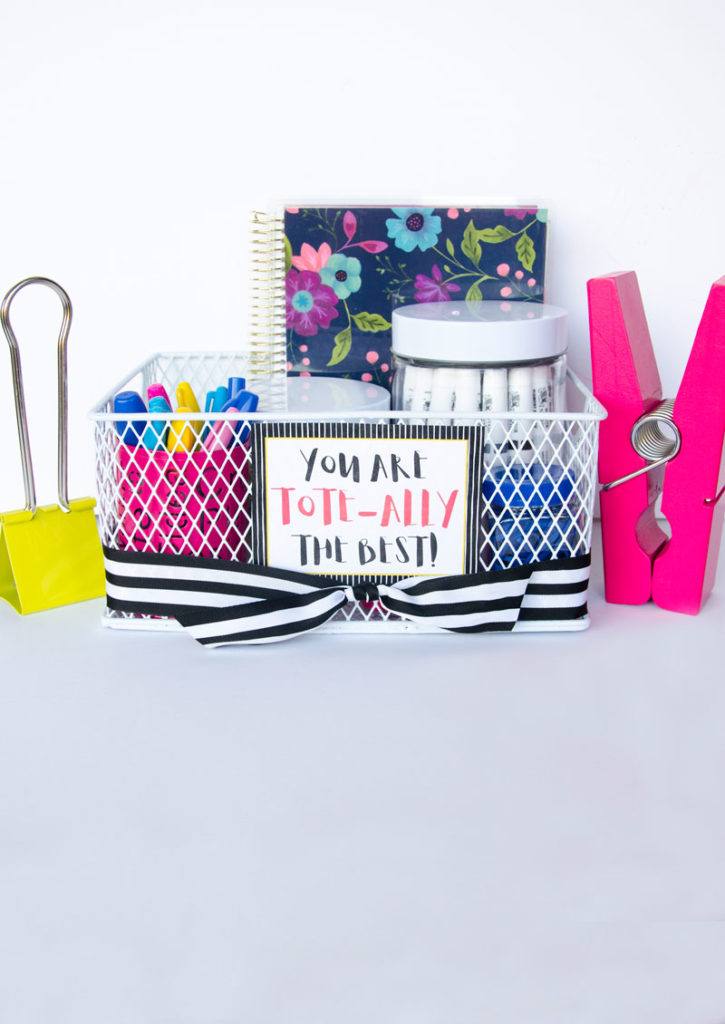
Clever Craft Storage Ideas & a FREE Printable
