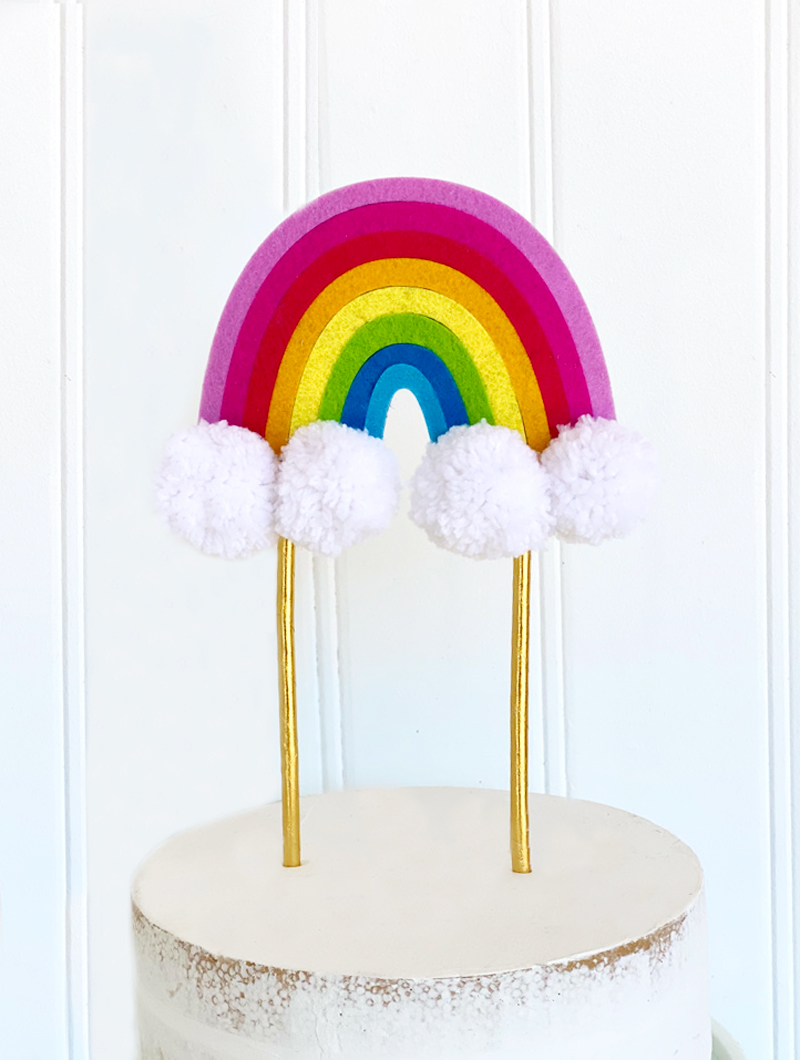

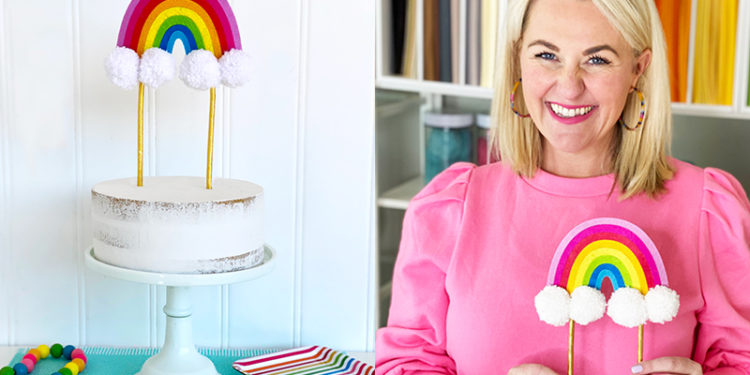
As stated in the last post, these next few weeks are dedicated to RAINBOWS!!! I’m sharing how to make multiple crafts with the Over The Rainbow Bundle. Today I’m sharing a Rainbow Cake Topper Tutorial!
I’m going to show you have to make it with and without a Cricut Machine.
I’ll show you how to make it with felt, with paper and with a printable file!
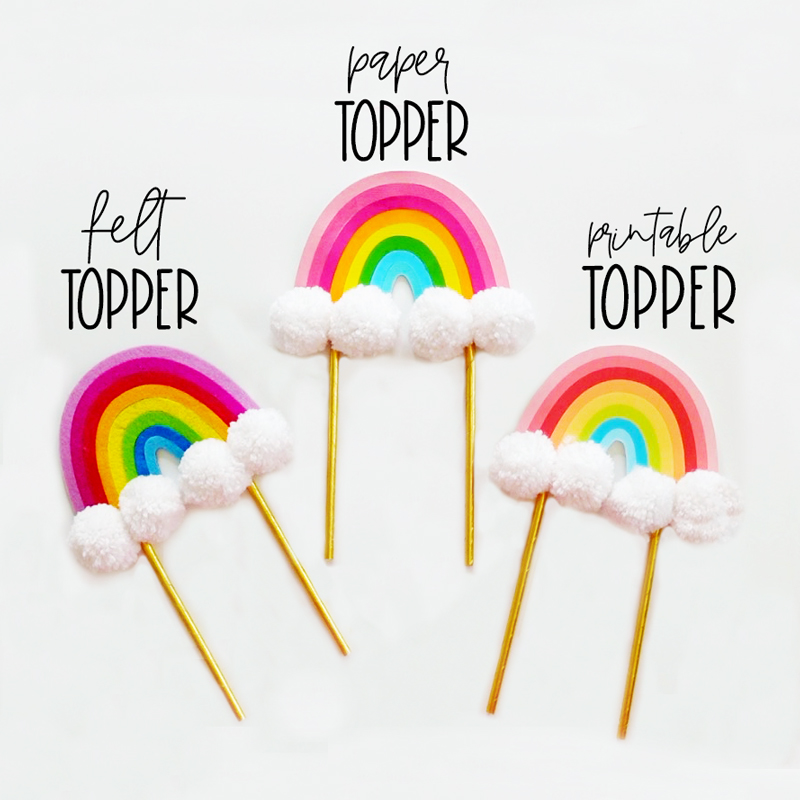
RAINBOW CAKE TOPPER TUTORIAL
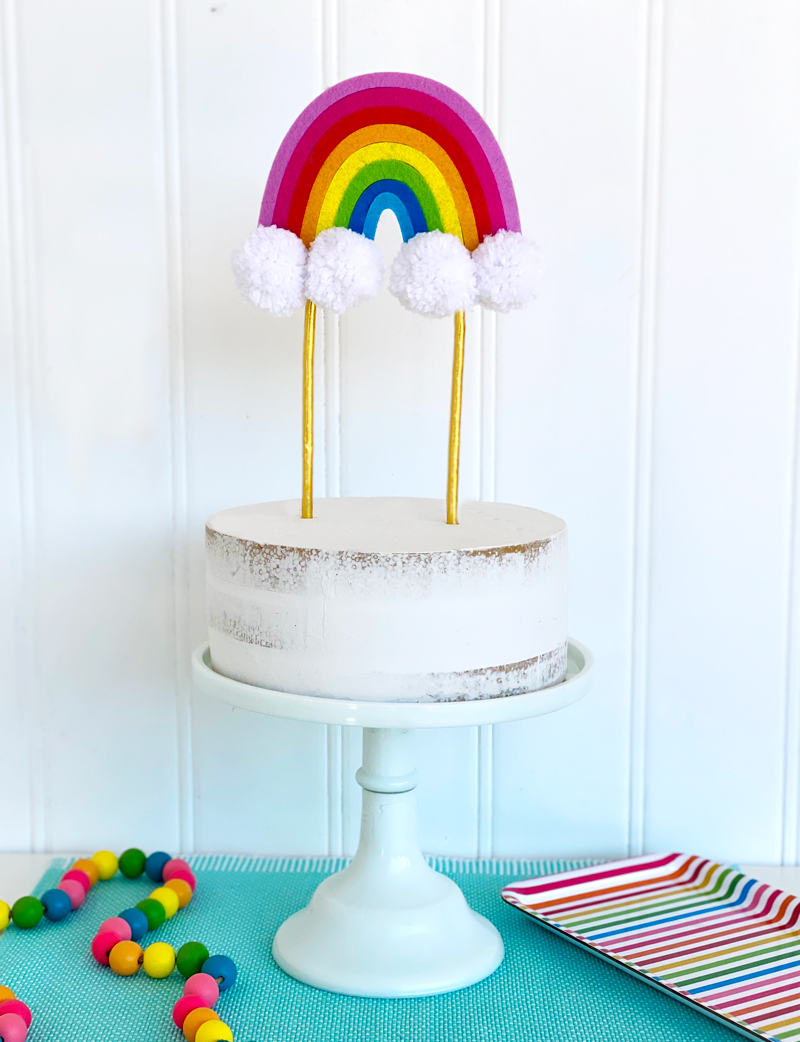
SUPPLIES YOU’LL NEED
Love The Day Over The Rainbow BUNDLE
12X12 Felt Craft Sheets (I love these ones) – 12X12 Cardstock – Printable Rainbow File (in bundle)
Tacky Glue Pen (for felt) – Tombow Liquid Glue (for paper)
RAINBOW CAKE TOPPER TUTORIAL
1. PURCHASE THE OVER THE RAINBOW BUNDLE!
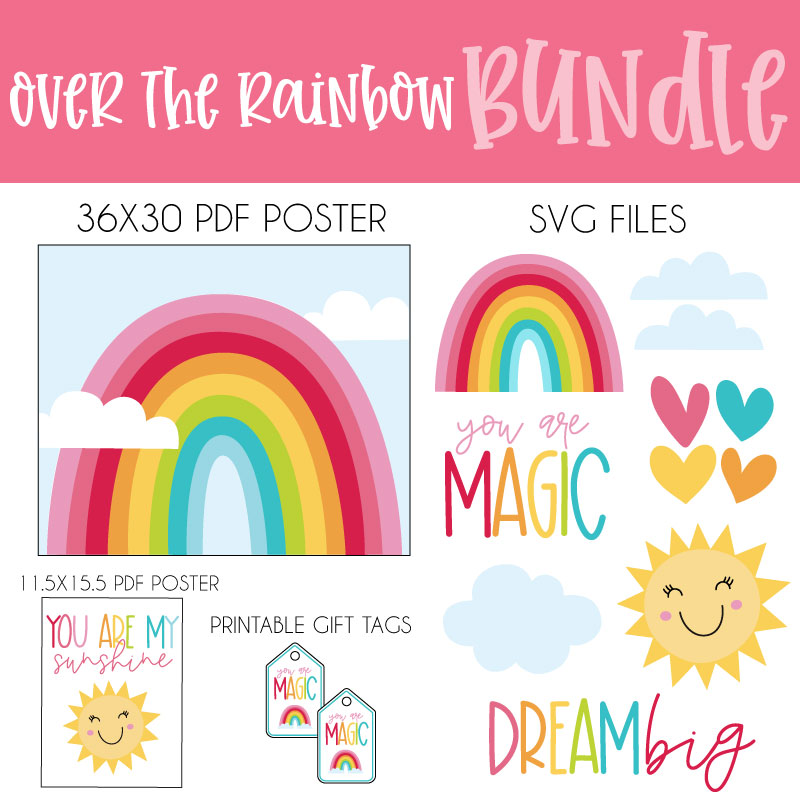
The first thing you’ll need to do is purchase the Over The Rainbow Digital Bundle from my printable and SVG shop!
This bundle will provide you with the ability to create the rainbow topper with and without a Cricut Machine.
PRINTABLE: there is a pdf file of a printable version of the rainbow (in the rainbow folder) where you download and print the file on 110lb White Cardstock.
FELT & PAPER: there is a SVG file that allows you to use a Cricut Machine to cut and layer the rainbow topper with felt or paper.
2. PRINT PRINTABLE OR UPLOAD THE RAINBOW SVG FILE TO CRICUT DESIGN SPACE
The next step is to either print out the printable rainbow page (on 110lb white cardstock) or upload the SVG file to Cricut Design Space.
For those who are using the printable pages, print and being cutting the rainbow and skip these Cricut steps!
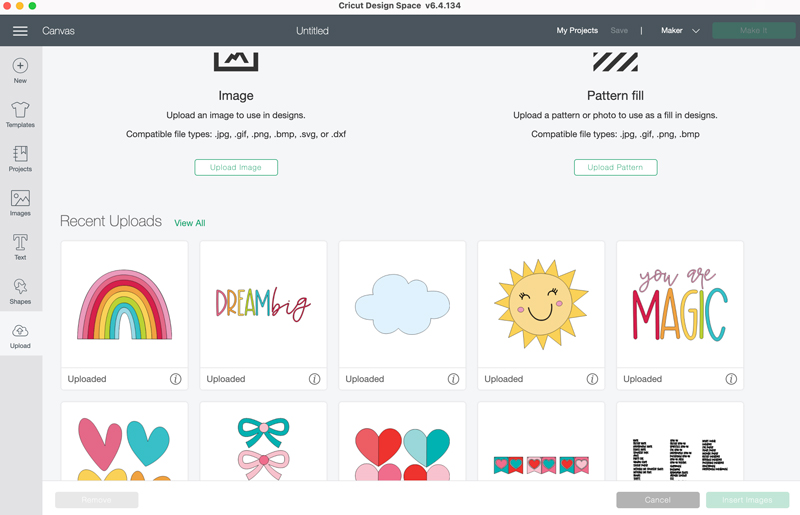
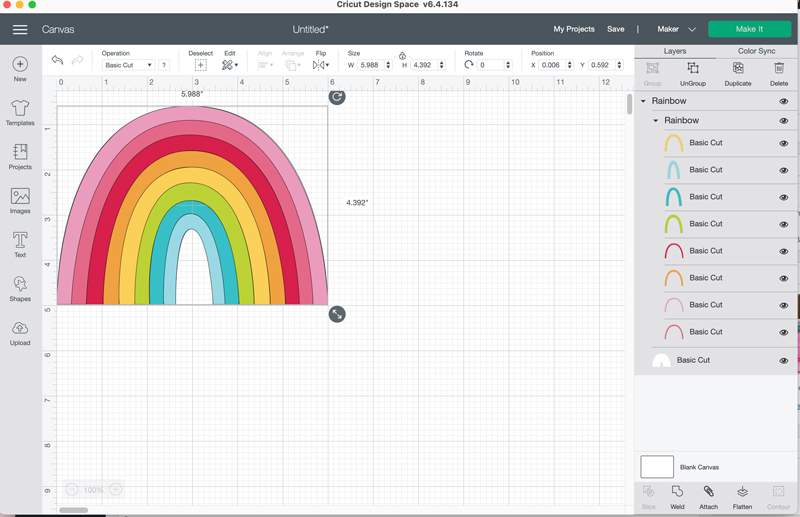
3. INSERT THE FILE INTO A NEW CANVAS
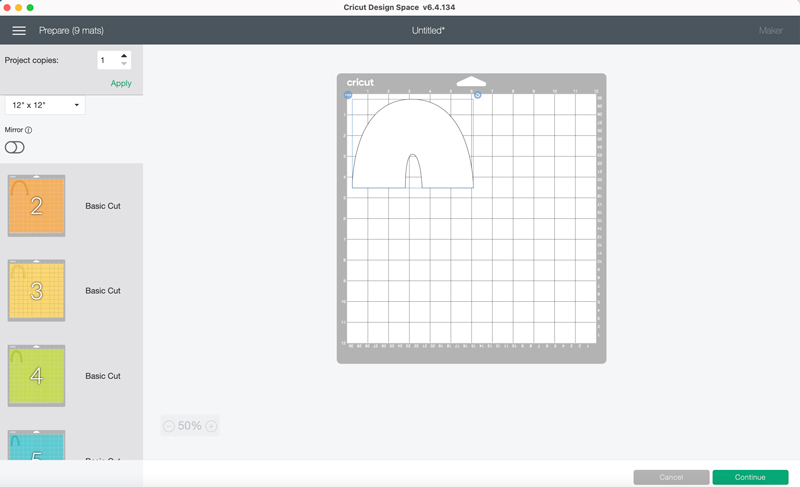
Insert the rainbow svg into your canvas.
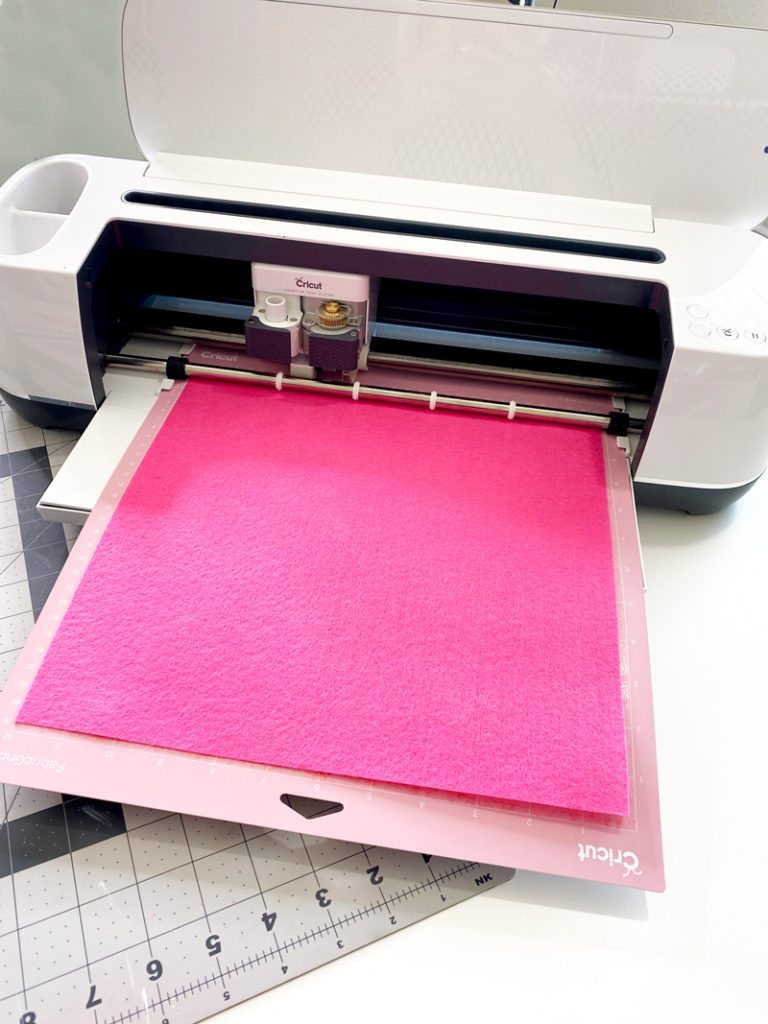
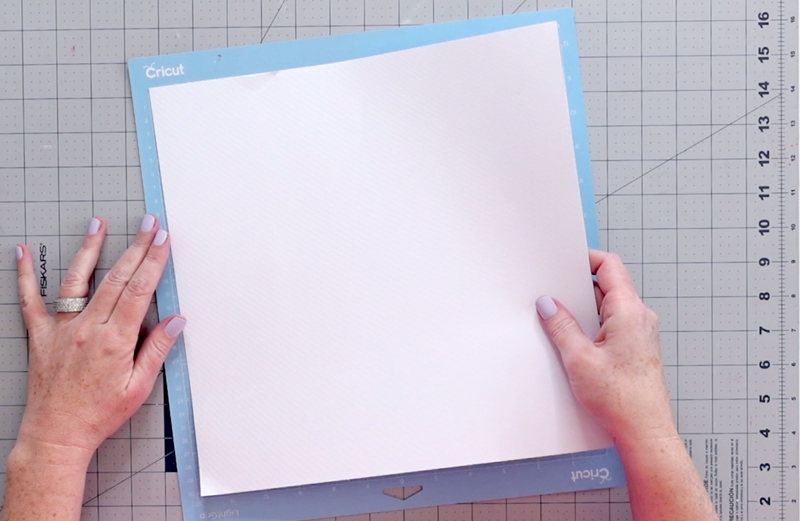
4. PLACE FELT ON YOUR FABRIC GRIB MAT/PAPER ON YOUR LIGHT GRIP MAT
FELT: If you are making the felt topper, place the felt sheet on your Fabric Grip Mat and make sure the rotary blade is in your Cricut Maker.
PAPER: If you are making the cardstock topper, place the 12X12 cardstock on your light grip mat.
5. PRESS MAKE IT & LET THE CRICUT DO ITS THING!
Resize the cake topper to meet your needs (I re-sized the rainbow to about six inches wide). Next all you need to do next is press MAKE IT and let your Cricut work its magic.
6. GLUE YOUR RAINBOW ARCS ON THE RAINBOW BASE
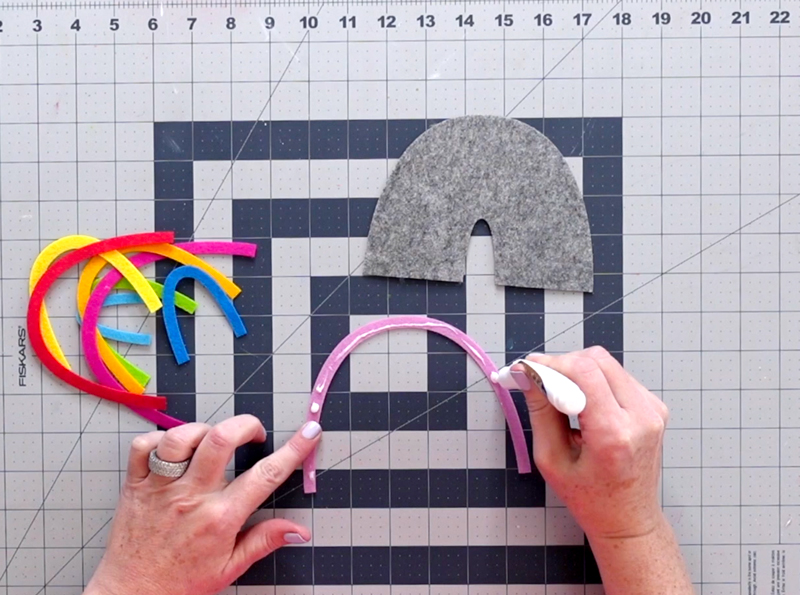
FELT: Grab your Tacky Glue and start gluing your rainbow arcs on the rainbow base. Let dry.
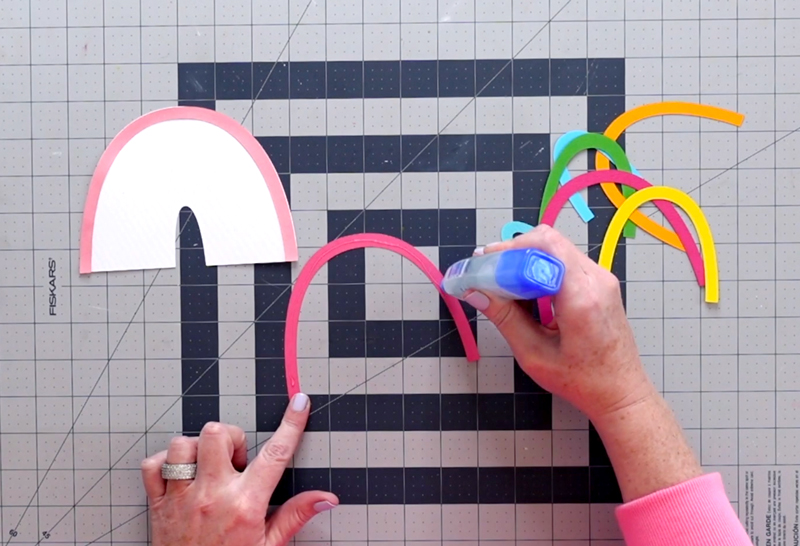
PAPER: Grab your Tombow Liquid Glue and start gluing your rainbow arcs on the rainbow base. Let dry.
5. GLUE POM POMS ON YOUR RAINBOW
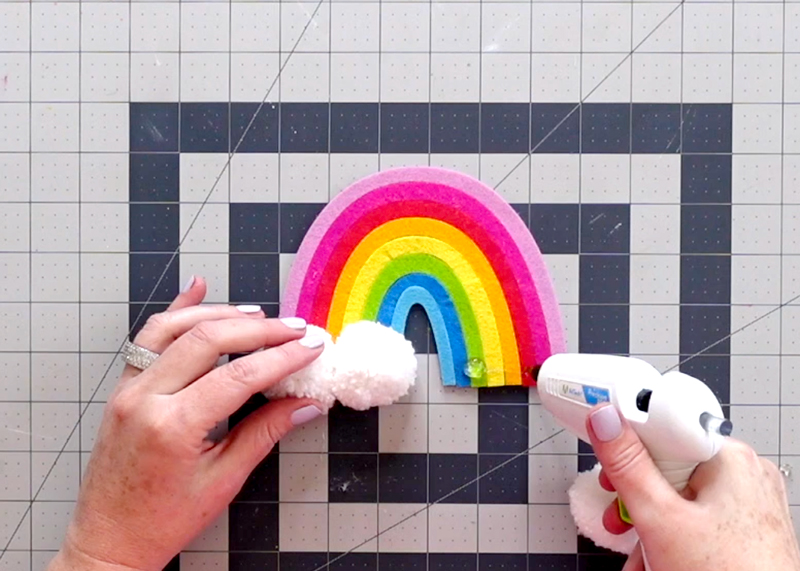
This is where you printable people join us again!! Now that you’ve cut your rainbow, grab your pom poms and complete this next step.
Whether you make or buy your white pom poms, hot-glue them at the base of your rainbow. Use a heavy amount of hot glue to ensure they adhere!
8. HOT GLUE THE GOLD STRAWS TO THE RAINBOW
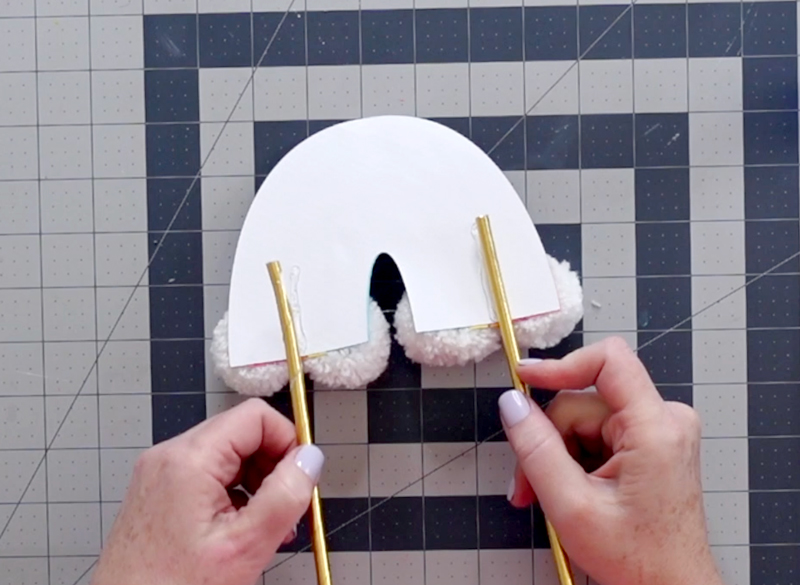
Flip your rainbow upside down and glue two gold straws to its back. Make sure they are perfectly horizontal so they won’t be crooked in the cake.
And BAM!! You are finished! How easy was that? Easiest craft ever right?!
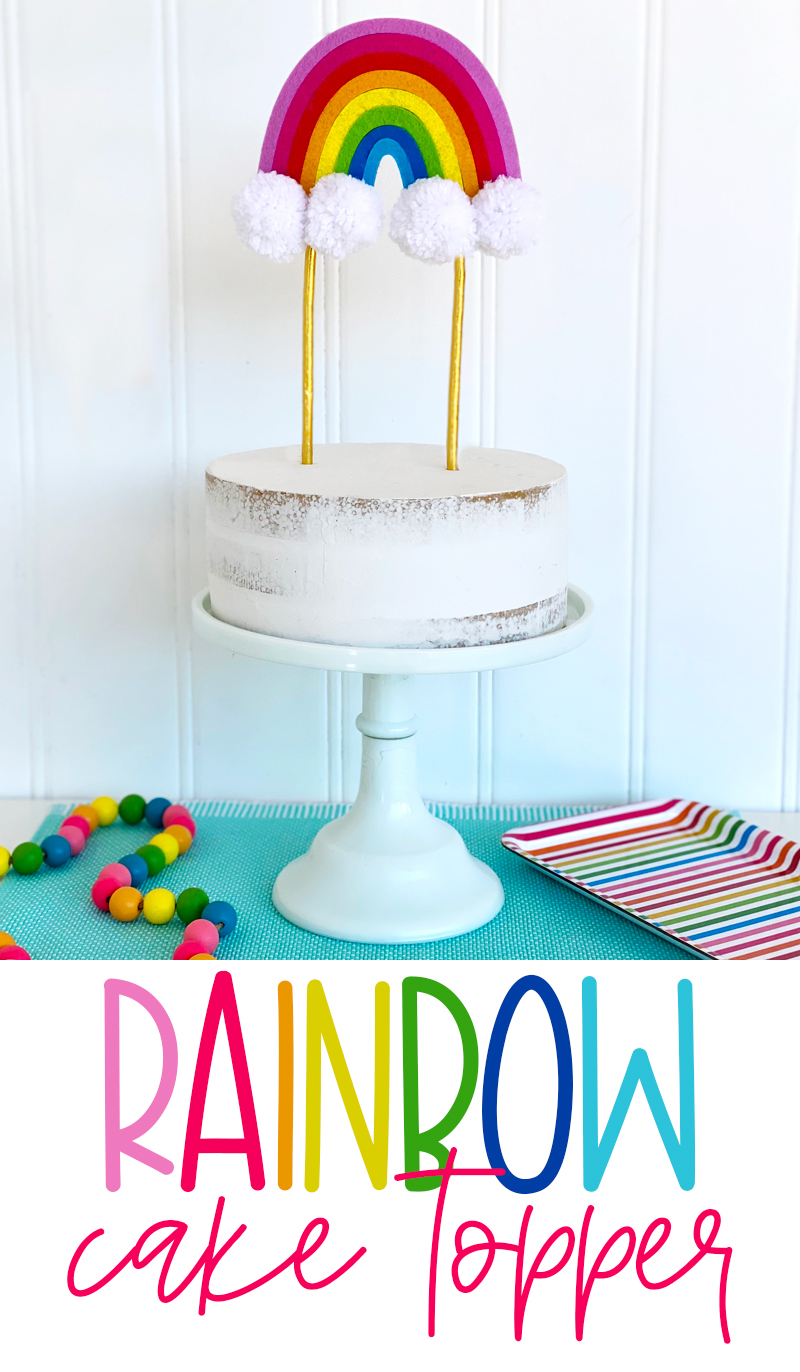
If you create this Rainbow Cake Topper DIY, make sure to take a picture and tag me at @lovetheday on Instagram. I’d LOVE to feature you in my stories!
For more RAINBOW inspiration, check out these posts!
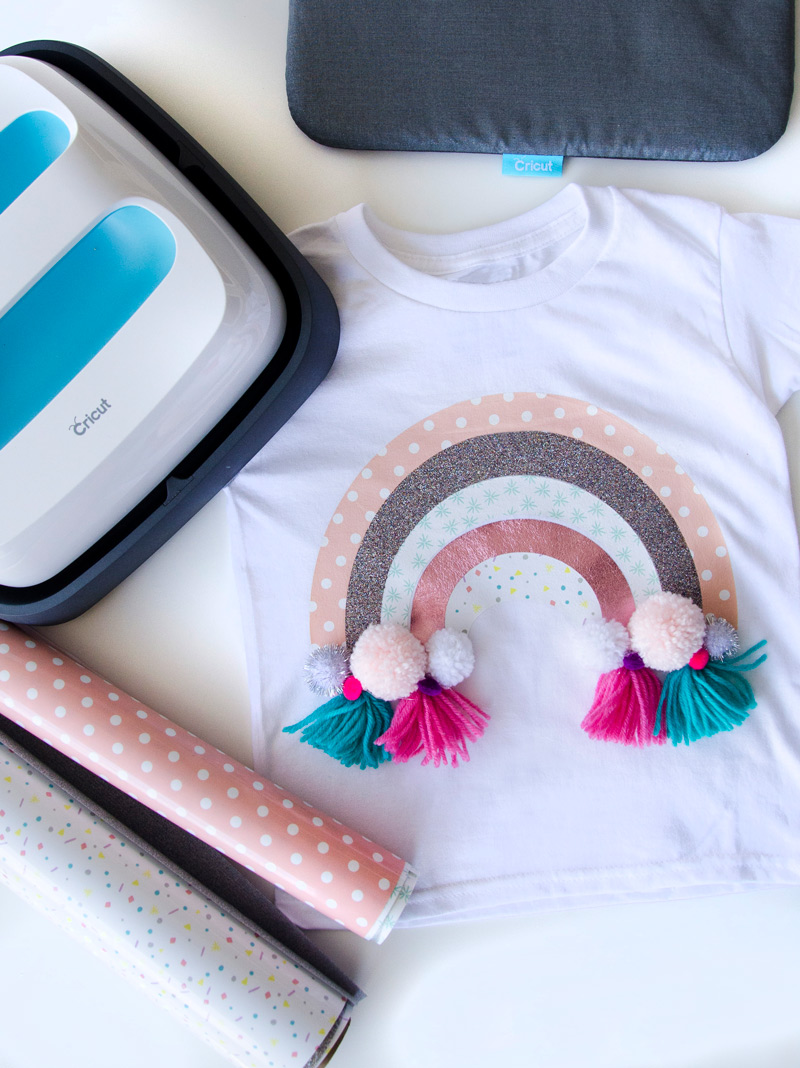
DIY RAINBOW T-SHIRT WITH CRICUT PATTERNED IRON ON
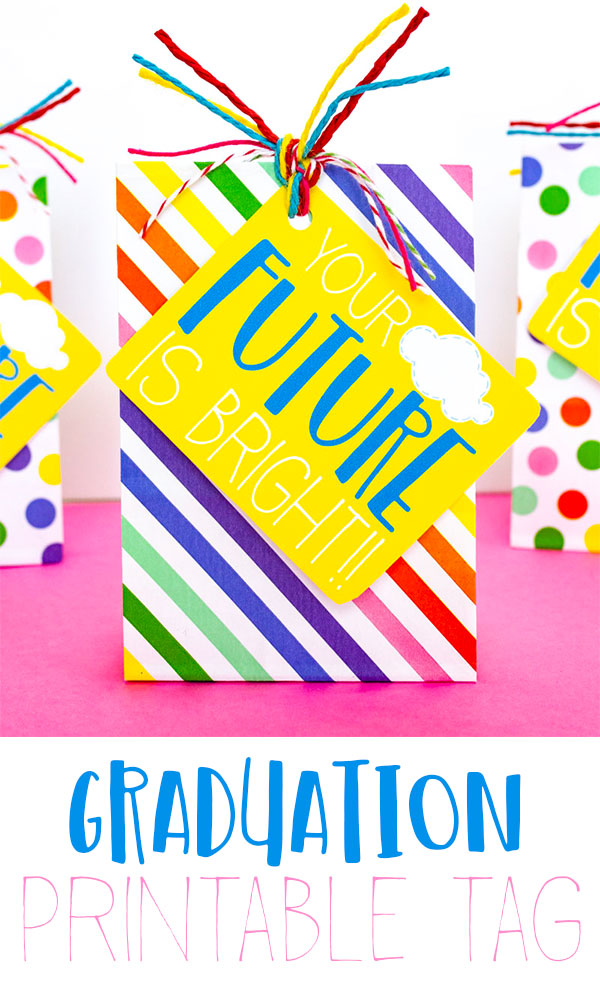
Graduation Printable Gift Tag
Rainbow Valentine’s Day Card Ideas




01eth7
bhqwqf