This post was sponsored by Amazon in partnership with Forward Influence. However, all opinions are 100% my own.
Can we all agree that Amazon is the BEST thing to happen to civilization? I do almost all my shopping online and Amazon is my go-to online retailer. It’s just so convenient and Amazon Prime is for reals my best friends.
Not only is the shipping so ridiculously fast and shopping is easy, they ship boxes that ARE PERFECT for Halloween Boxtumes!
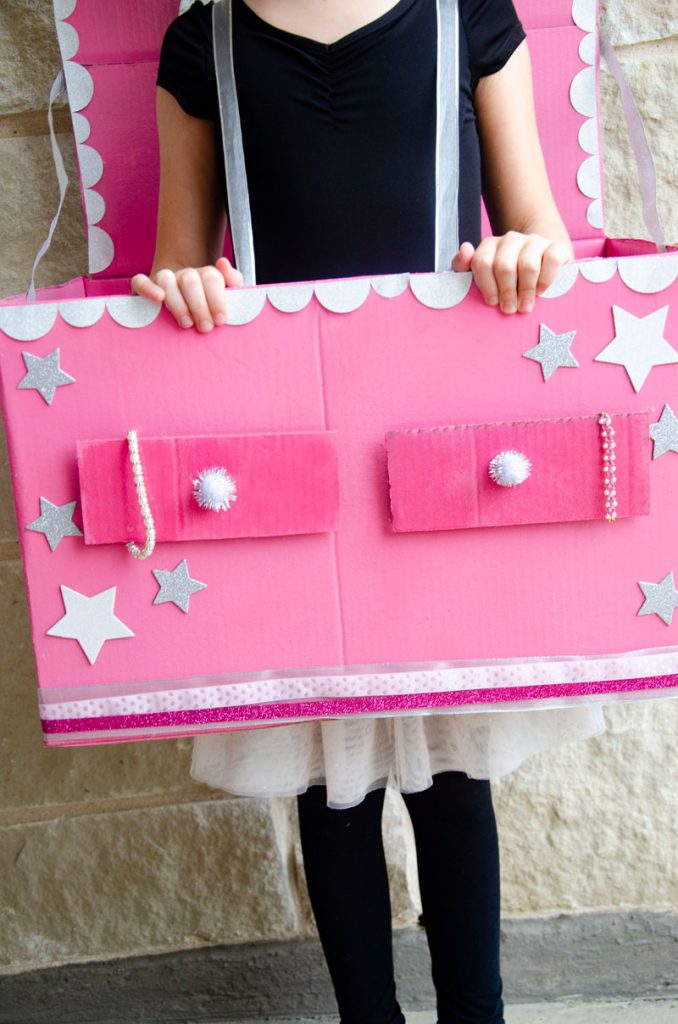
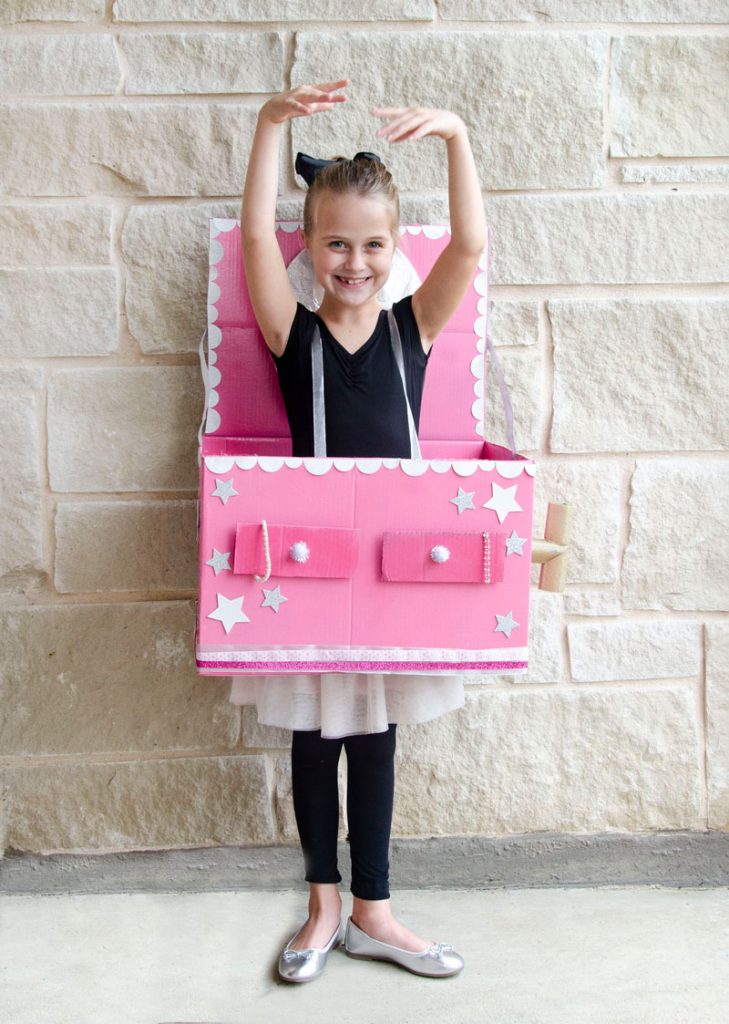
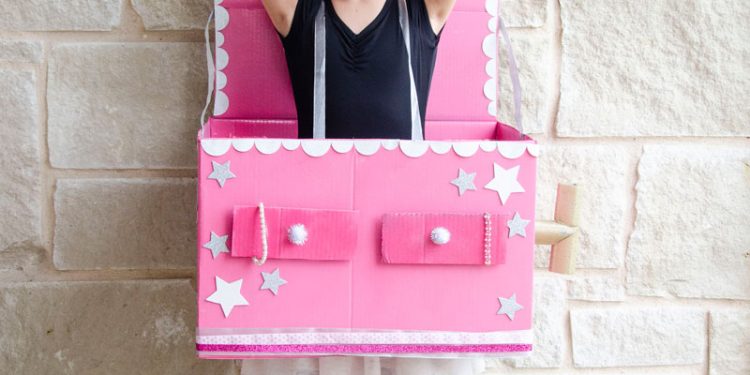
It’s no secret that I’m obsessed with Halloween. I can’t get enough of the spooky parties and DIY Halloween costumes (hello Rodeo Queen Costume and Lemonade Stand Costume). This year my cute daughter wanted to be a Ballerina Jewelry Box and this mama decided she HAD to deliver. Luckily, Amazon and their fabulous boxes totally saved the day.
My daughter loved how the Jewelry Box turned out, so I thought I’d share how I made it in case someone out there in internet land was interested in recreating.
MATERIALS
Amazon Box 12X19 Inches
Pink Spray Paint or Pink Acrylic Paint
Box Cutter or Scissors
Hot Glue
Glitter Paper
Silver Pom Poms
Ribbon
Tin Foil
HOW TO MAKE A BALLERINA JEWELRY BOX COSTUME
INSTRUCTIONS
- Take your Amazon smile box and cut the bottom flaps off. Also cut three of the top flaps. Leave the longest flap attached to the box.
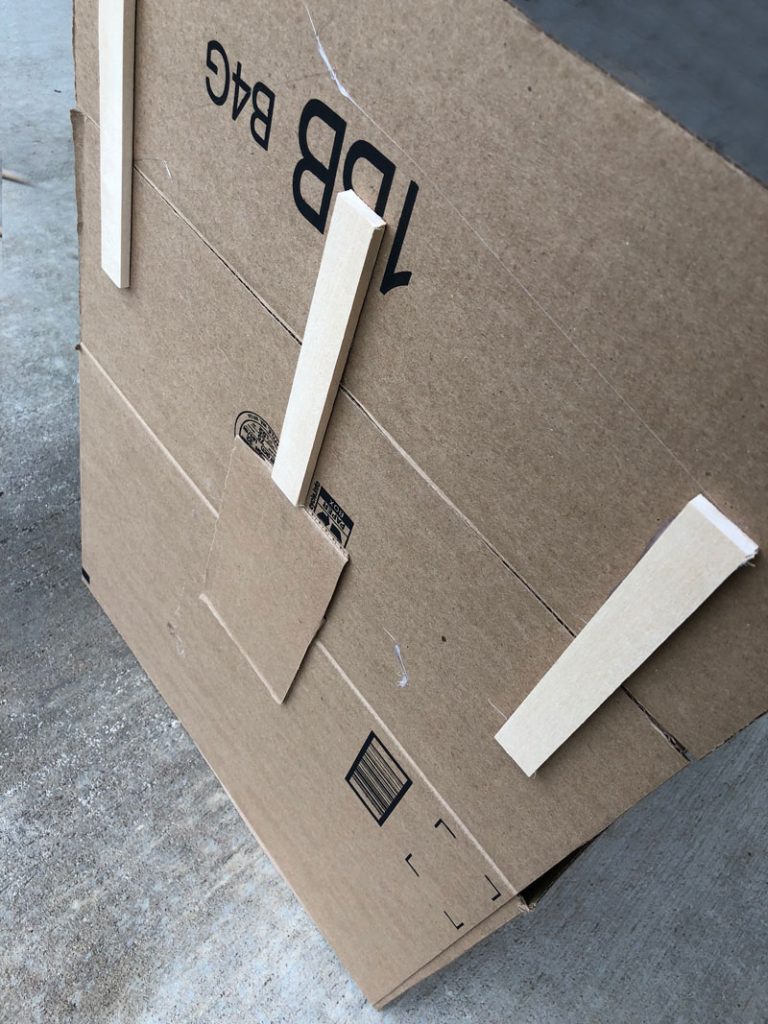
2. Take one of the long box flaps that you just cut off and hot glue it to the attached flap. You’re building the upright portion of the jewelry box.
Glue wood or pieces of cardstock on the back of the flaps to ensure they hold strong.
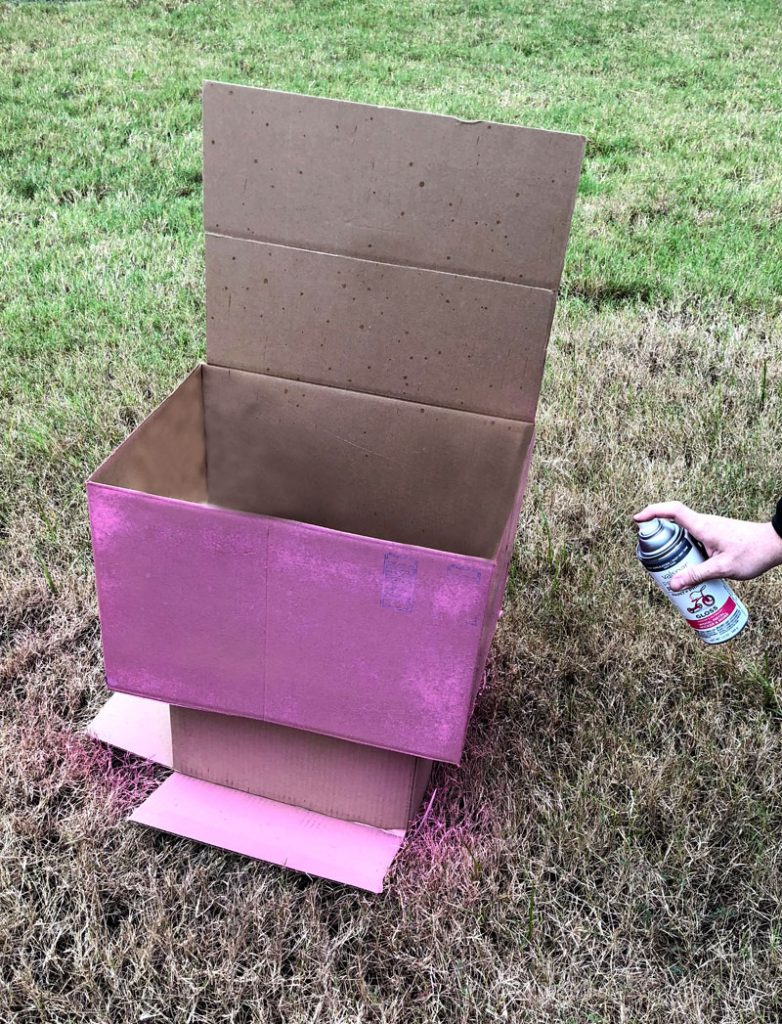
3. Spray paint the jewelry box pink! You can also paint it with pink acrylic paint. I used spray paint because it’s what I had.
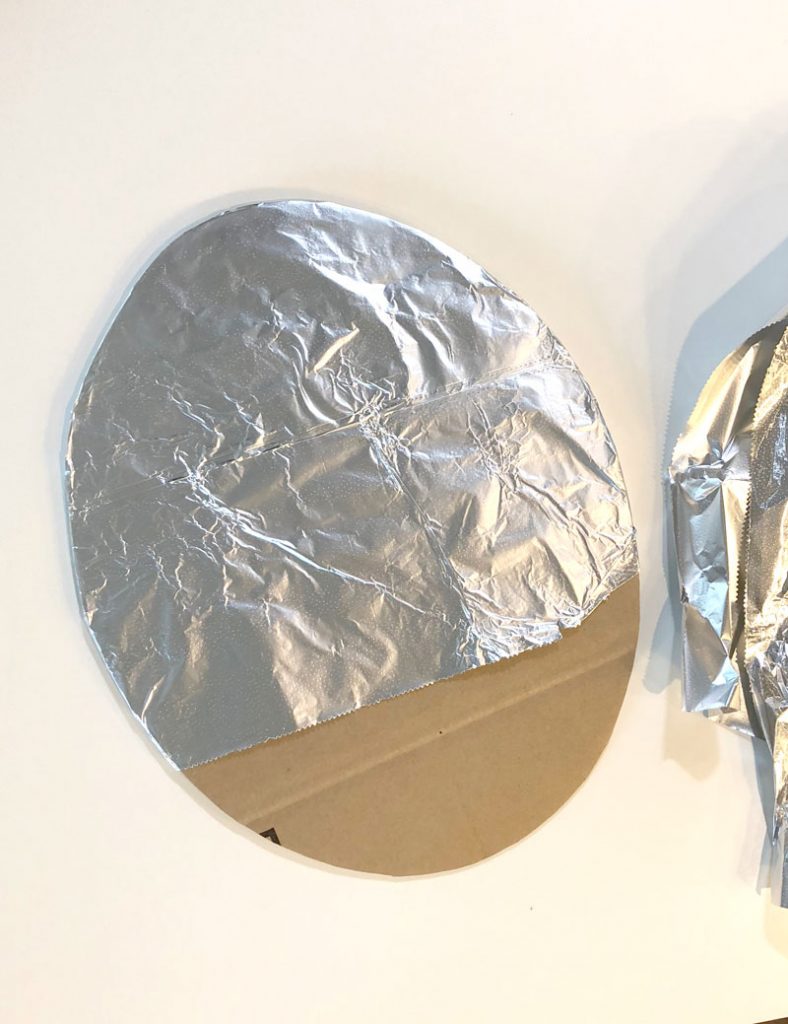
4. Cut an oval out of a leftover piece of cardstock and cover it with tin-foil. This will be there mirror. Hot glue the ‘mirror’ to the back of the jewelry box (or the upright flaps).
Use the extra cardboard to cut out drawers and hot glue them to the jewelry box.
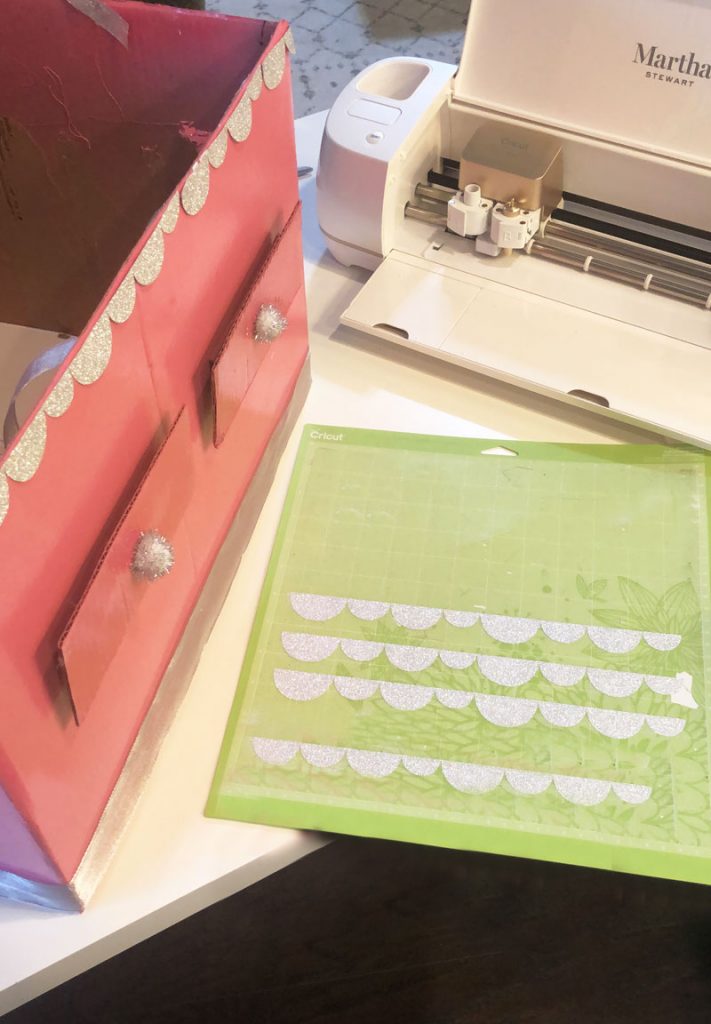
And now comes the FUN part! Decorating the box!!
6. I used my Cricut Explore Air 2 to cut out glitter paper scallops and hot glued them around the jewelry box.
7. I also cut out glitter paper stars and hot glued them all over the box.
8. The last thing I did was wrap three different strands of ribbon around the bottom of the box to give the jewelry box some more texture and color!
And that’s it!! It ended up being SUPER simple and I didn’t have to go to the store to buy anything. I was able to use products from things I had lying around the house which is a major costume win in my book!
Even better, my little ballerina was ecstatic! She can’t wait to show her friends. So thank you Amazon for making her and my dreams come true!
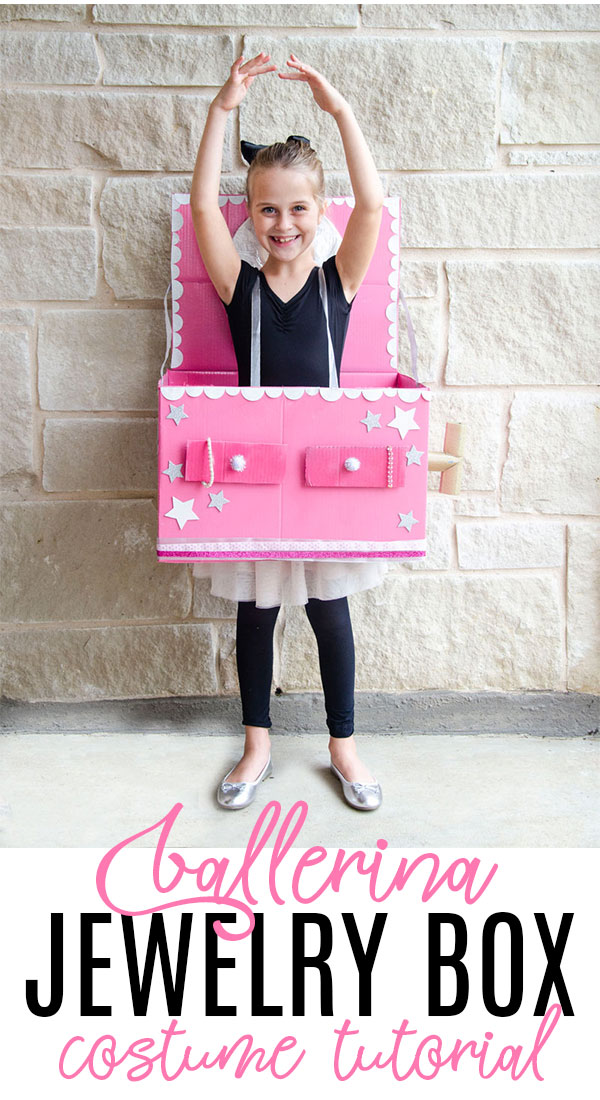
PIN THE BALLERINA JEWELRY BOX COSTUME FOR LATER

Curious what full size the box was in terms of length, width and depth? Love this costume.