*This post is sponsored by Michaels
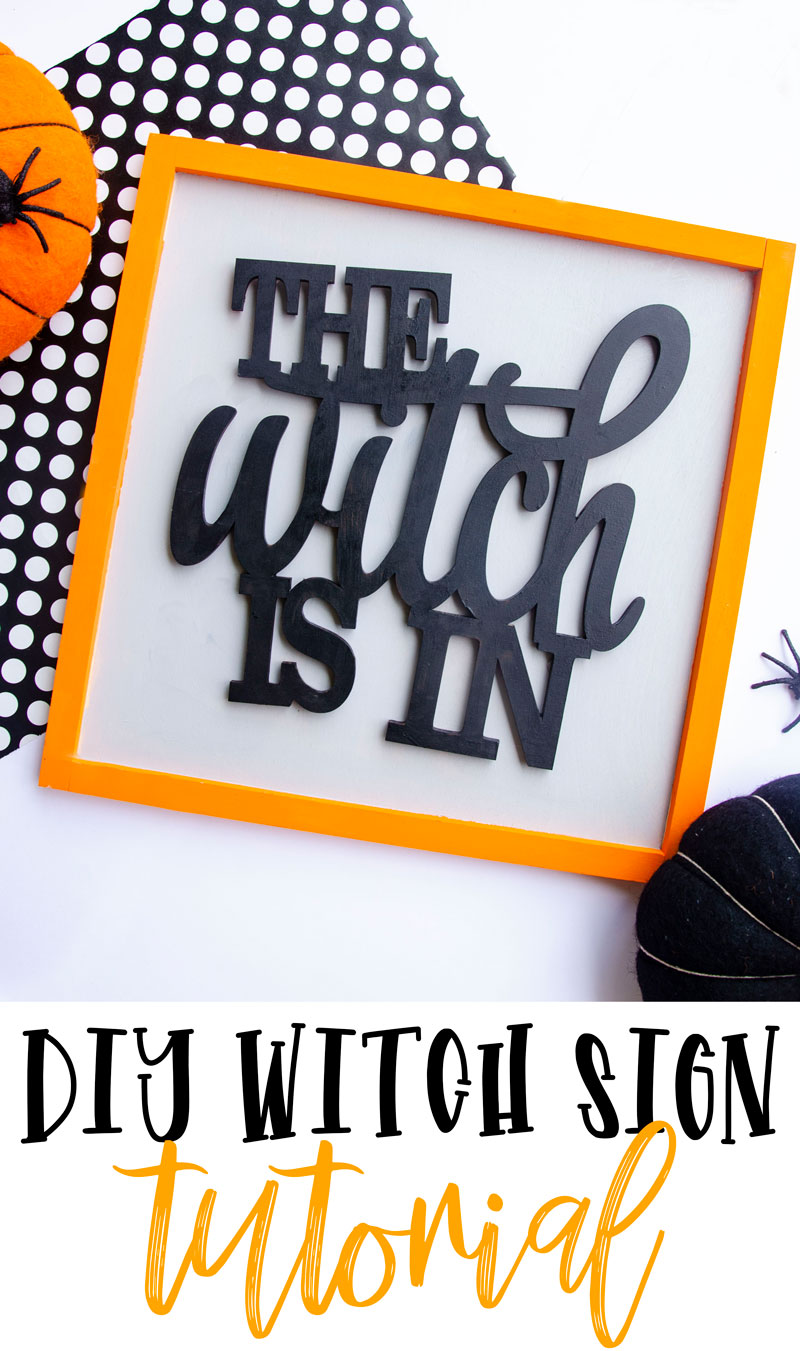
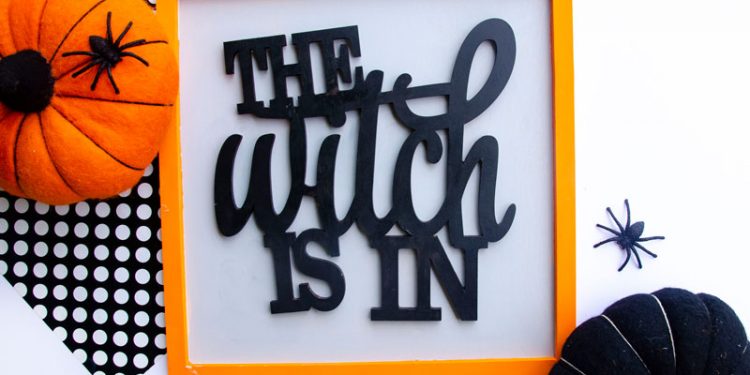
October is here and it’s time to pull out ALL your spooky decor, cobwebs and fake bats to decorate for Halloween. With Wood Signs all the rage this year, I thought I’d show you how to make the world’s easiest Halloween Sign with materials I found at Michaels (which has the MOST AMAZING collection of Halloween goodies ever).
I plan to use this Halloween Sign on my Halloween Mantel next to the Halloween Backdrop from last year.
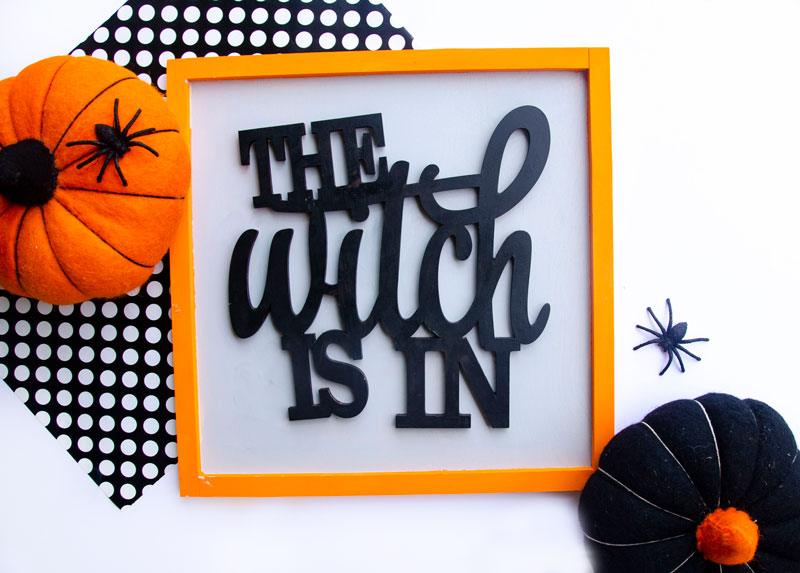
So let’s dive right in!
Here’s what you’ll need:
MATERIALS
DIY Farmhouse Sign (found in-stores at Michaels)
The Witch Is In Wood Sign (found in-stores at Michaels)
Black Acrylic Paint
Orange Acrylic Paint
Grey Acrylic Paint
Paint Brush
Painter’s Tape
Hot Glue Gun
HOW TO MAKE A DIY HALLOWEEN SIGN
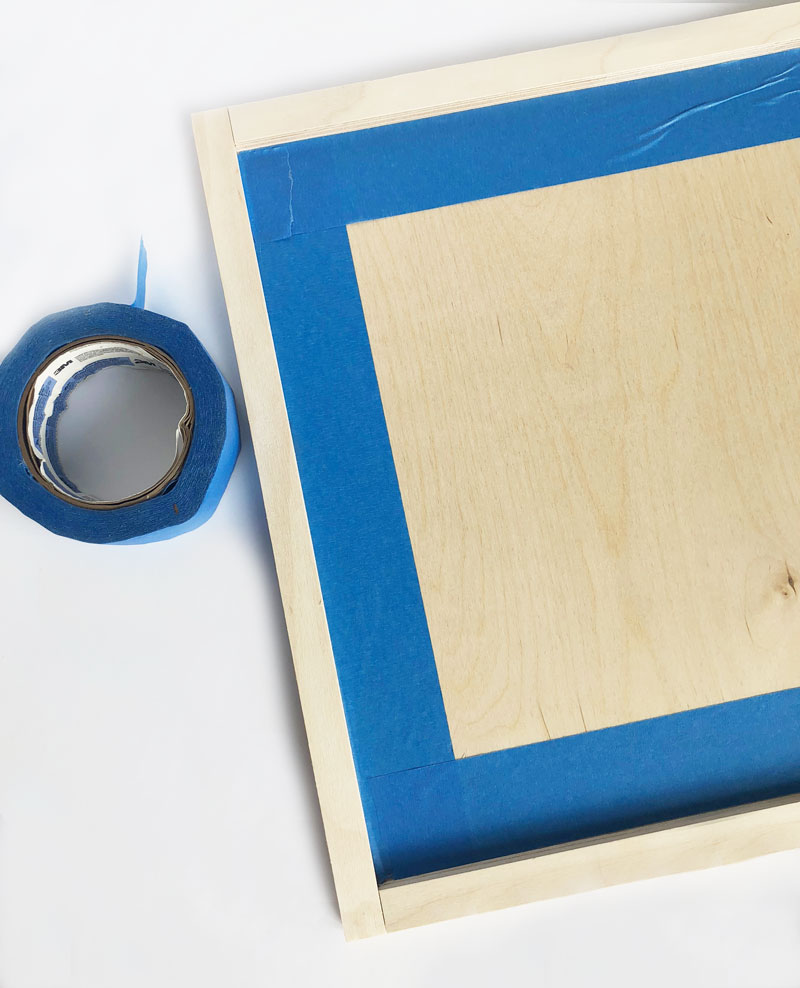
1. Place your Painter’s Tape on the inside of the DIY Farmhouse Sign. This allows you to paint the rim without fear of the paint bleeding into the center of the frame.
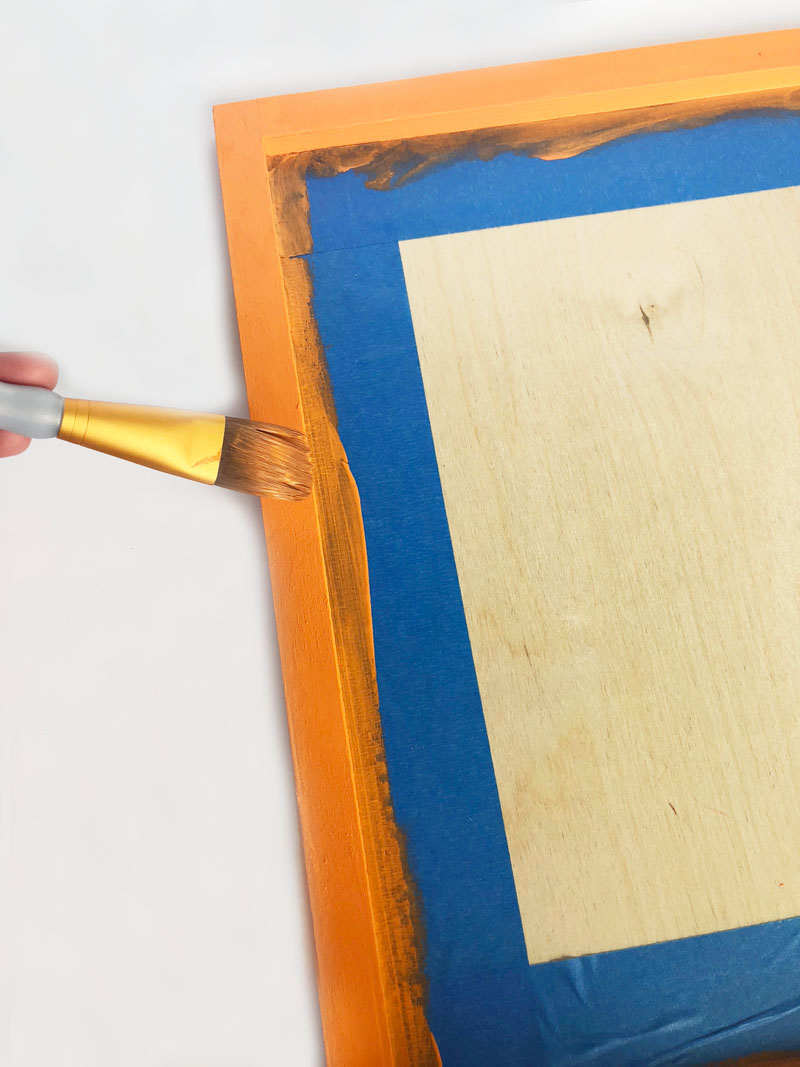
2. Paint the rim orange and let dry. Once the paint is dry, remove the Painter’s Tape.
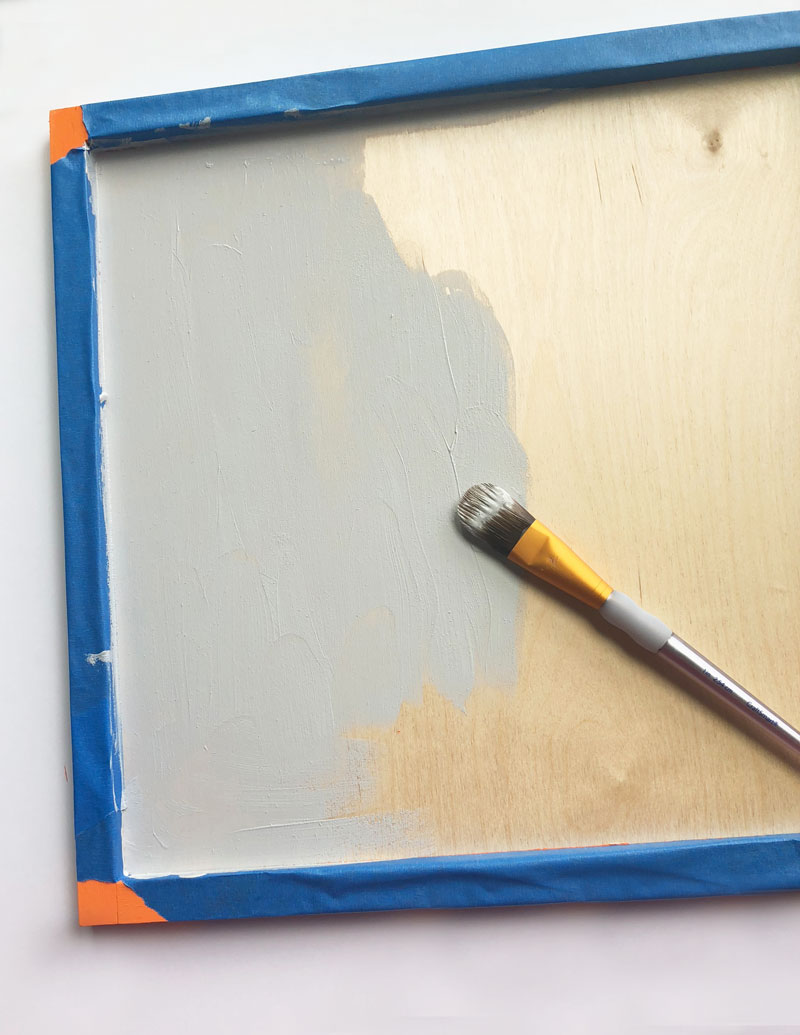
3. Place Painter’s Tape around the rim of the DIY Farmhouse Sign. This allows you to paint the center of the sign without fear of the paint bleeding into the rim.
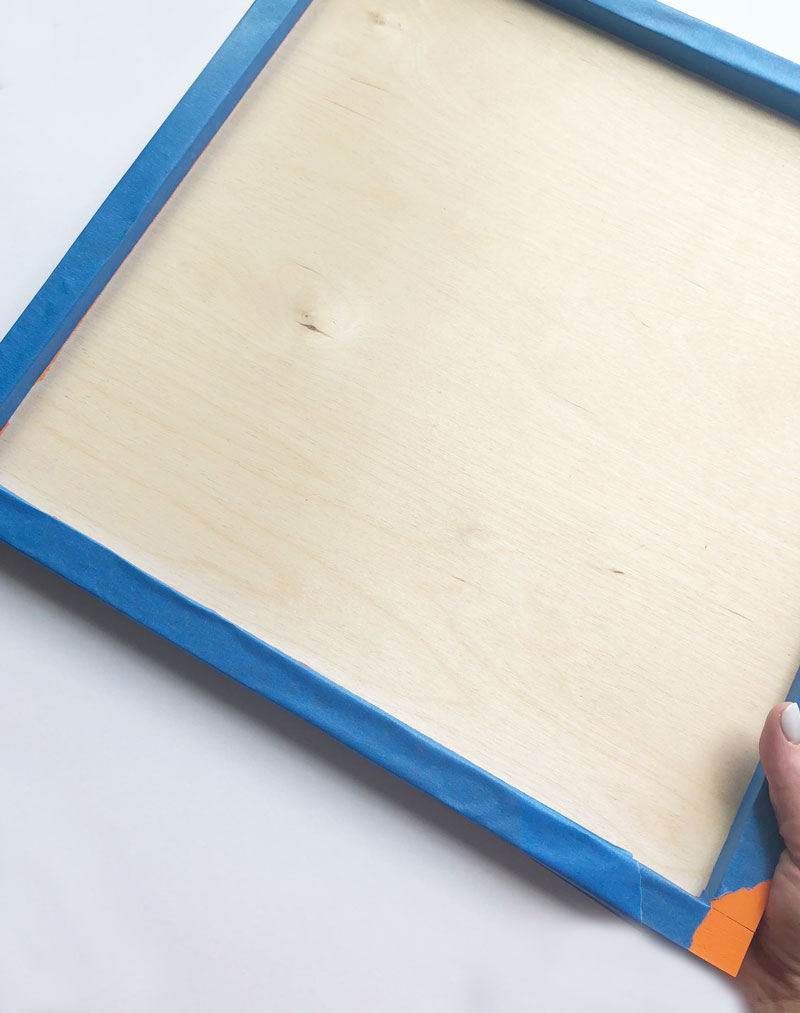
4. Paint the center of the sign grey and let dry completely! Once the paint is dry, remove Painter’s Tape.
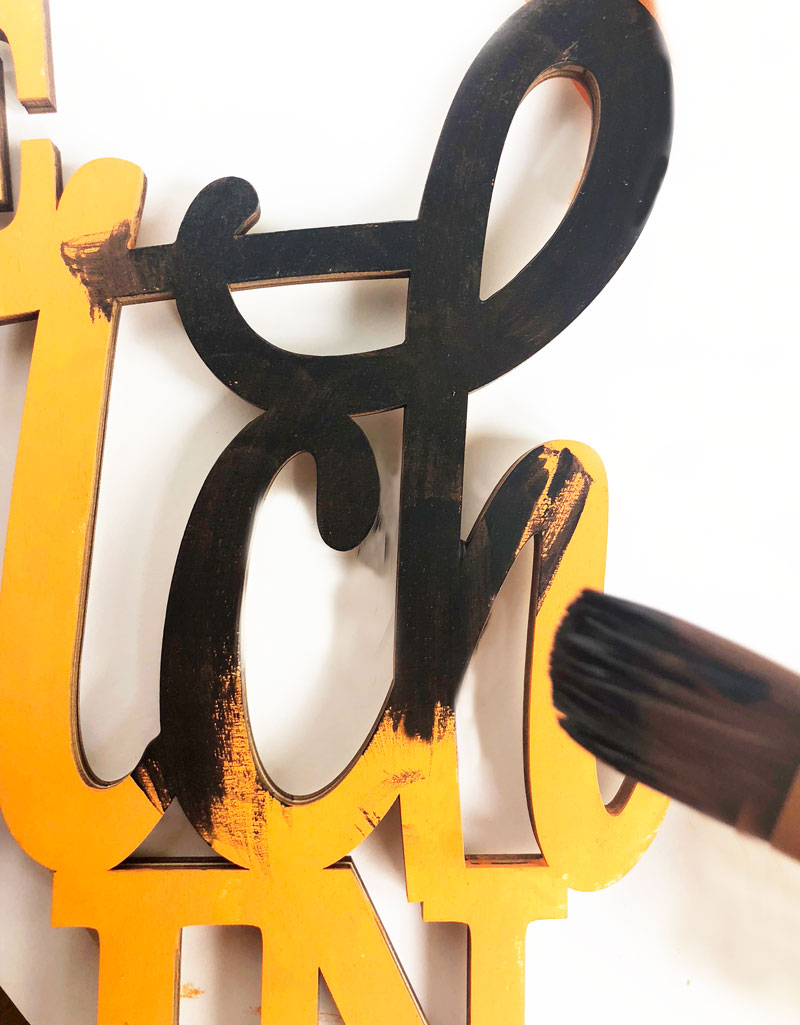
5. Paint ‘The Witch’s In’ wooden phrase black. Let dry completely.
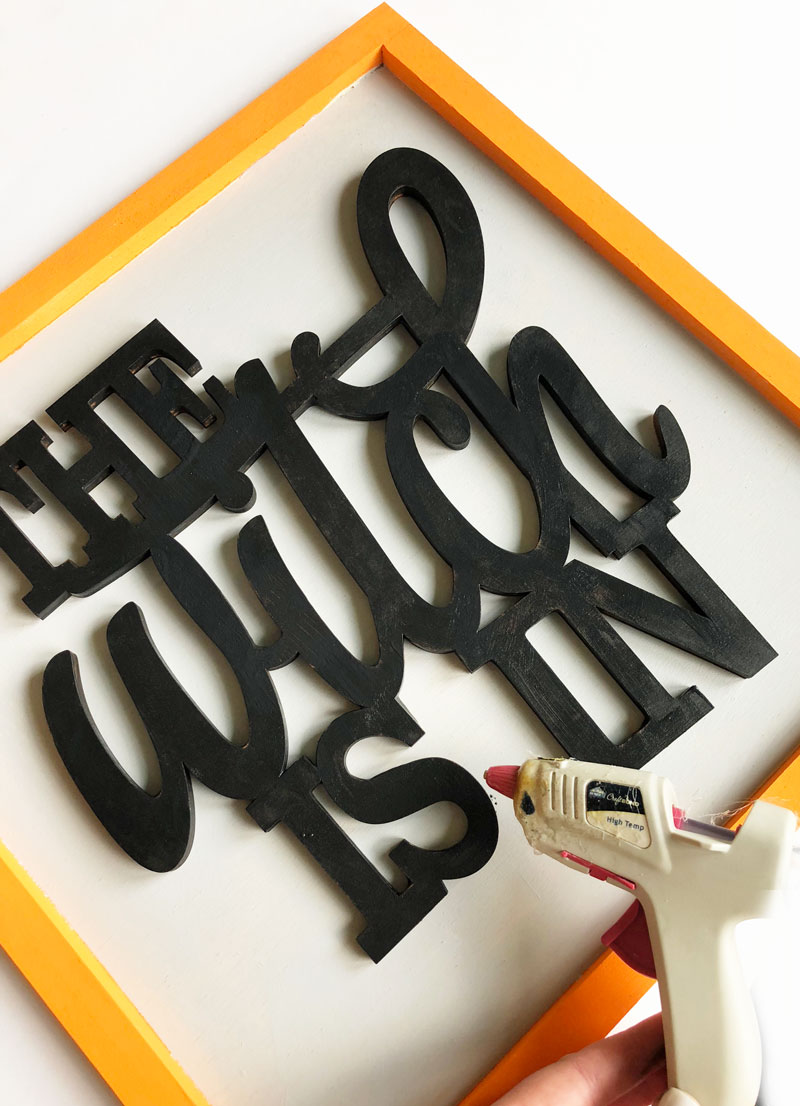
6. Hot glue ‘The Witch Is In’ sign to the center of the DIY Farmhouse Sign.
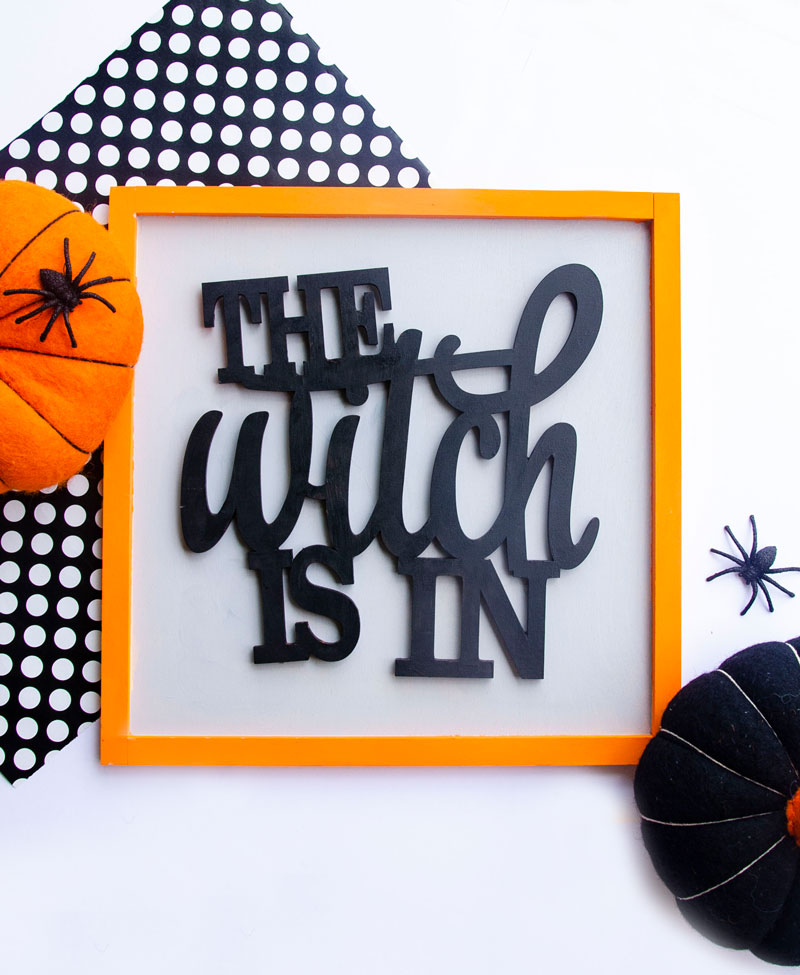
Let dry and place your Halloween Sign on hour front door, mantel, or in the corner of your kitchen! Show it off to your friends and the world using hashtag #MadeWithMichaels and #LTDCrafts.
If you need even more Halloween Inspiration, check out these posts:
BAT PARTY FAVORS & FREE PRINTABLE
PUMPKIN PARTY FAVORS WITH CRICUT
PRINTABLE WITCH PARTY FAVOR TAGS
HALLOWEEN PARTY FAVOR PUMPKIN BASKET
PIN THE HALLOWEEN SIGN FOR LATER







This is so fun! I love how simple and cute it is.
These look great! PINNED!