I’m so excited to share another fantastic party from Jennifer from Double The Fun Parties (you must check out her Home Of The Brave 4th Of July Party, St. Patrick’s Day Breakfast, Thanksgiving Dessert Table, Nancy Drew Party and Night Owl Party) Wow she is incredible!
Here are details of this fabulous Zombie Princess Party from Jennifer,
If your kids love to trick or treat with their besties, try inviting the gang over for a pre-trick or treating Zombie Princess Party! I’ll show you how. (You could even invite the boys, ’cause you know they will like zombies!)
My twin girls are 9 now and somewhere between a cute Halloween and a spooky Halloween. So this year seemed the perfect time to invite their friends to a Zombie Princess Party. Best of all, most of the party decor came out of my party stash, so this was a low-cost affair.
From my party bins, I pulled out:
Black and plum tablecloths
Creepy cloth
Spider webbing
Gold painted trays
Gold-tone cake stands
Black candle stand
Ironstone dinner plates
White fabric napkins
Red acrylic paint and fabric paint medium
Black striped paper straws
White plastic “formal” forks
Gold glitter ribbon
Pearl necklaces
Tulle princess dresses
Apothecary jar and dried black beans (read why black beans are a party planning must)
Black scrapbooking paper and ribbon
Styrofoam circle
Gold Sixlets (yes, I keep old candy around for future photo shoots!)
Really, nothing all that crazy that only a party planner would have. Most of these things were left over from other parties. So the lesson is: shop first at home!
Then, the girls and I hit WalMart, Dollar Tree, and Michaels. It was really fun to see what the girls gravitated toward.
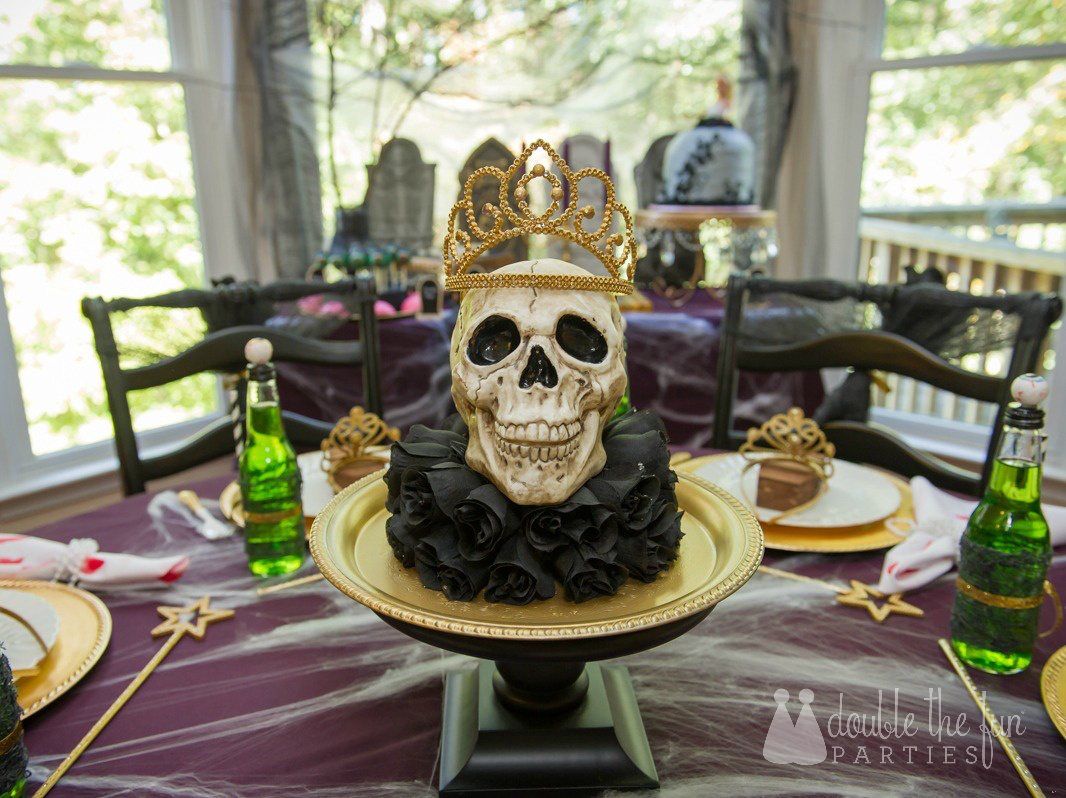
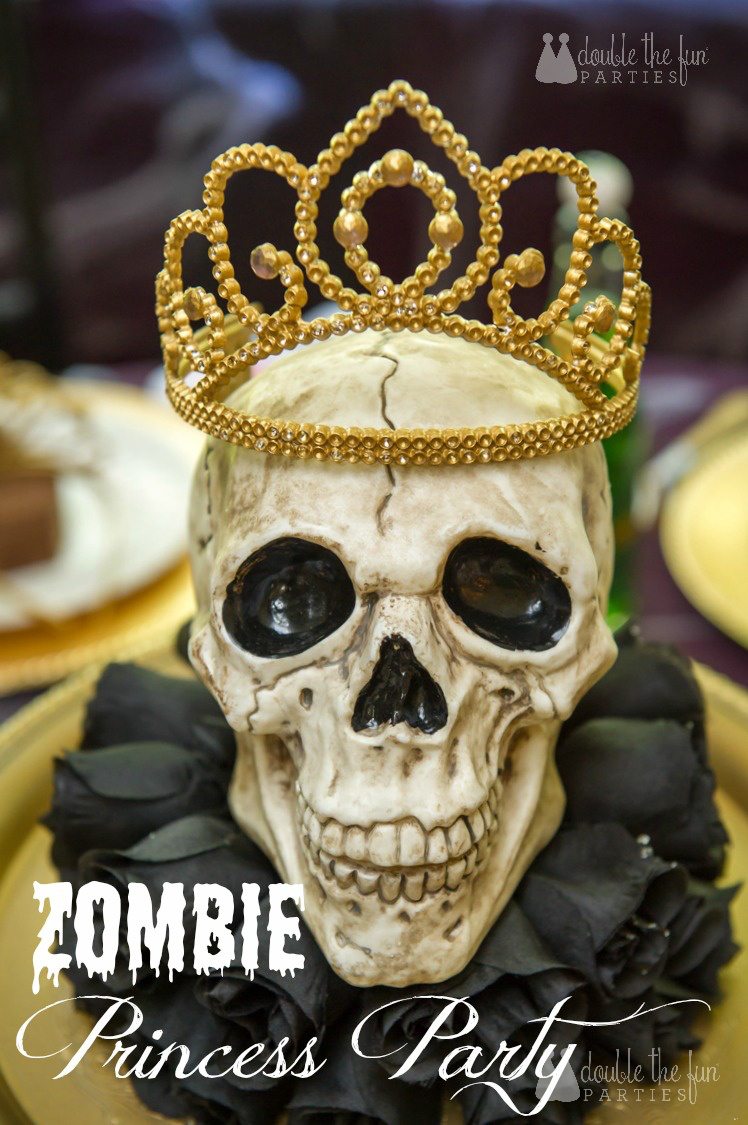
Skull, that we promptly named Princess Skully – $3
Styrofoam tombstones – $8 for 4
Plum-colored candles – $2.25 for 3
Crowns and wands — I painted these gold – $7
Gold plastic charger plates – $12
Black, gray, and white tulle – $3
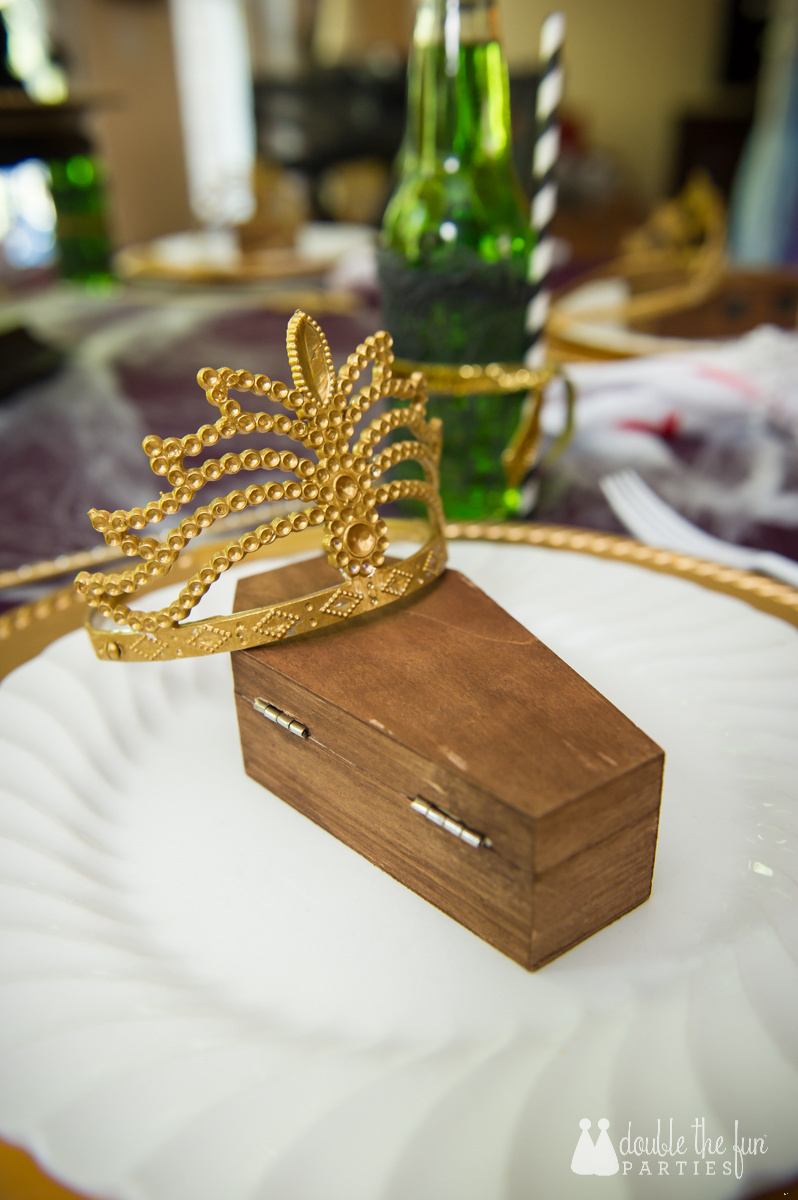
Balsa wood coffins – $6 for 6
Headstone-style chalkboard food labels – $2
Grow-in-water zombies – $6 for 6
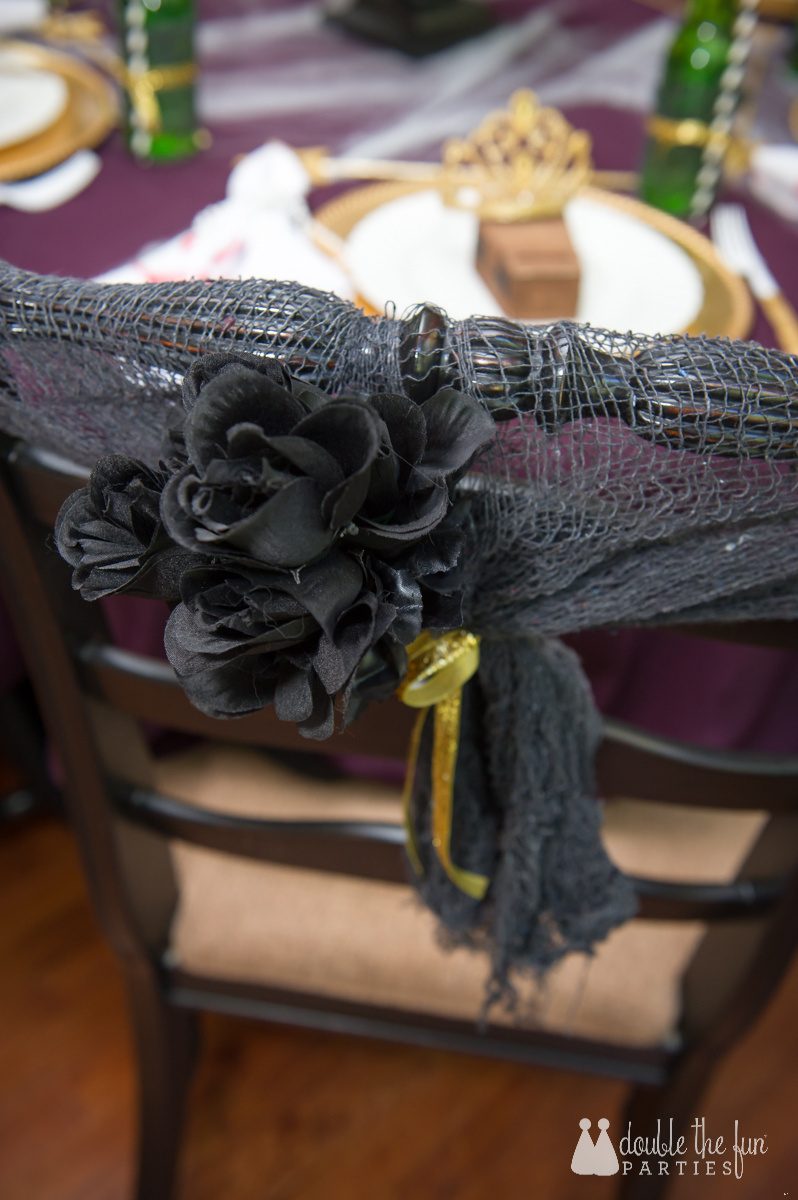
Black silk roses – $15 for 84
That’s just $64.25 spent on decor!
A pre-trick or treating party is one of the easiest ever to throw. The big activity, of course, is trick or treating, so you don’t have to plan many activities. You’re really just keeping the kids busy until it’s time to hit the streets.
We focused on:
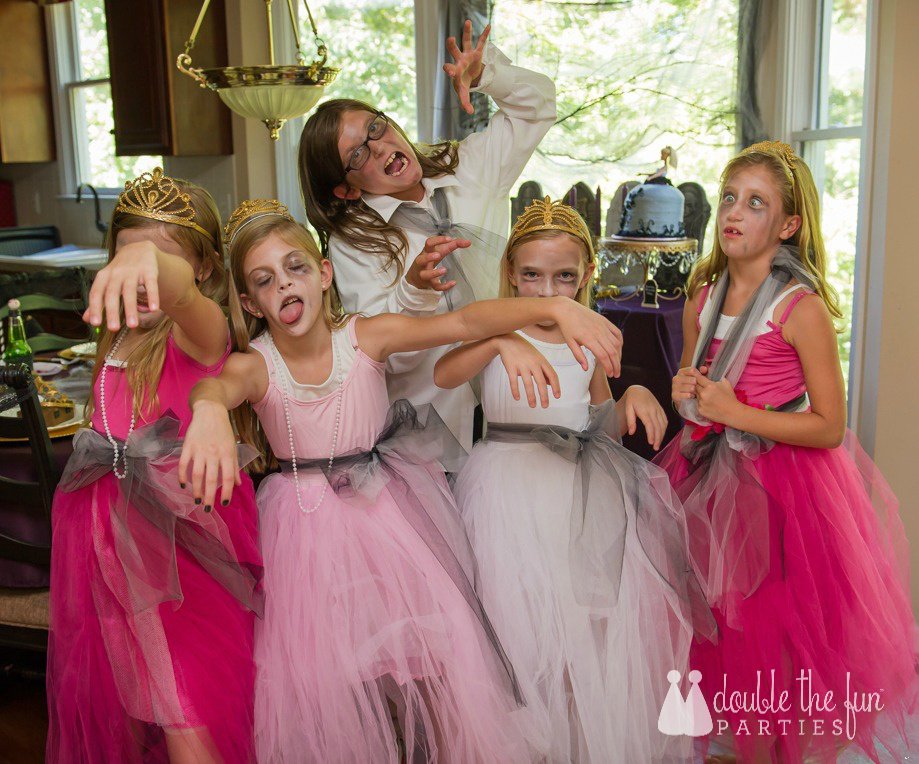
Dressing up like princess zombies — just add 6-foot tulle bows to your princess dresses
Zombie face paint — find some Pinterest inspiration and dab on white and black paint; I tried to keep it simple and not too goulish
Black manicures
Practicing our zombie walks
Of course, you don’t need many sweets either, since the kids will load up while trick or treating. But, I strongly believe you need sweets for the adults to munch on while the kiddos are occupied! (Tell me I’m not alone!)
Since I wasn’t planning a big dessert table, I wanted to make sure everything we did have was extra special.
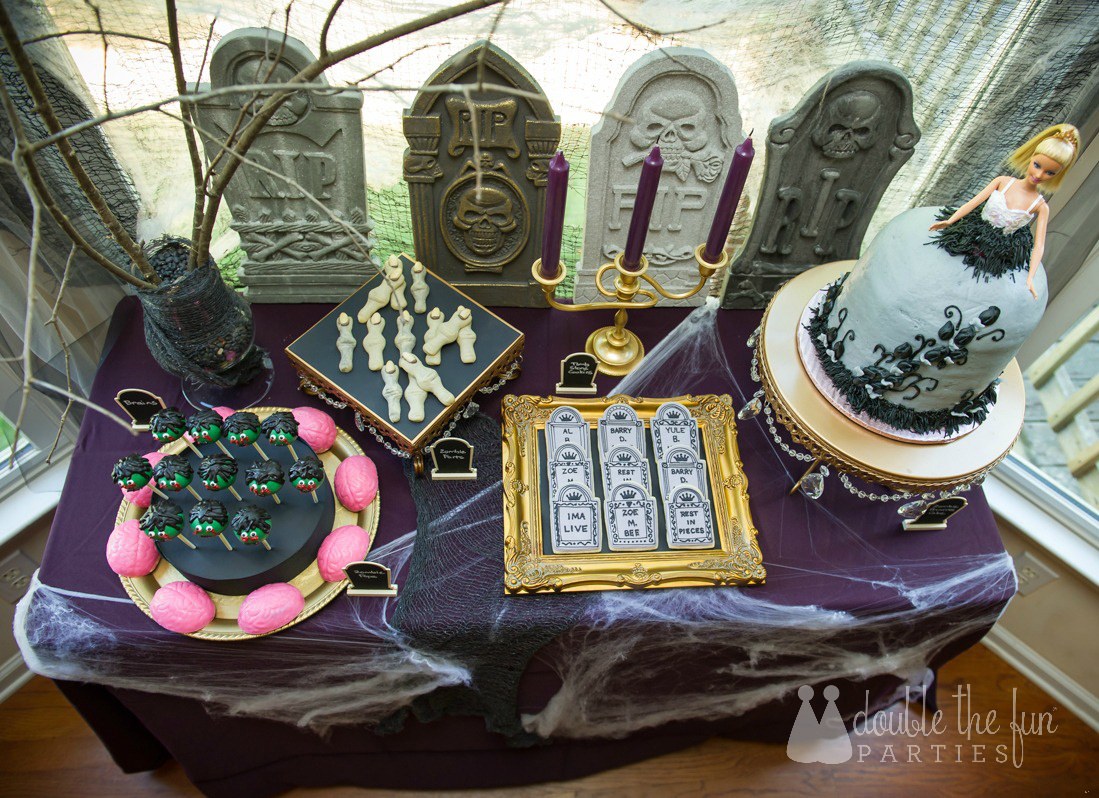
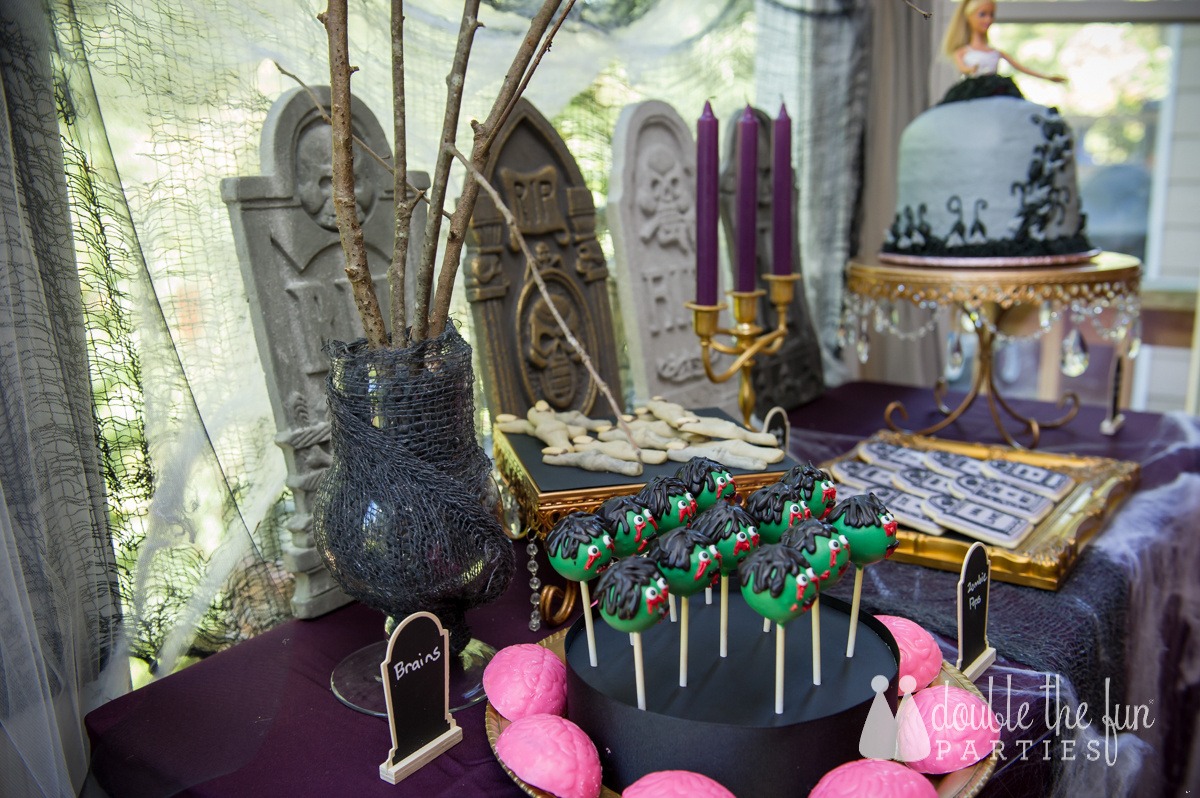
Autumn from Chasing Pink Fireflies made me the most amazing zombie cake pops. I know “amazing” is an overused word, but these really were — cute AND so yummy!
I mentioned to Autumn that I also really wanted brains (okay, that sounds weird…) and she immediately volunteered to make me chocolate covered Oreo brains. Our guests could not stop giggling about these!
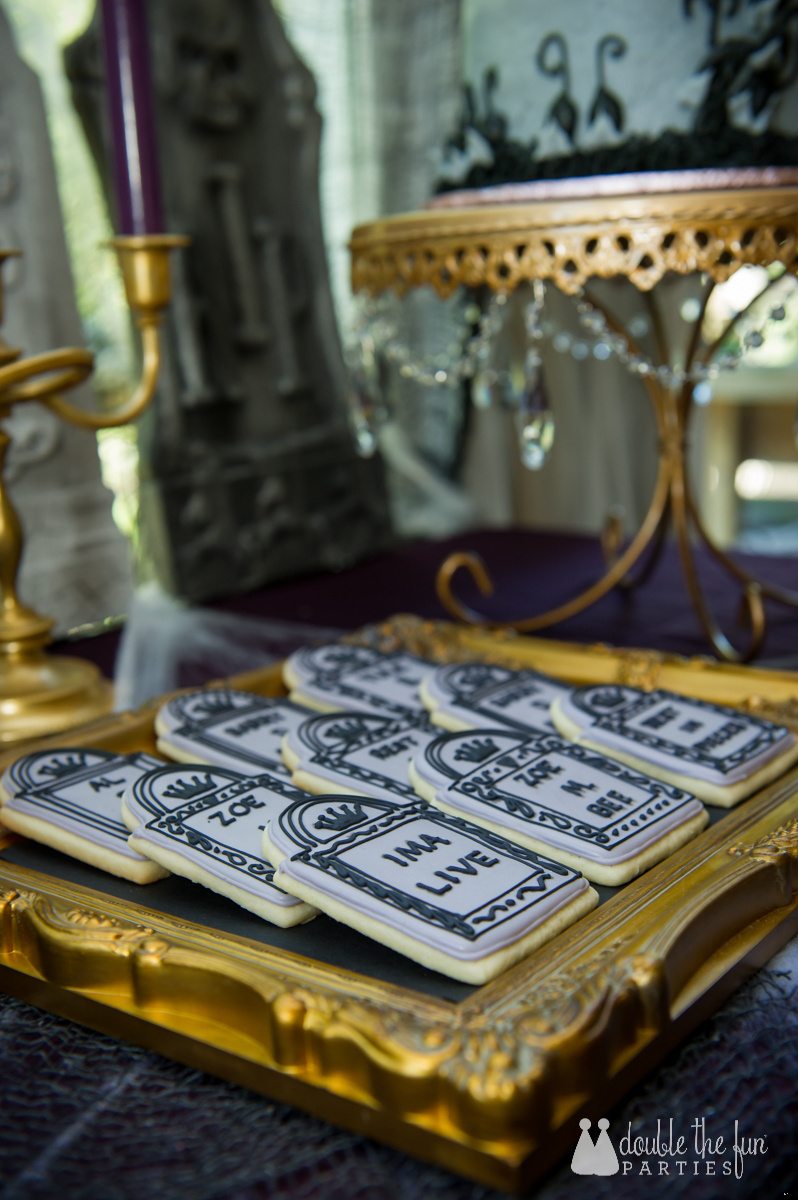
I turned to Lacey at Guilty Confections (again — I love her!) for custom tombstone cookies. We had a blast coming up with really corny names of the deceased, like Ima Live, Zoe M. Bee, and Al B. Back. Our little guests totally cracked up over Rest In Pieces.
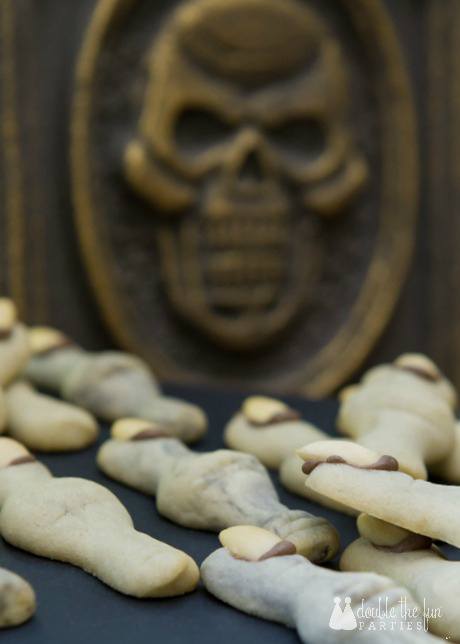
Kim from Scrumpalicious made me almond-flavored (love!) zombie fingers and toes. These were creepy good and I *might* have hidden the leftovers all for myself.
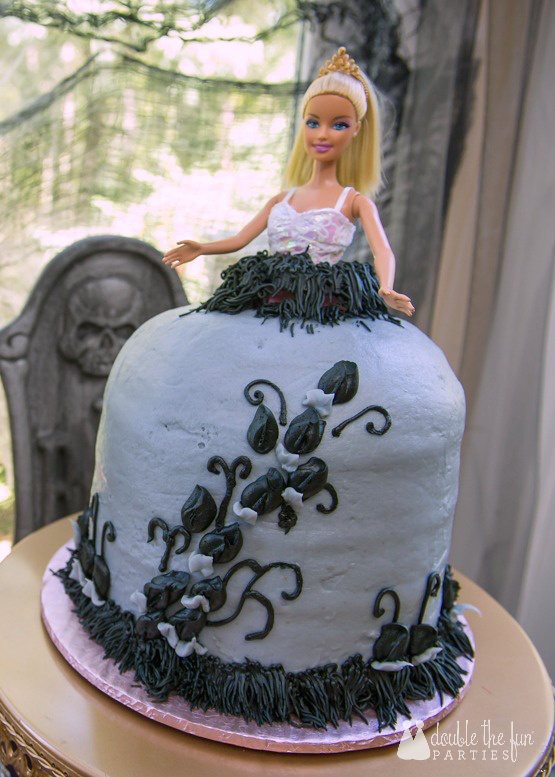
Finally, I have always wanted to do a Barbie cake for the girls (and by “do” I mean order …). So, off we went to the Target bakery and requested a gray and black princess cake. They know me well enough by now that fortunately they didn’t think I was an oddball. I snagged a Barbie tiara from another doll and painted it gold to make our cake a little more princess-y.
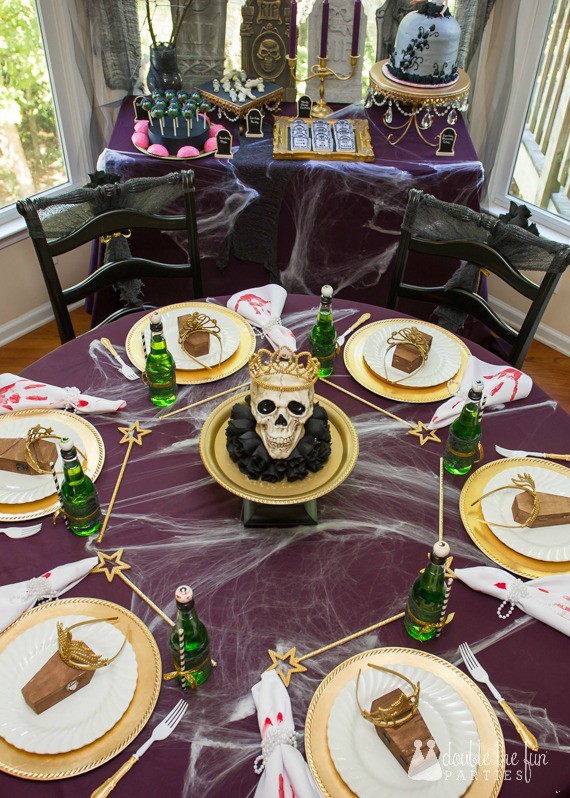
Our decor needed to be (1) make ahead and (2) quick to set up. Think of styling a dessert or dining table as building layers. Start with your tablecloths, then add creepy cloth and stretch out the spider webbing over it all.
Drape the wall or window behind your dessert table with creepy cloth and spider webbing suspended from 3M Command Strips. On either side, take a length of black, gray, and white tulle, tie them in a bow and then hang one bow on each side of the creepy cloth backdrop. Lean the tombstones against your backdrop.
The tombstones weren’t very tall, so I headed to the backyard to find some height in the form of tree branches. Just plant the branches in an apothecary jar full of dried black beans. Arrange the branches so they drape over the rest of the table.
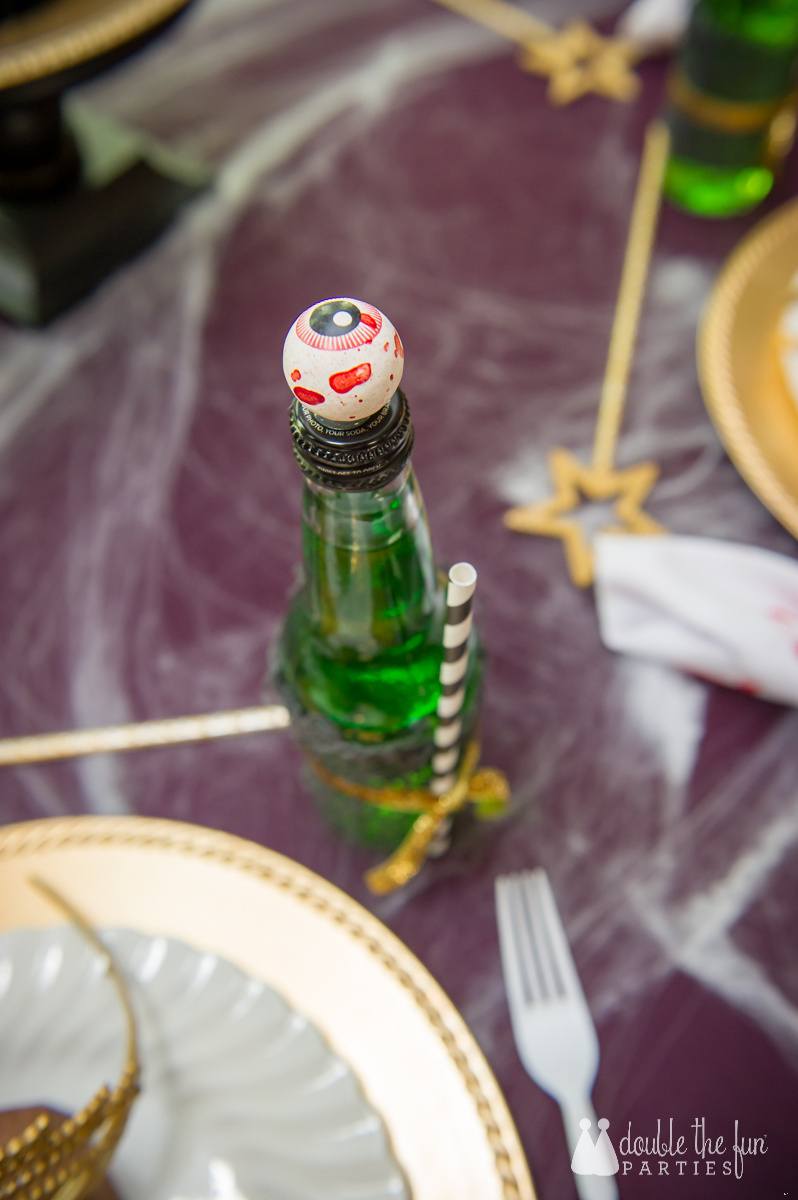
To see how to make the skull centerpiece and “bloody” napkins, hop on over to the Double the Fun Parties blog!
Thanks for having me back, Lindi!


Thanks, Lindi, for featuring my party!! This was a fun one!