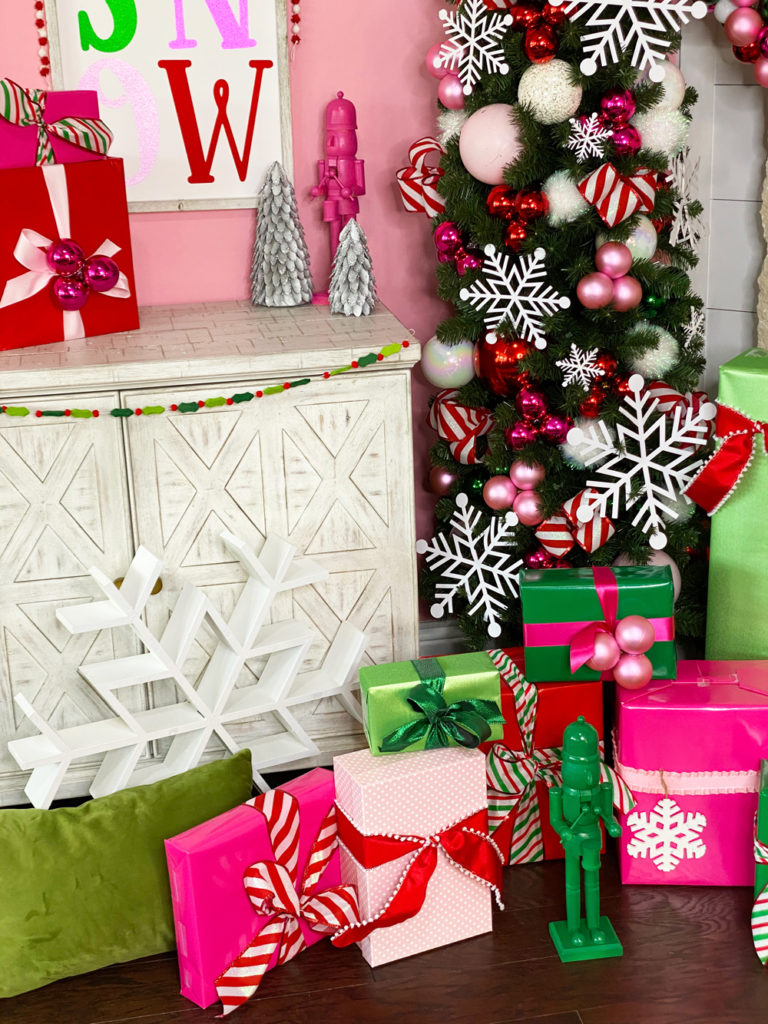
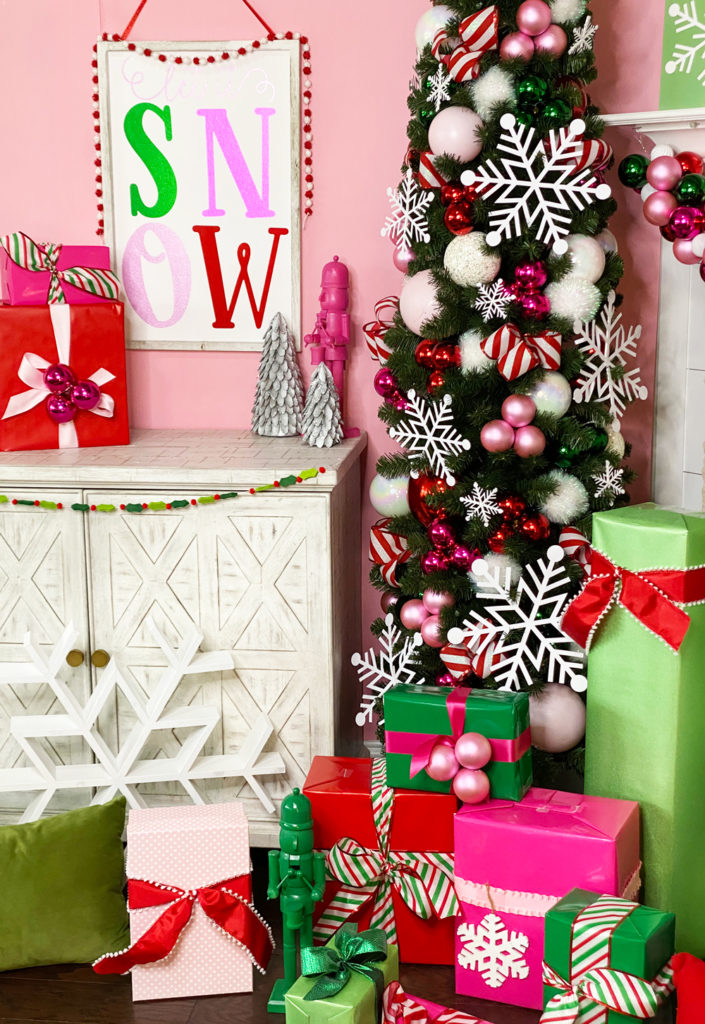
The holidays are here and I can finally reveal my 2020 DIY Snowflake Christmas Tree Michaels Dream Tree. In years past I’ve designed a Plaid Christmas Tree, a Colorful Christmas Tree, a Whimsical BOHO Christmas Tree, a Buffalo Check Christmas Tree.
This year I decided to create a tree on the idea of a pink whimsical winter wonderland! I designed a bunch of DIY Snowflake Christmas Tree Decorations and went to work!
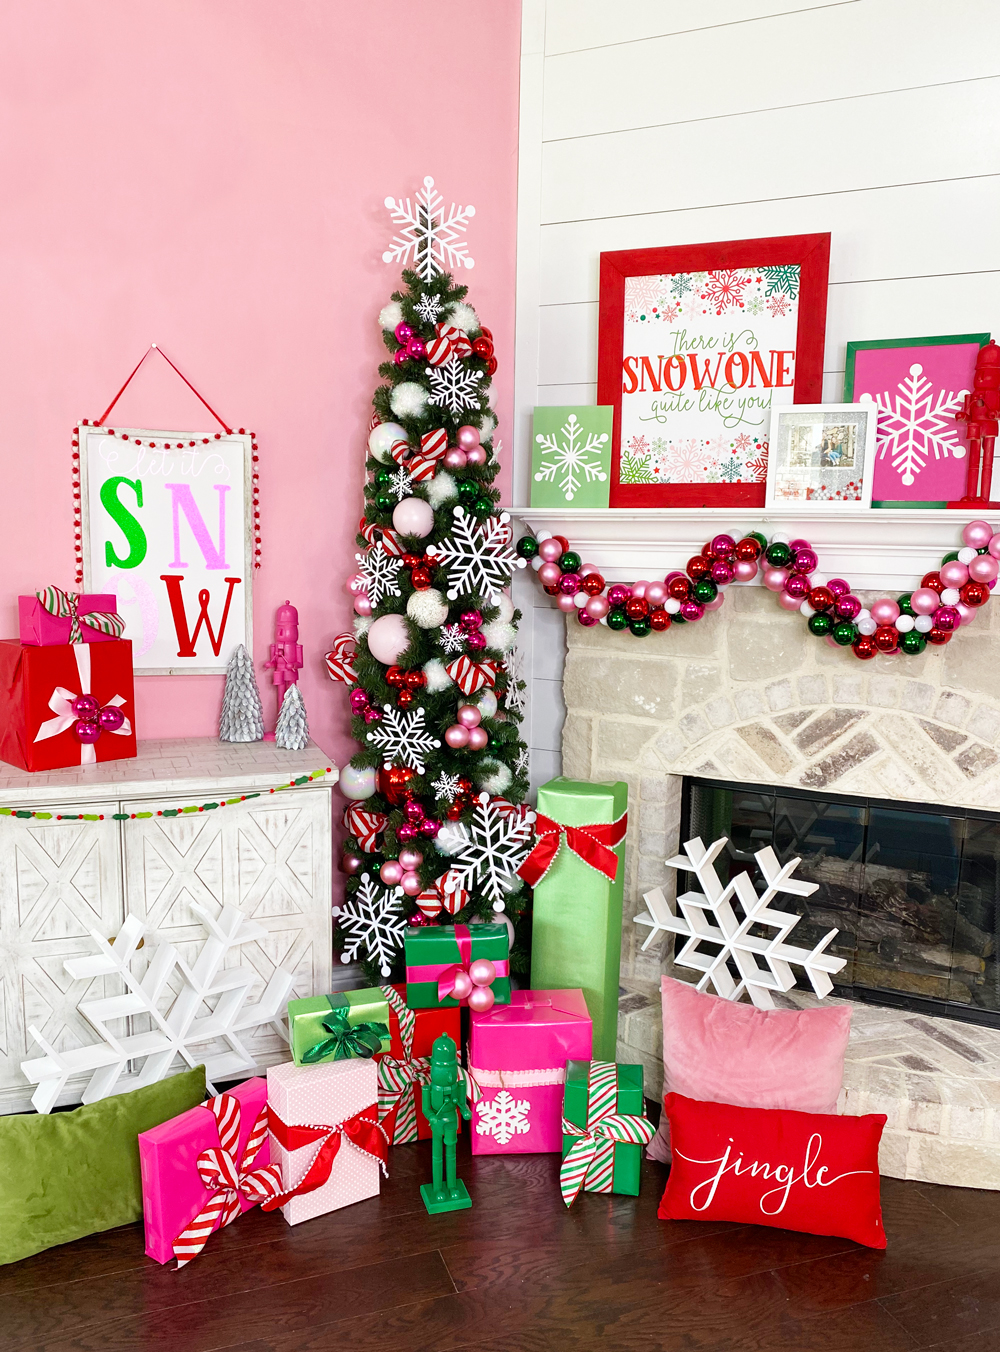
HOW TO CREATE A DIY SNOWFLAKE CHRISTMAS TREE
The first thing I did to create this look was head to my computer, open up Illustrator and design my DIY Snowflake Christmas Tree Decorations.
I designed:
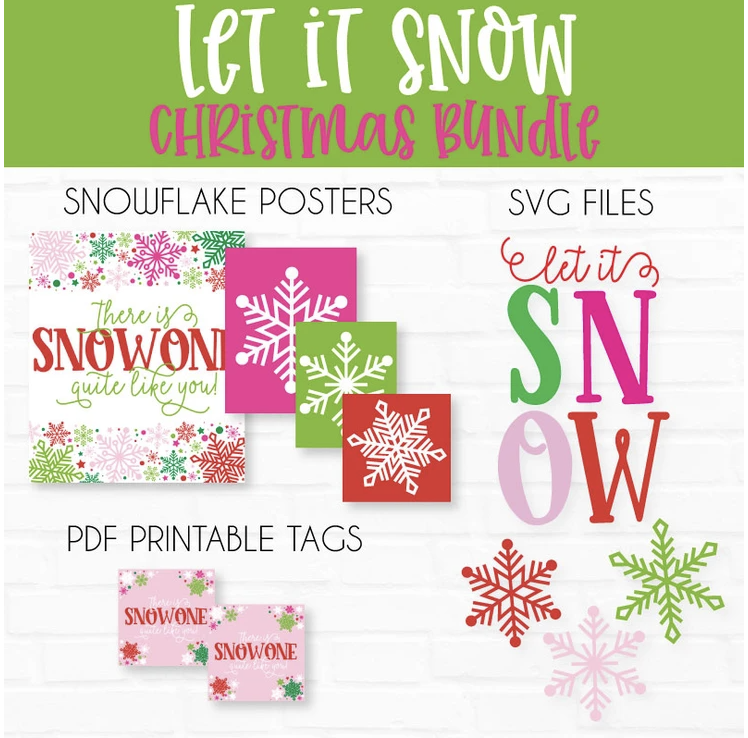
- A Snowflake SVG Template
- A Let It Snow Template
- Colorful Snowflake Posters
- There’s Snowone Like You Poster
These designs framed the foundation for my tree! I decided to bundle these designs and sell them in my shop!
You Can Find my LET IT SNOW Bundle HERE!
MAKE DIY SNOWFLAKES
The first thing I did to create my DIY Snowflake Christmas Tree Decorations is to cut out LOTS and LOTS of paper snowflakes!
I used my Snowflake SVG file and cut 20+ white snowflakes with my Cricut Maker. I used 12 X 12 White Cardstock to cut them out!
Once my snowflakes were cut out, I backed them with lollipop sticks (using a glue gun). I wanted to ensure they would lay on my tree with out crinkling or getting folded into the branches.

They turned out fantastic and were surprisingly strong!
PRINT OFF SNOWFLAKE SIGNS
The next thing I did was email my local UPS store and have them print the ‘There is Snowone Quite Like You’ poster as well as the darling colorful snowflake posters.
I had UPS print them on foam core so I can use them for the next few years, but you could also print them on regular weight paper. It would definitely be more cost effective that way.
I believe my bill ended up being around $75 for four posters printed on foam core.
I placed all the posters on my mantel, some framed and some left without.
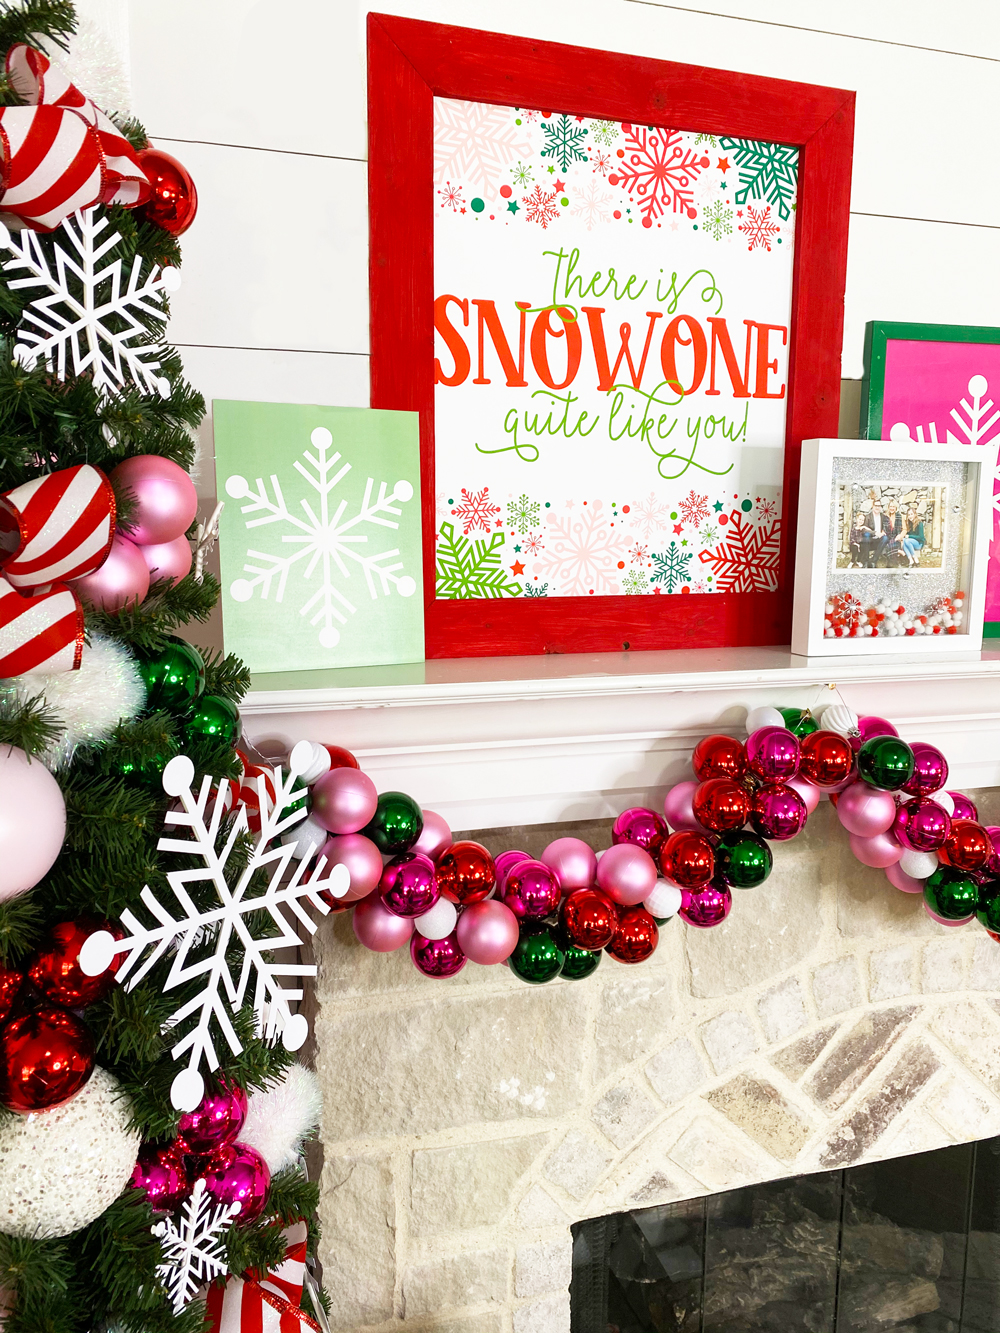

 MATERIALS USED FOR SNOWFLAKE TREE
Large White Ornaments (some spray painted red and pink)

