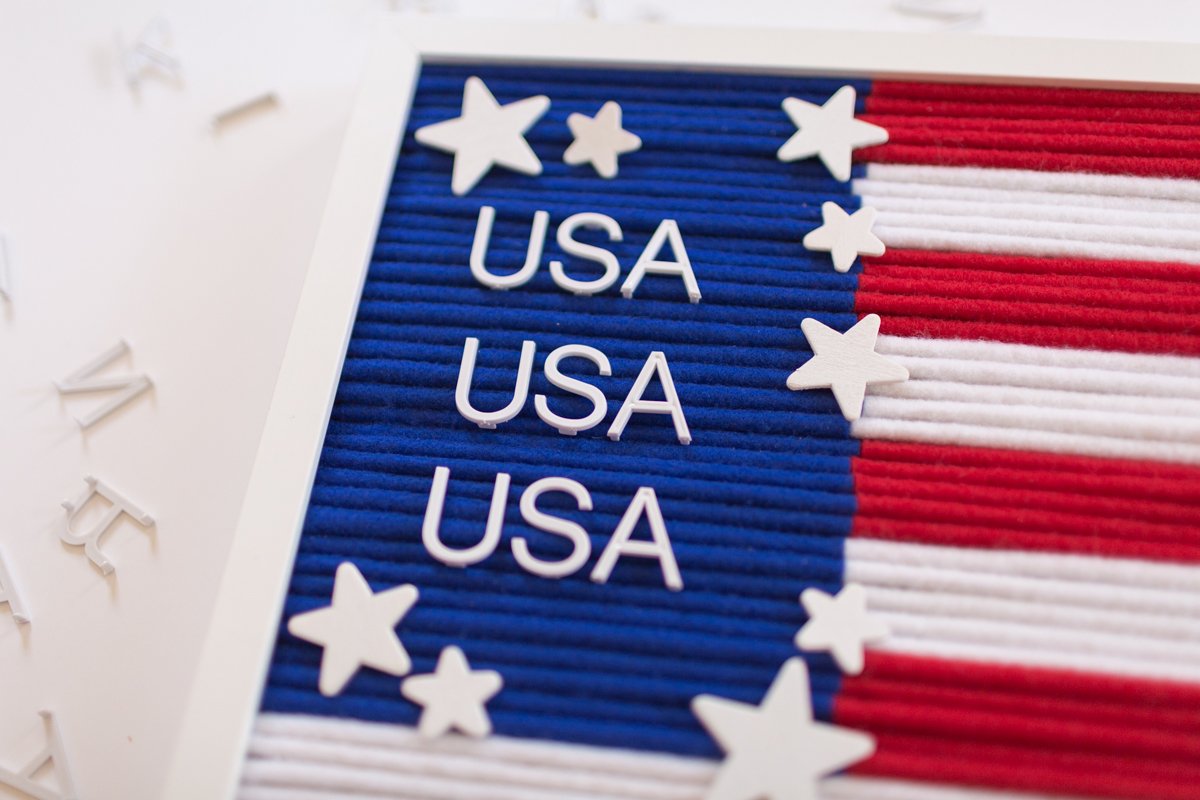
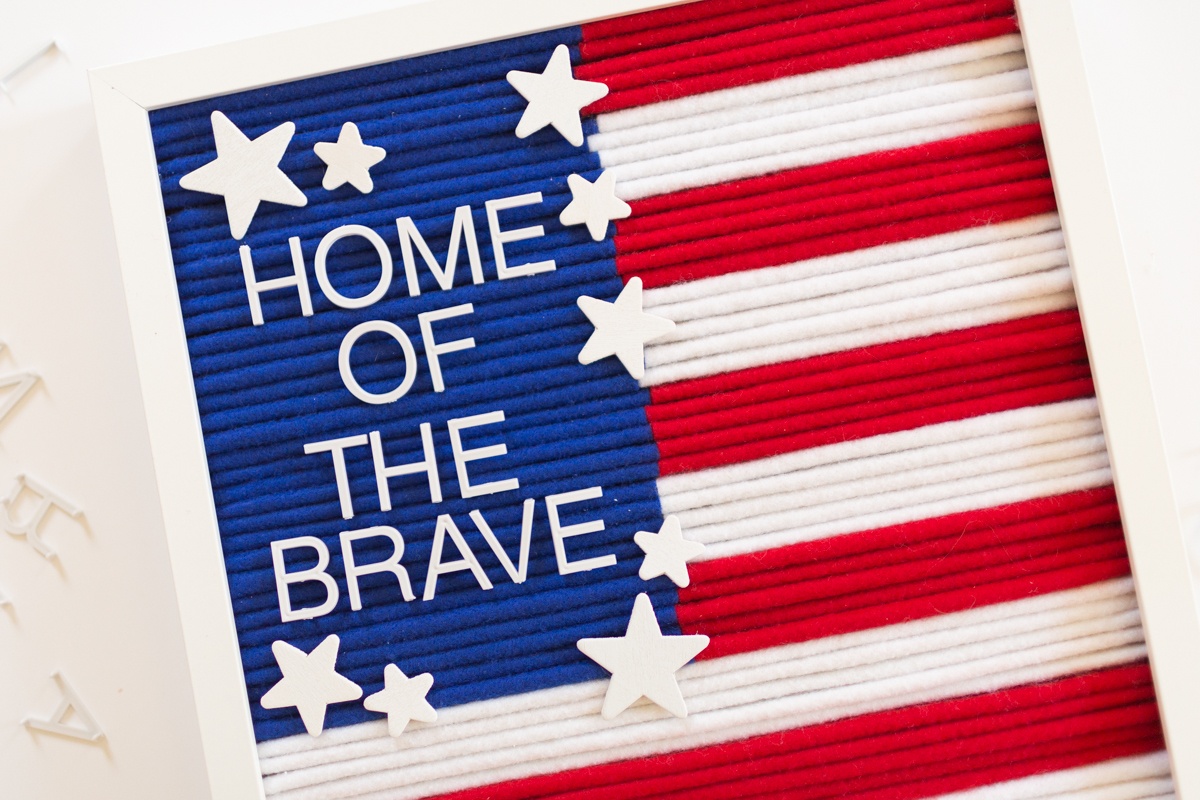
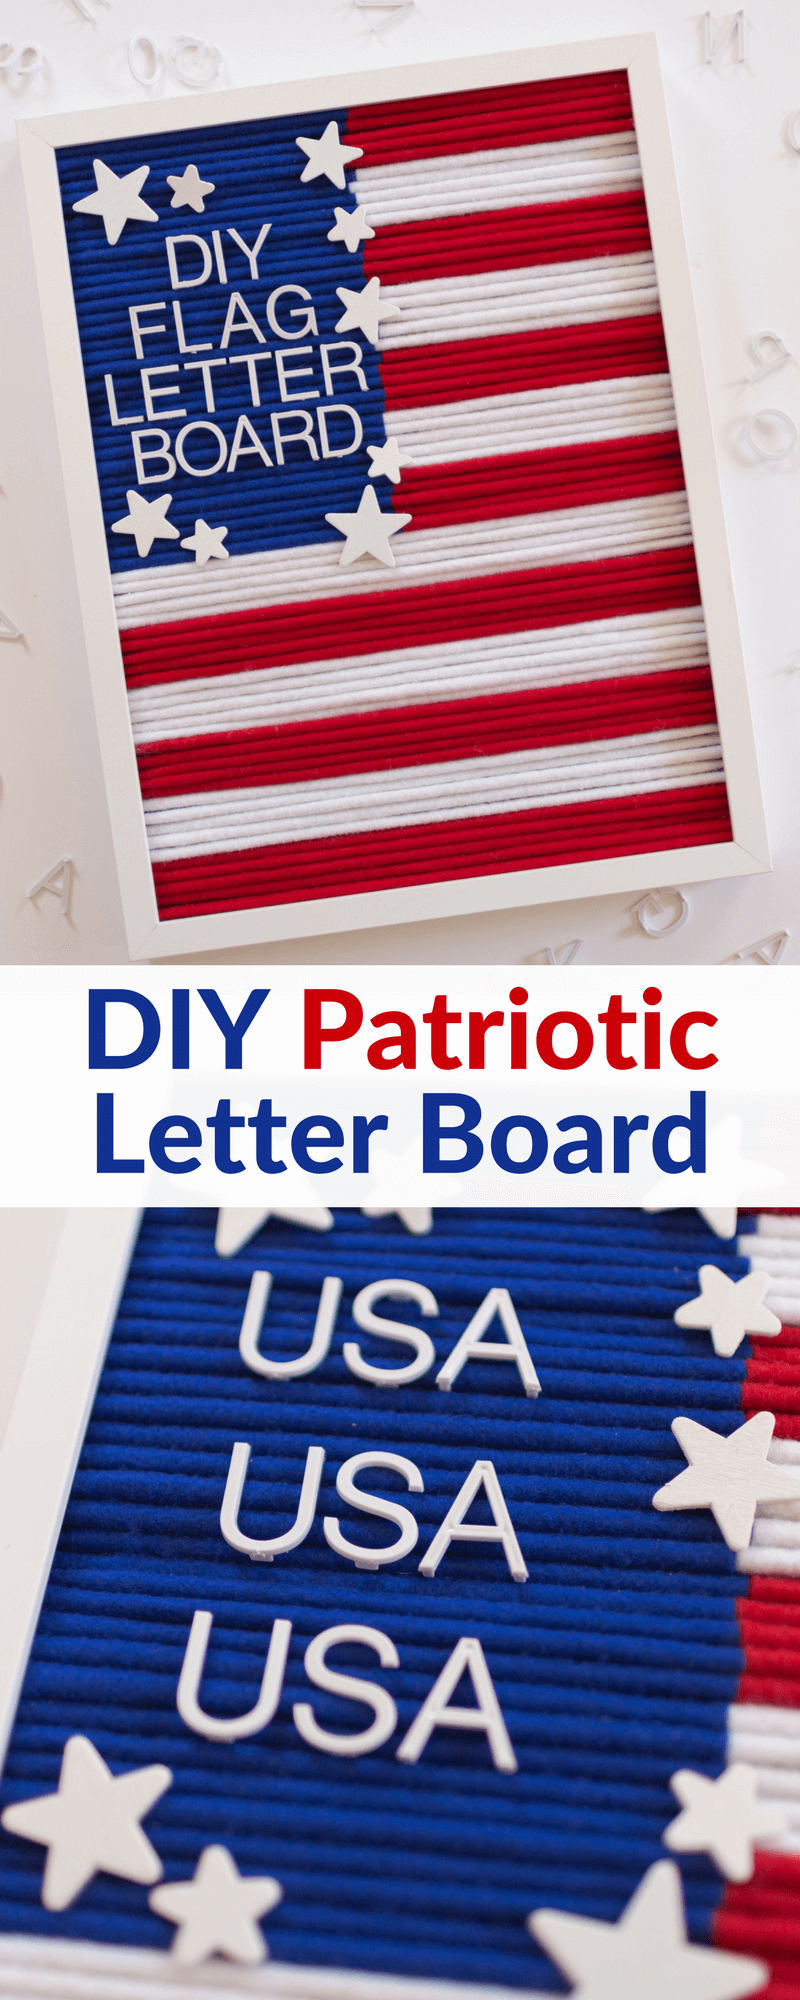
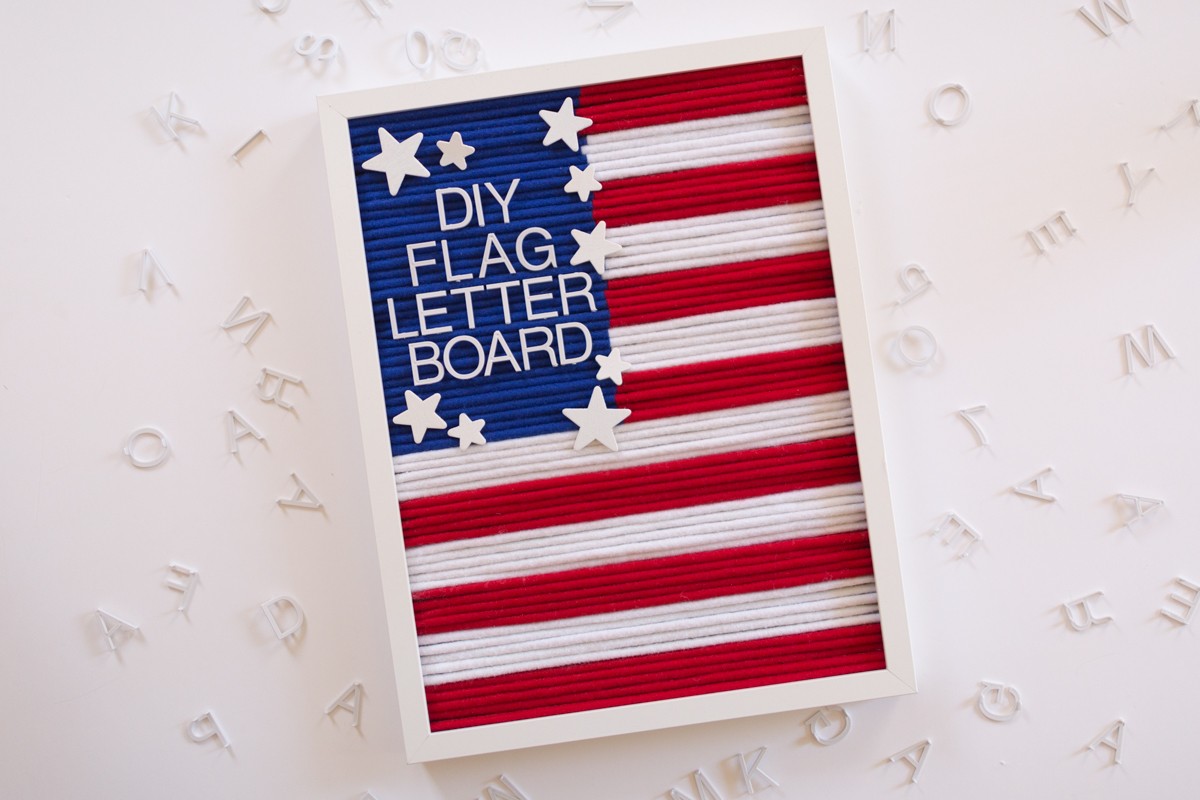
Hi friends, Alli here from Partyography! I don’t know about you guys but I’ve totally been crushing on DIY letter boards for a while now. I never could decide on a color scheme but now with summer around the corner, I was in need of some patriotic decorating ideas and that’s where this patriotic letter board came in! Memorial Day all the way through Labor Day, I’ve got you covered on the red, white and blue with this Patriotic Letter board.
Materials Needed:
- White frame (Mine was this 16″x 20″ one from Ikea)
- Red, blue & white felt
- Scissors (or rotary cutter)
- 12″ Wooden dowels (I used skewers from the Dollar Store but would recommend something sturdier)
- Glue gun and glue
- Letters (I bought this mega pack because I don’t think it’ll be my last letter board!)
- Wood stars
- White spray pain
To start, you can remove the glass and backing from the frame so it’s empty. Next, cut the red and white felt into strips about 1.5″ by 12″. The length of your strips depends on the size of your dowels. You want to make sure the dowel is long enough to fit inside the back of the frame. If you’re using a different size frame you’ll need to adjust the size of your dowels and strips.
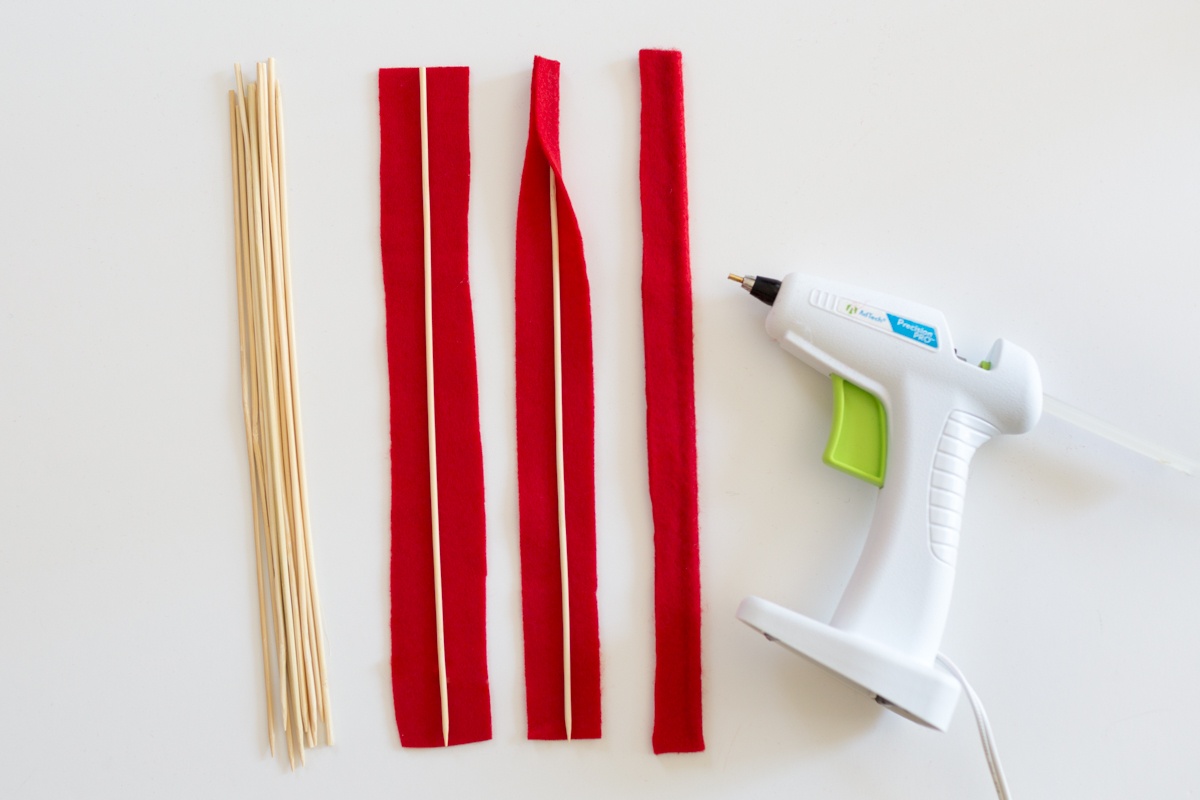
I used 5 dowels per stripe on the flag, so you’ll need 15 red covered dowels and 15 white covered dowels. As you can see, when gluing, you want to make sure the dowel is pushed all the way to the edge.
Next, you’ll need to cut more felt strips, only this time they’ll be 1.5″ by 6″. I used 35 pieces of blue felt, 20 pieces of red felt, and 15 pieces of white felt. For these dowels, you’ll be combining red and blue (or white and blue) so each color covers half the dowel.
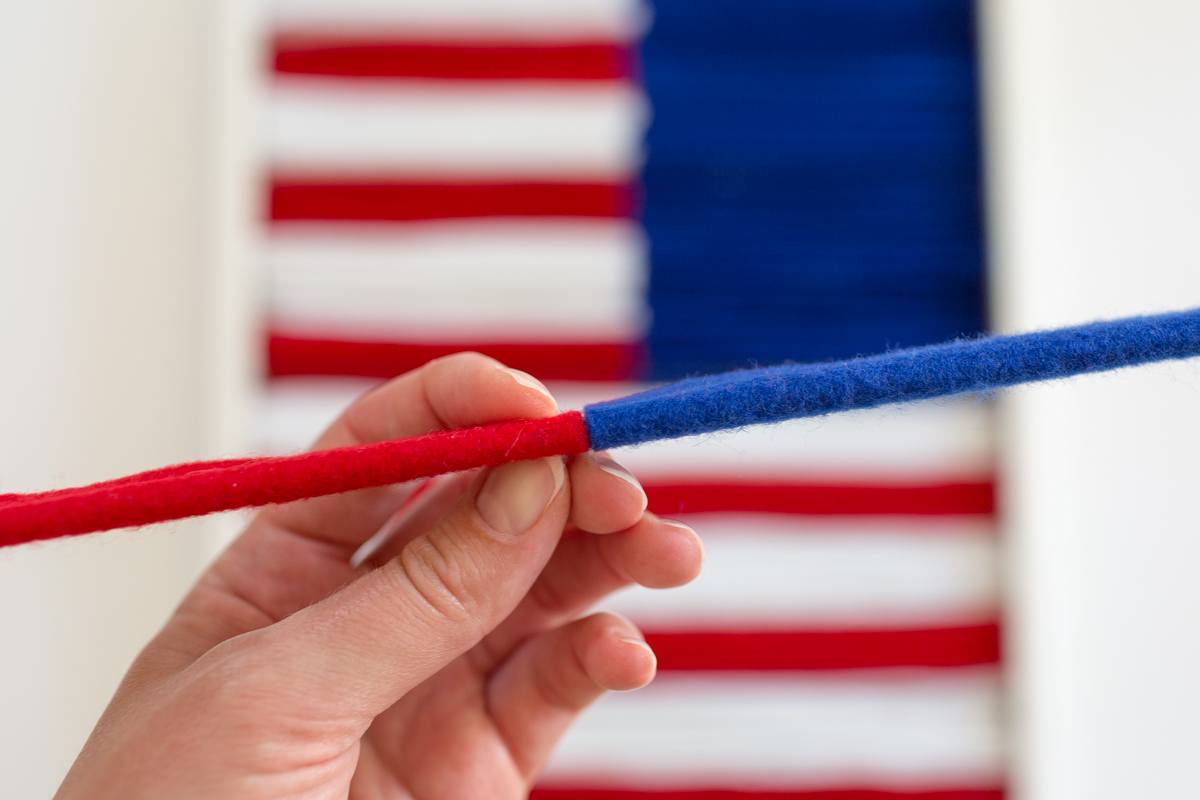
Don’t worry about making them perfect! As you can see, my blue doesn’t line up in the end result but I kind of like it that way! Once you have all of the felt covered dowels ready, you can place them into the frame so that the dowel is face down. Some tutorials recommend gluing each dowel into place. Mine fit snuggly enough so I didn’t take the time to do that.
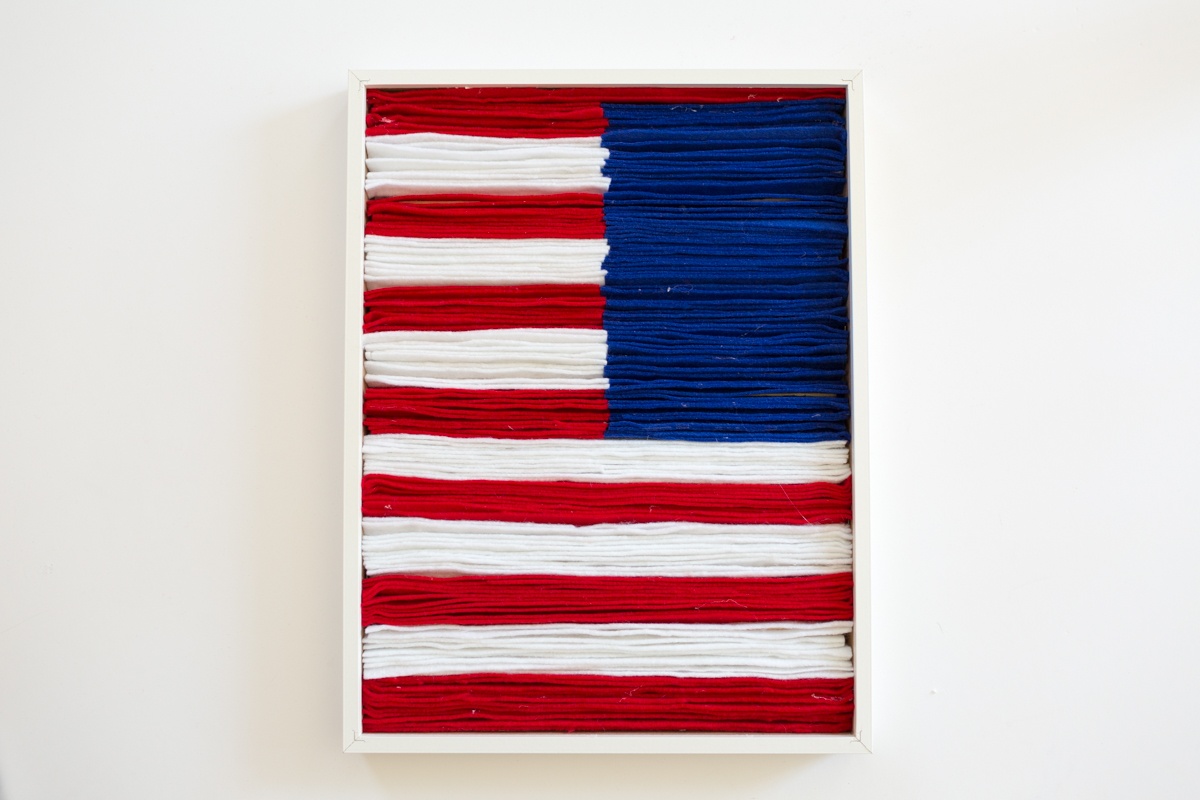
Once all dowels are in place, you can replace the backing on the frame and flip it over for the big reveal! The final step is to spray paint the stars white and add them onto the blue square. I used adhesive squares but you could certainly glue them into place as well. And now the real fun begins! You get to pick what phrases and words to use on your board, your kids might enjoy doing this as well.
I hope you have fun making your own patriotic themed letter board! Leave a comment and let us know what phrase you would display!
Whether on a mantle or a dessert table, there’s always room for more red, white and blue. Check out this garland for another decorating idea that could go with your DIY Patriotic letter board!
Love this? Pin it for later!



I absolutely LOVE this!!! I can’t stand to touch felt or fleece (it makes me shudder) but I may just work through the pain to make one of these for myself. 🙂
with this idea of yours i can make any flag even wallpaper of Sprunki Retake right?