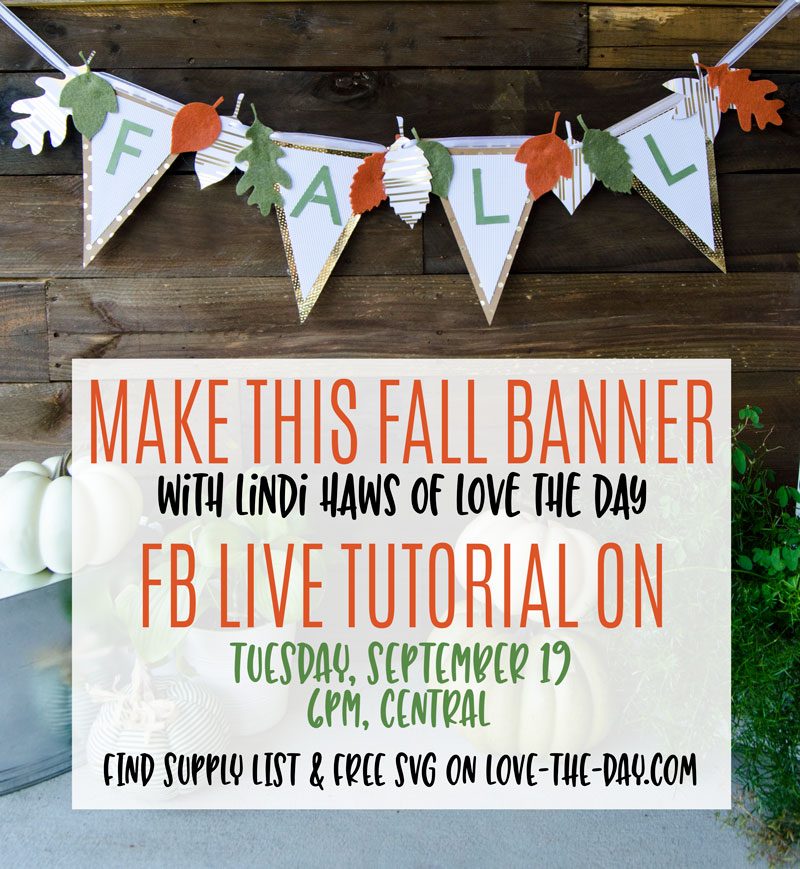
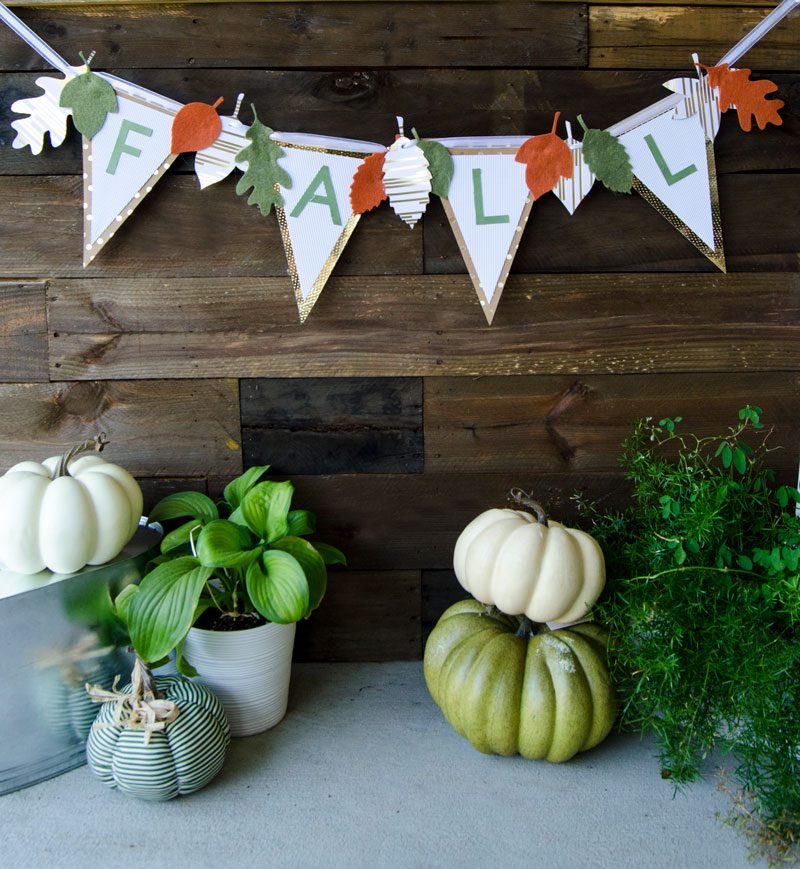
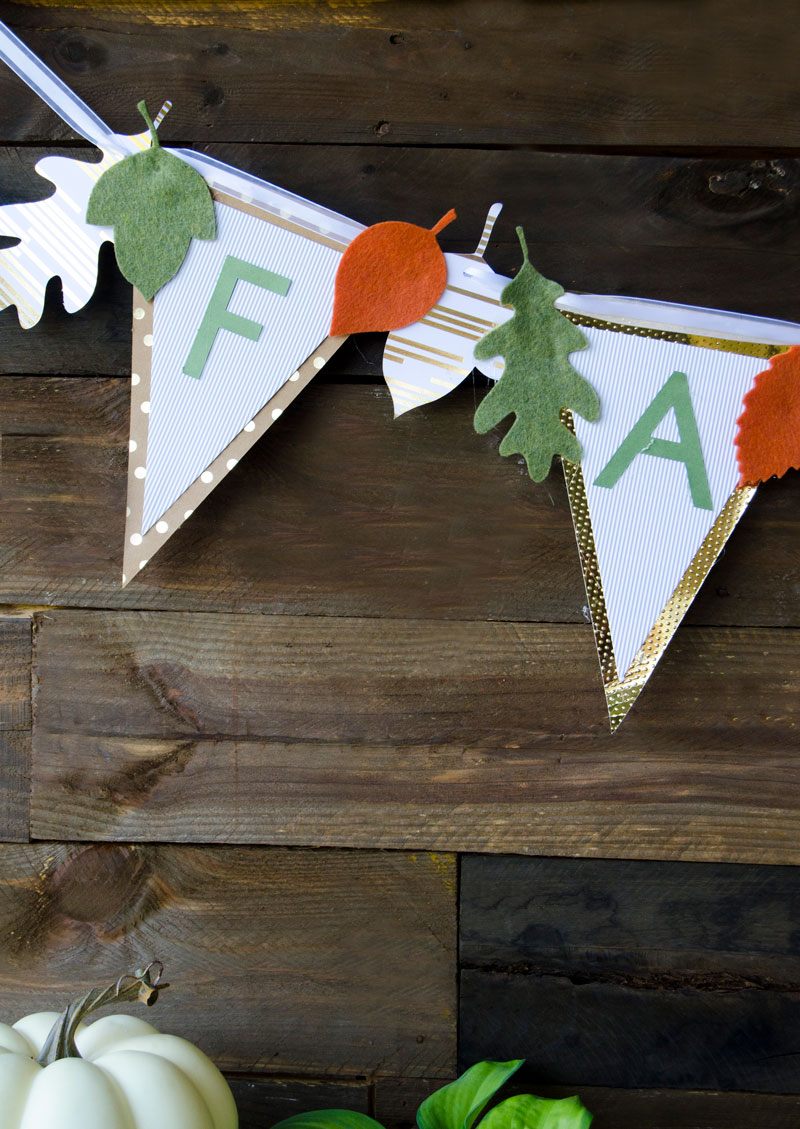
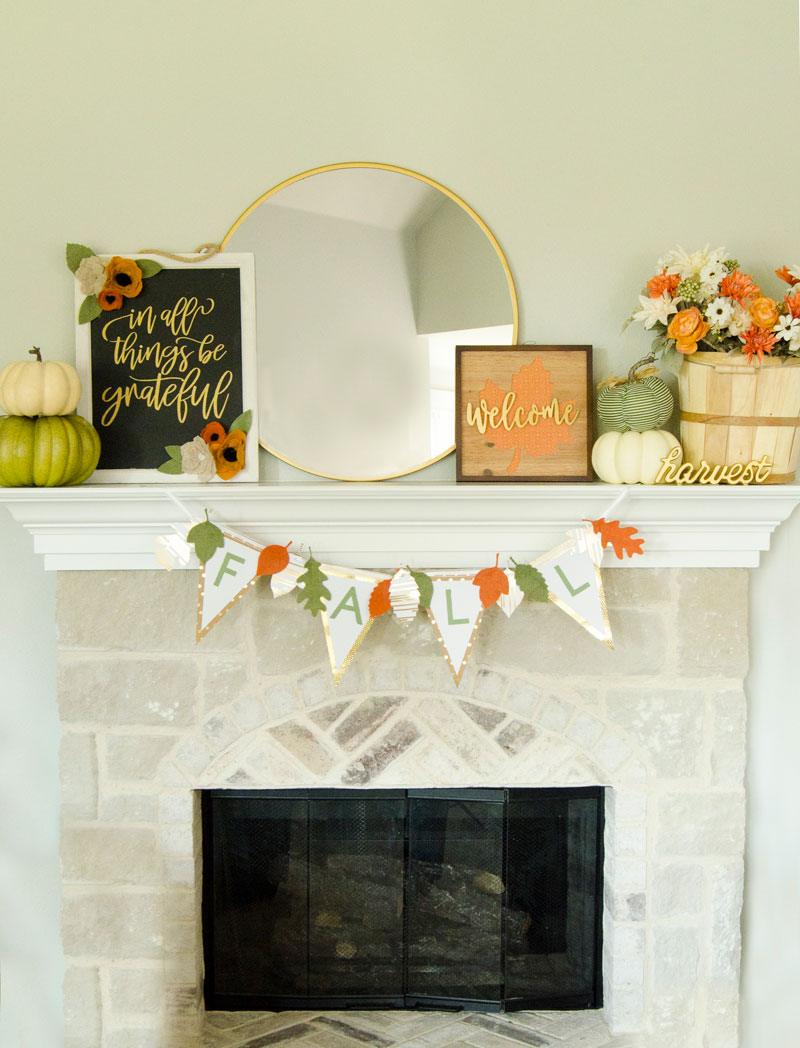
Earlier today I shared my Fall Mantel and a few Simple Fall Mantel Ideas. What I didn’t share was that the DIY Fall Banner was made from the new Cricut Maker! And not only that…I’ll be showing you how to make this banner on TUESDAY, SEPTEMBER 19, LIVE on the Cricut & Michaels Facebook Pages.
It’s my hope that you get the materials before hand to make the banner along with me! Here’s what you’ll need. You can find ALL these supplies at Michaels.
PRODUCTS
FALL BANNER SVG – Download below
Cricut Maker or Cricut Air 2
Cricut 12X12 Cutting Mat
2 Sheets of Natural Signature Foil Paper
2 Sheets of Gold Dots Foil Paper
2 Sheets of White Corrugated Paper
1 Sheet of Green Card Stock
Green and Orange Felt (optional)
Hot Glue Gun
Ribbon
Here’s the basic instructions how to make the banner, but I’ll post the FB video here after it’s finished to clarify any questions you may have:
INSTRUCTIONS
1. Download the FALL Banner SVG
2. Upload the Banner SVG into Cricut Design Space.
3. Use your Cricut and a combination of Craft and Gold Card Stock (2 craft and 2 gold) to cut the first layer of your banner.
4. Use your Cricut and the White Corrugated Paper to cut out the second layer of the banner.
5. Use your Cricut and the Green Card Stock to cut out FALL letters.
6. Use your Cricut and Green & Orange Felt to cut out the leaves (optional).
7. Hot glue the White Paper layer onto the gold and craft pennants. When dry, glue the green letters on top.
8. String your ribbon through the banner.
9. If you made the felt leaves, glue them to the banner.
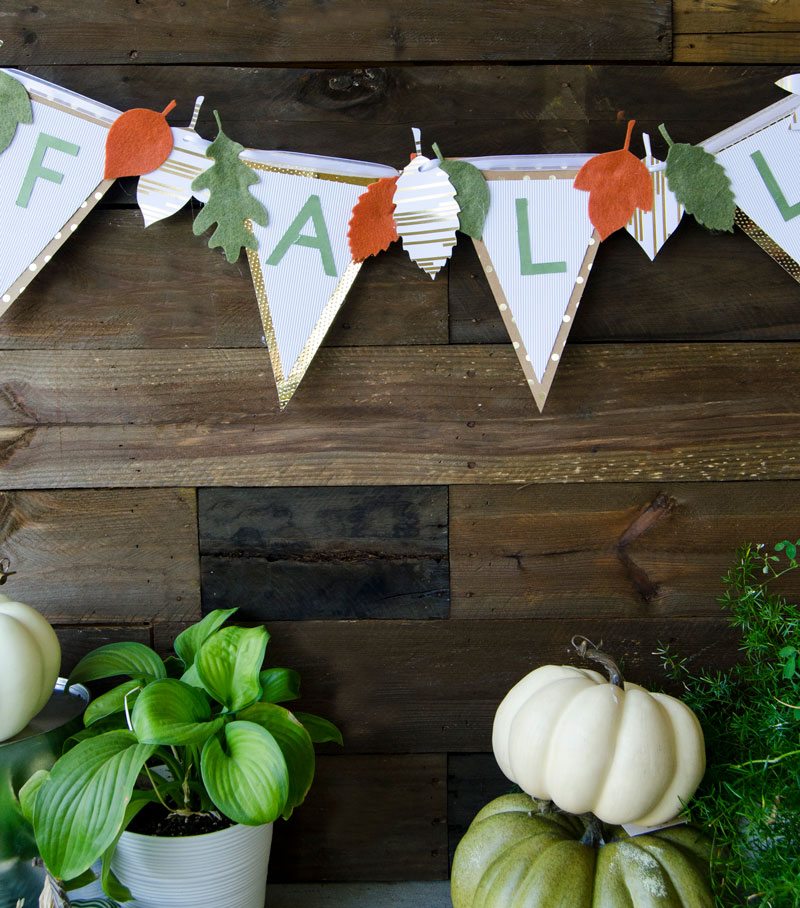
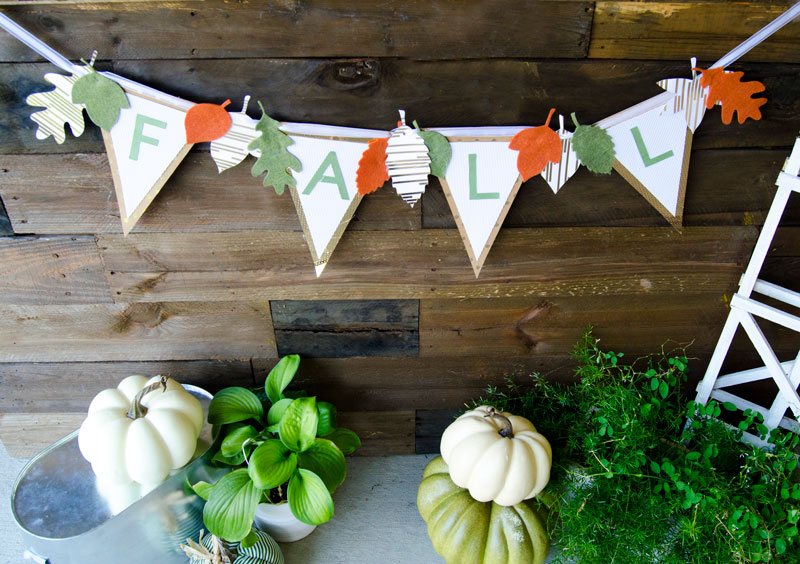
Are you going to join me?! Leave a comment and tell me where you’ll be watching from.
And check out these other FALL POSTS:




Thank you, can’t wait to make this 🙂
Thank you.