I LOVE Birthday Traditions. I said this in my DIY Felt Crown Tutorial post, but there is something about traditions that make a childhood.
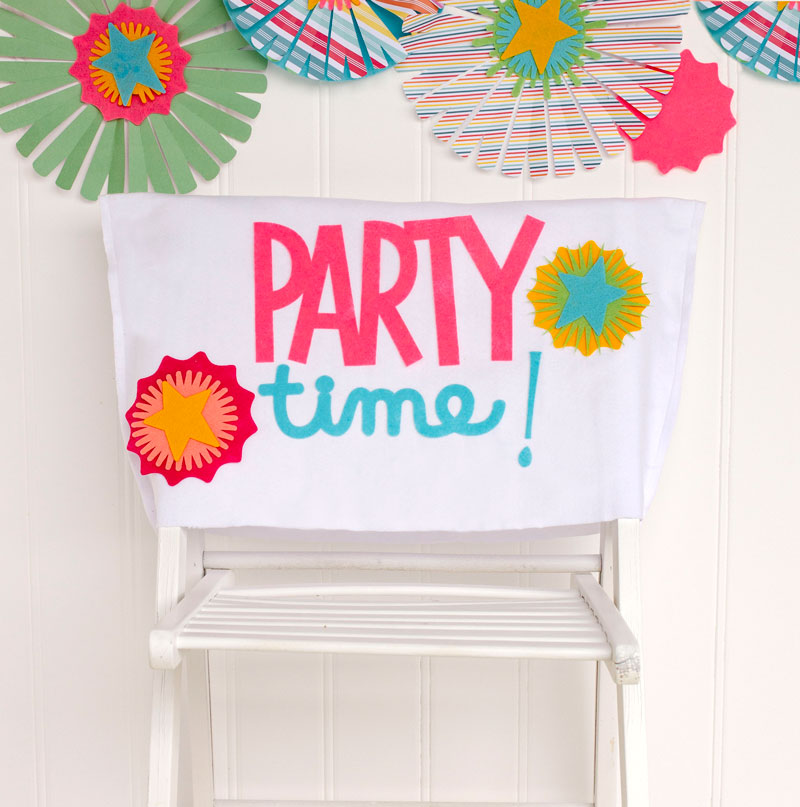
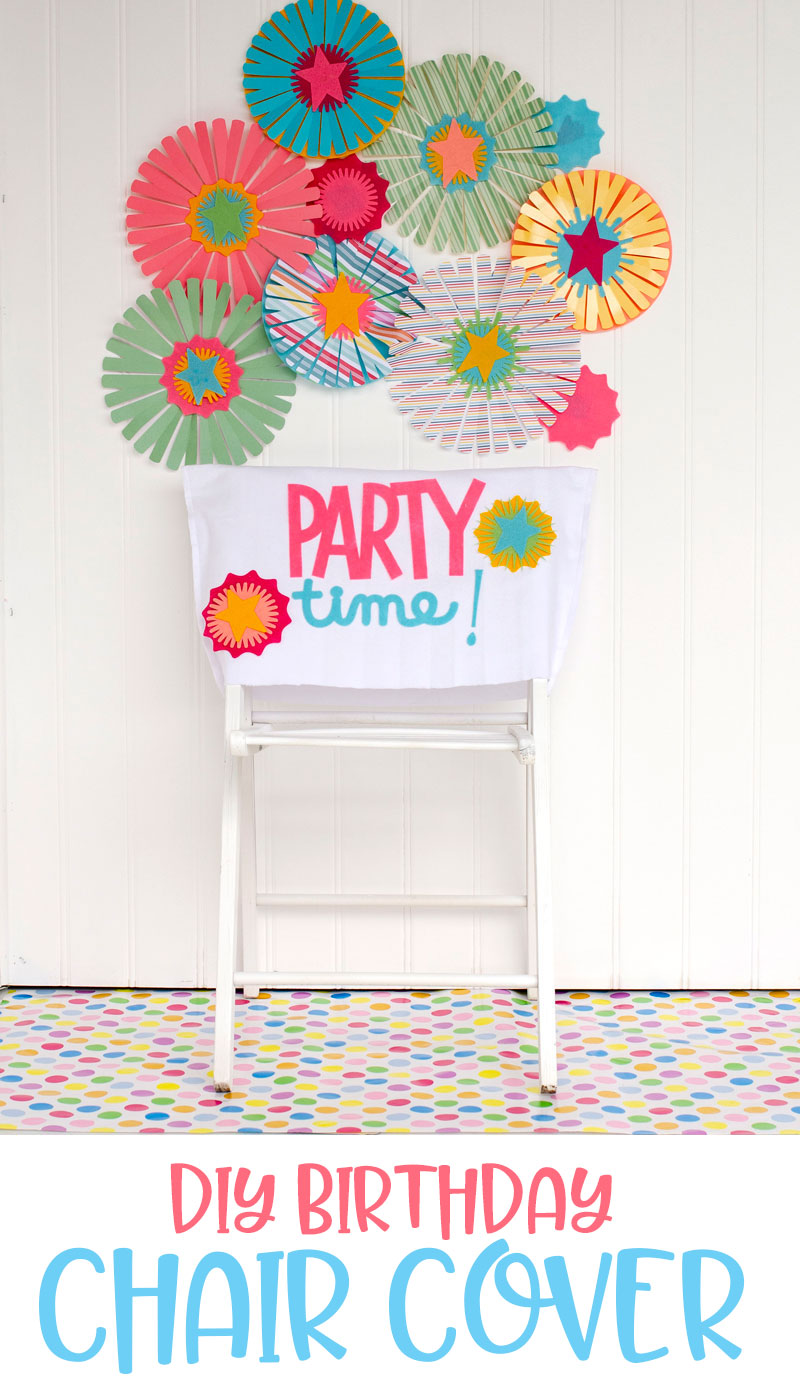
I decided to make a DIY Birthday Chair Cover to use year in and year out to make birthday breakfasts that more special.
I thought you’d be interested in learning How To Make A Birthday Chair Cover, so let’s do it!
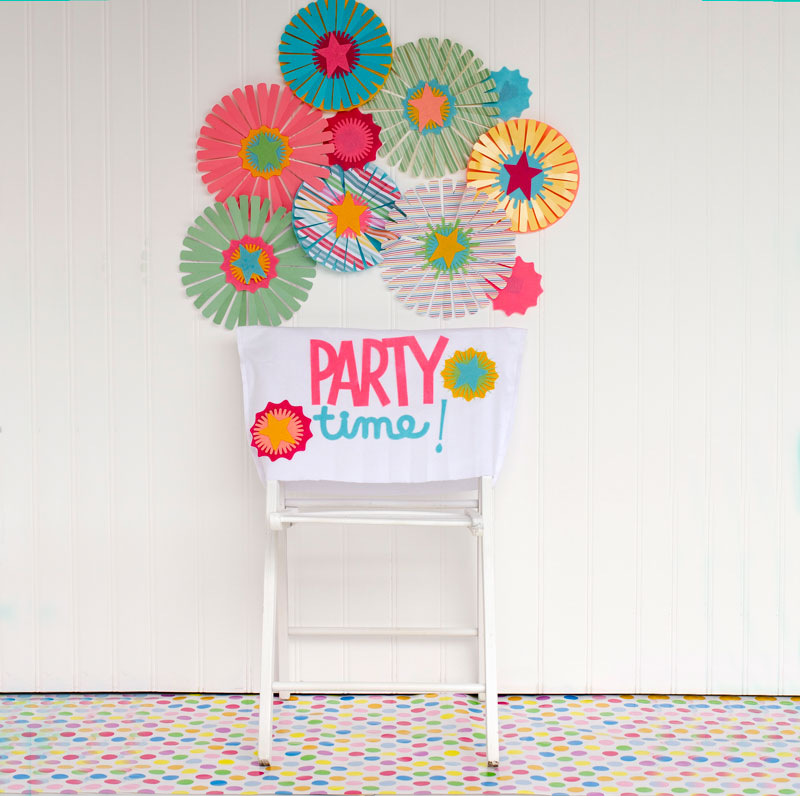
HOW TO MAKE DIY BIRTHDAY CHAIR COVERS
MATERIALS FOR BIRTHDAY CHAIR COVERS
Cricut Maker
Rotary Blade (comes with the Maker)
Felt
Beacon Fabric Glue
INSTRUCTIONS FOR BIRTHDAY CHAIR COVERS
I cut a piece of felt that is 24 inches by 24 inches. I based it off the chair I was using.
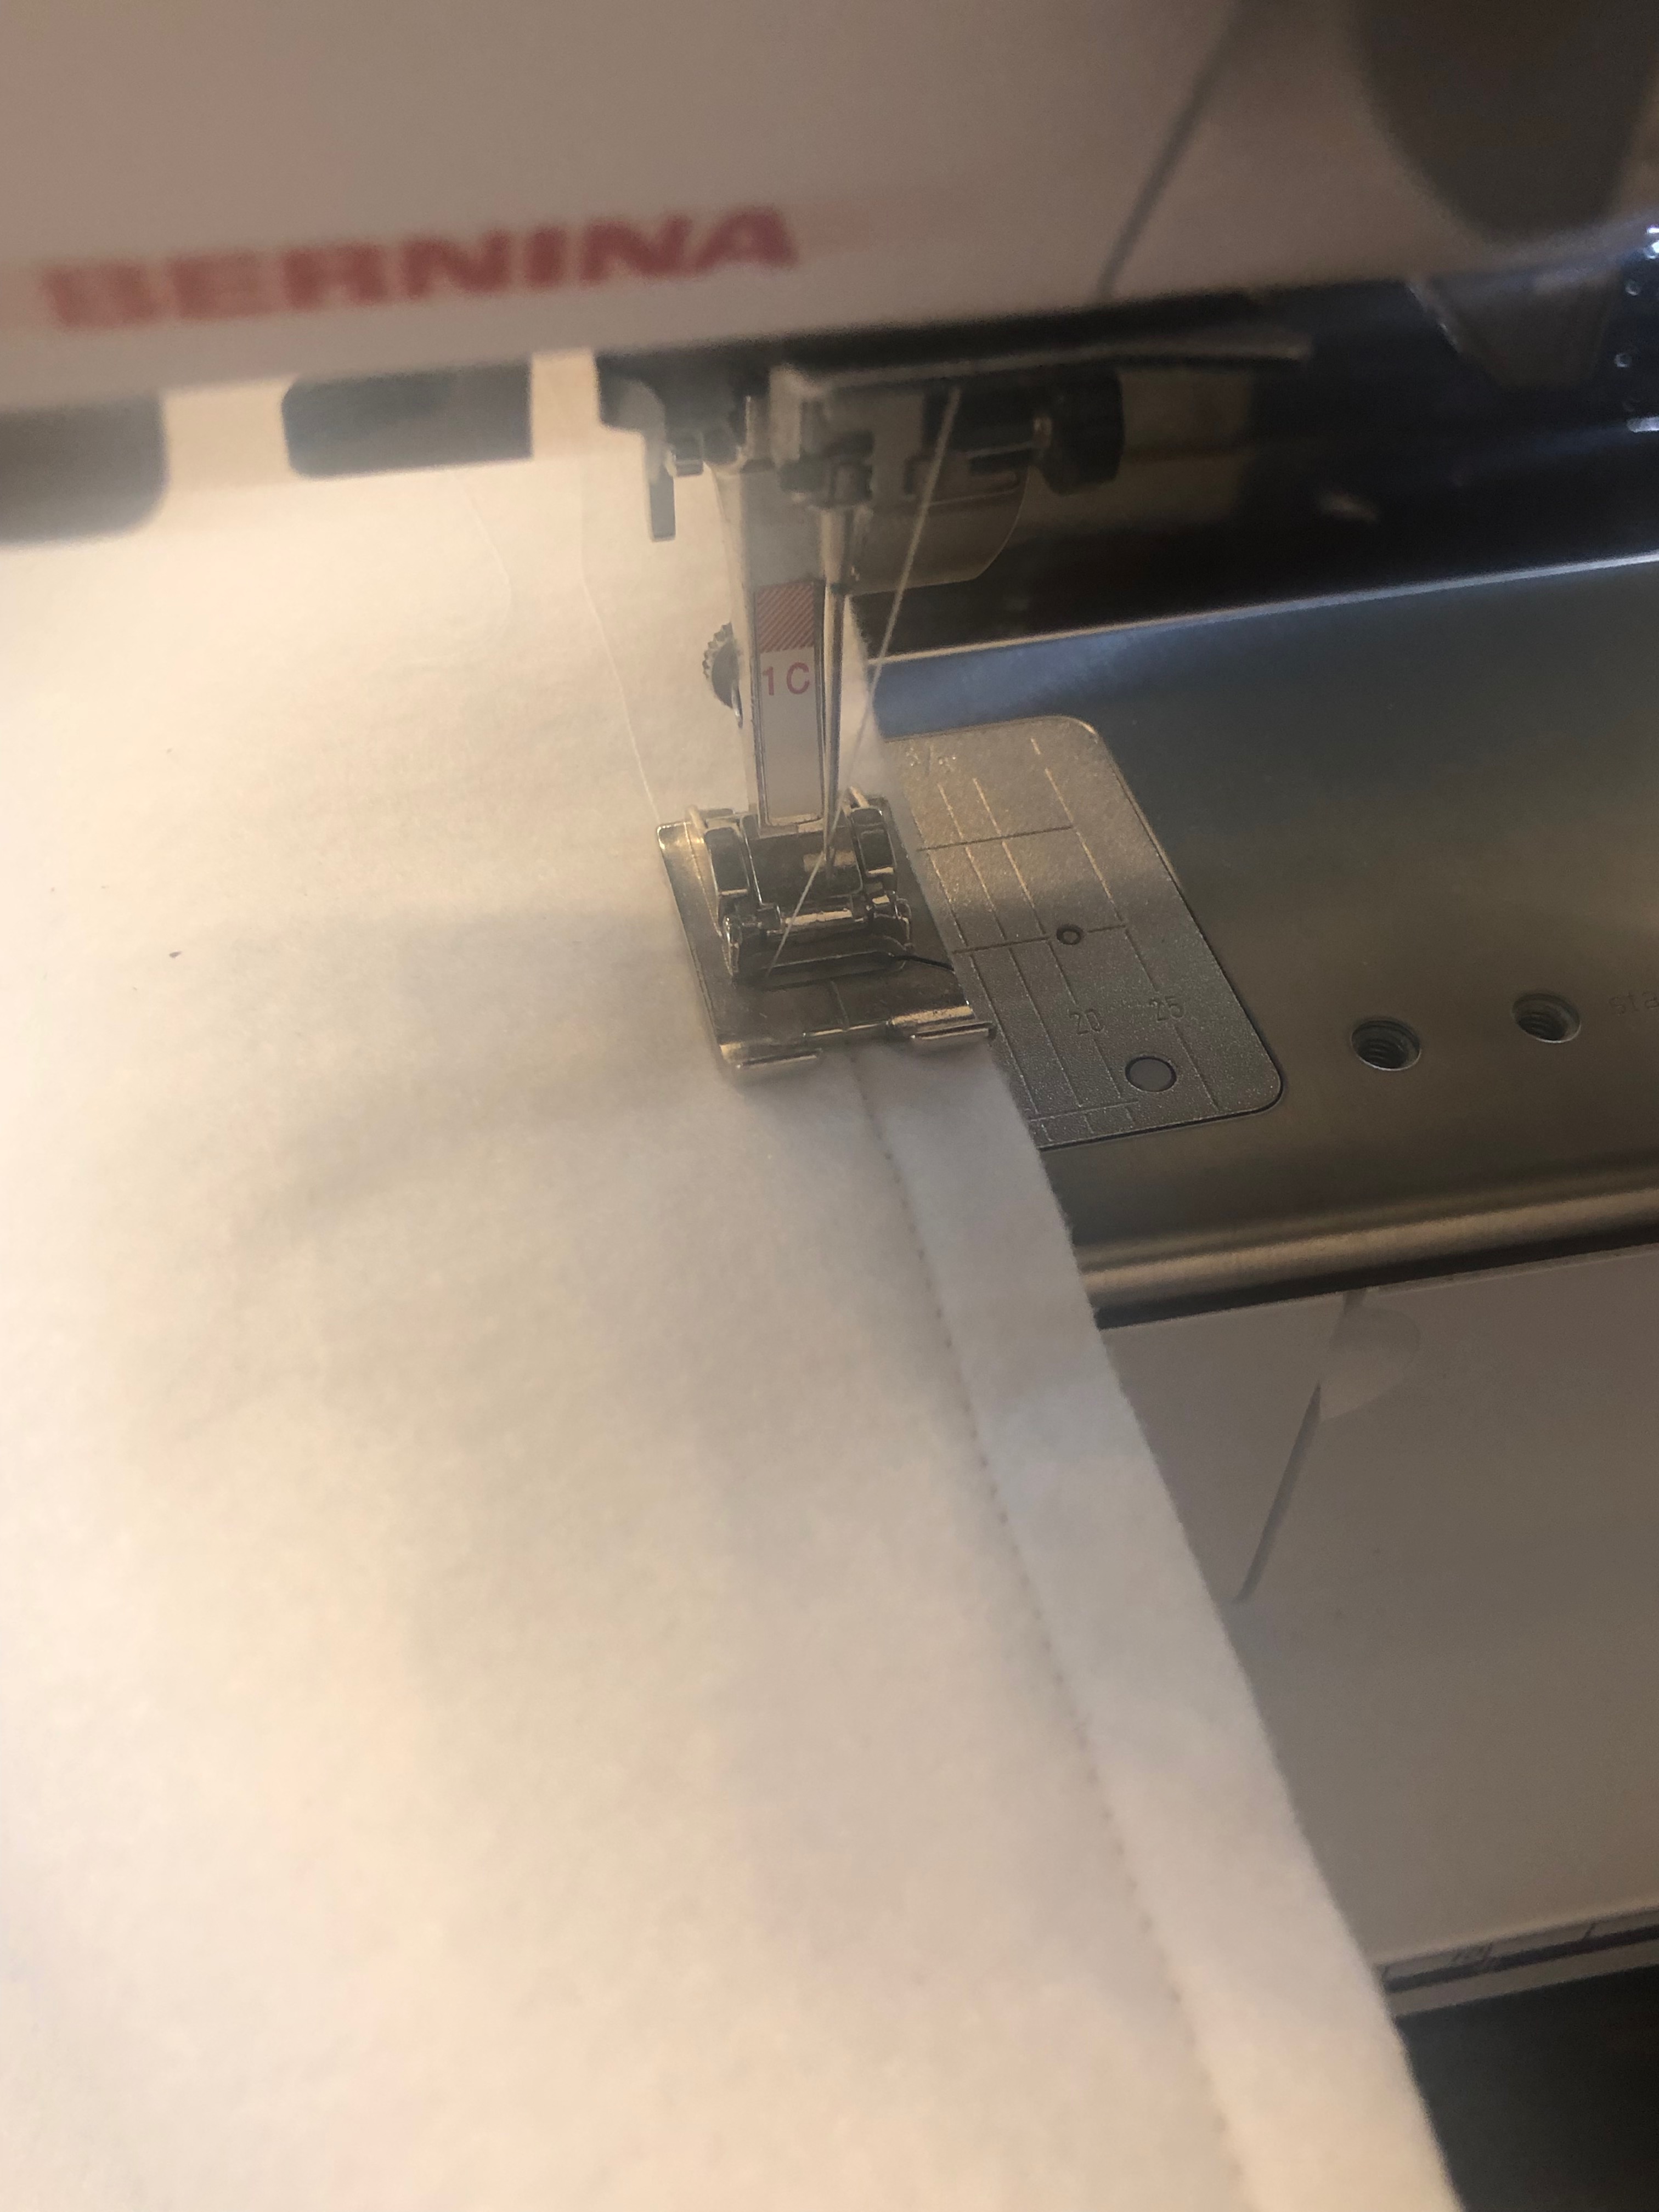
I folded the piece of felt and sewed the sides together.
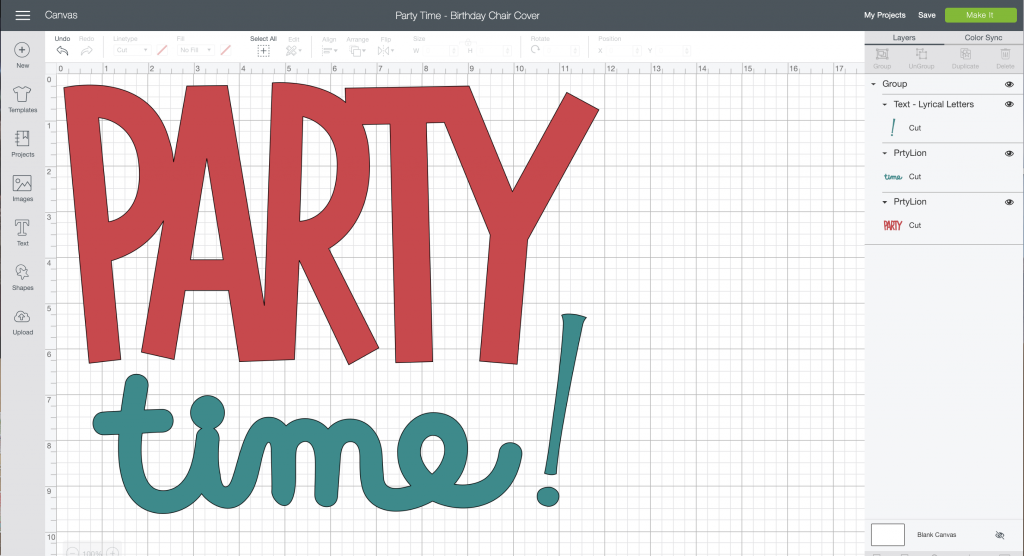
I opened up Design Space and customized a Cricut Project to make a Birthday Chair Cover template and pressed Make It. I made the entire Birthday Chair Cover with the amazing Cricut Felt.
I made everything with the Rotary Blade and guys I love it SO MUCH. It’s hard to even comprehend the precision it’s able to cut. The felt cuts with ease and I love that I can cut ornate shapes.
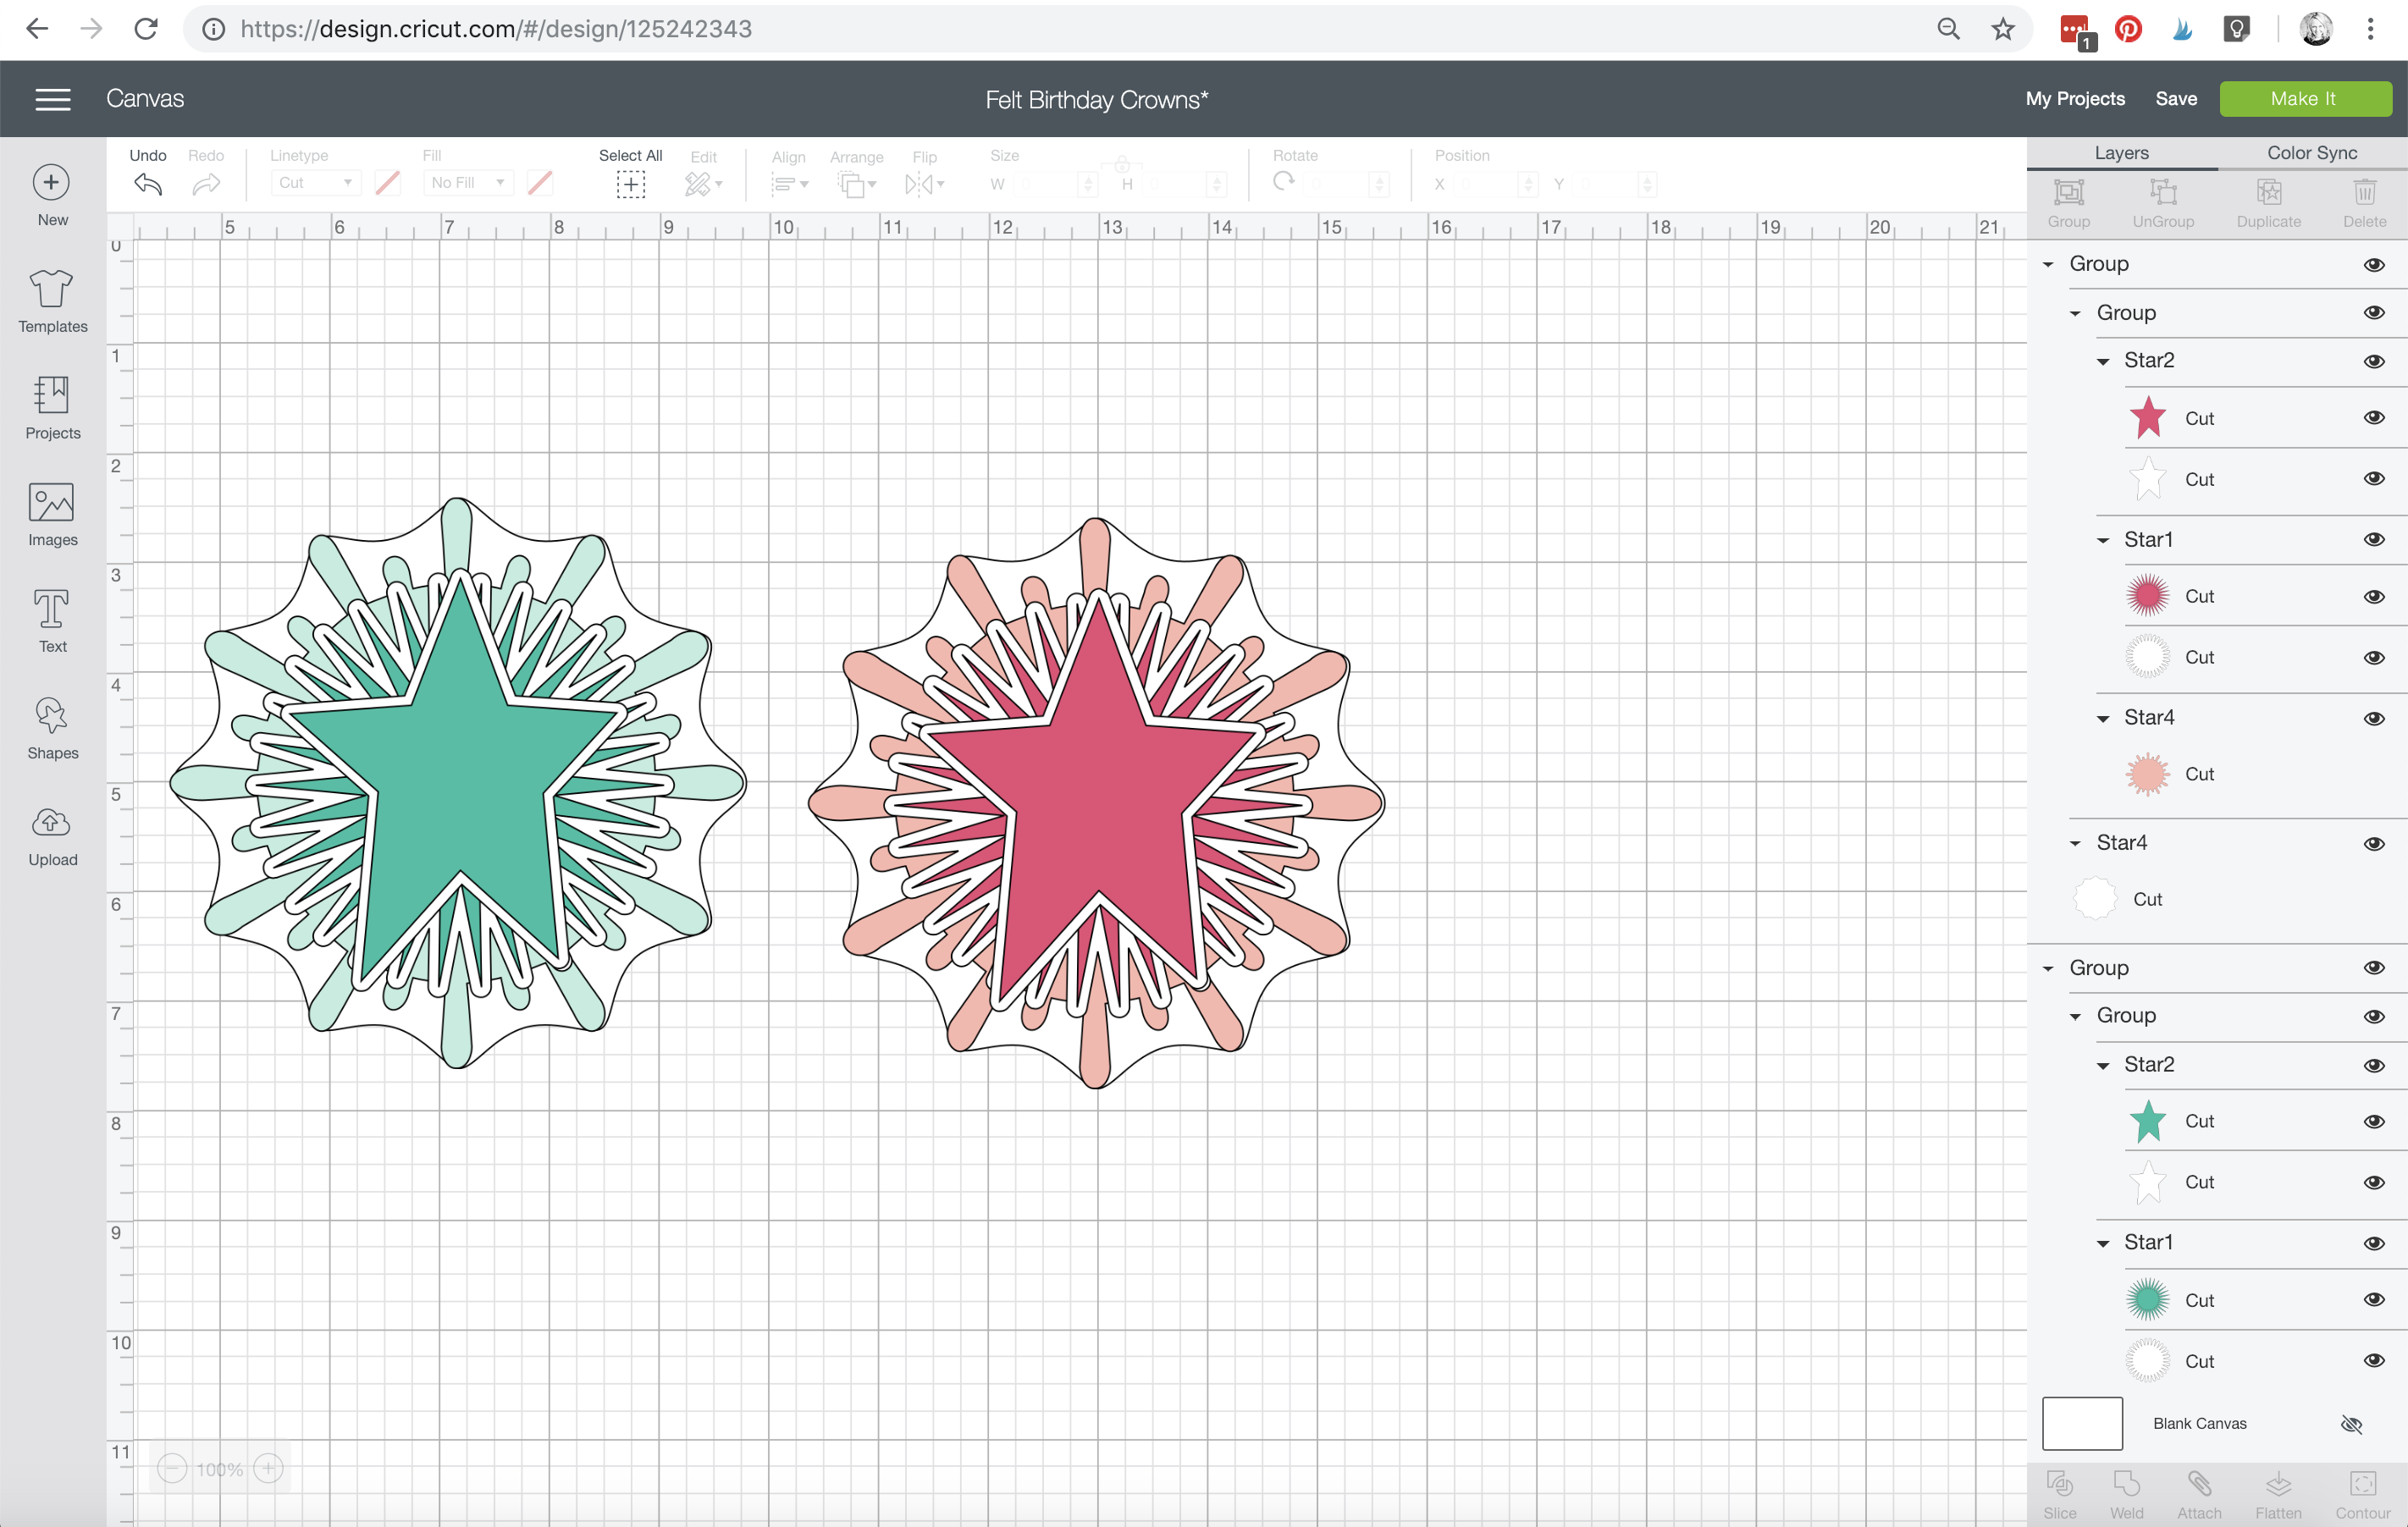
I used that Rotary Blade to cut shapes (from my Felt Crown Tutorial) for the Birthday Chair Cover. I saved the shapes as a project HERE.
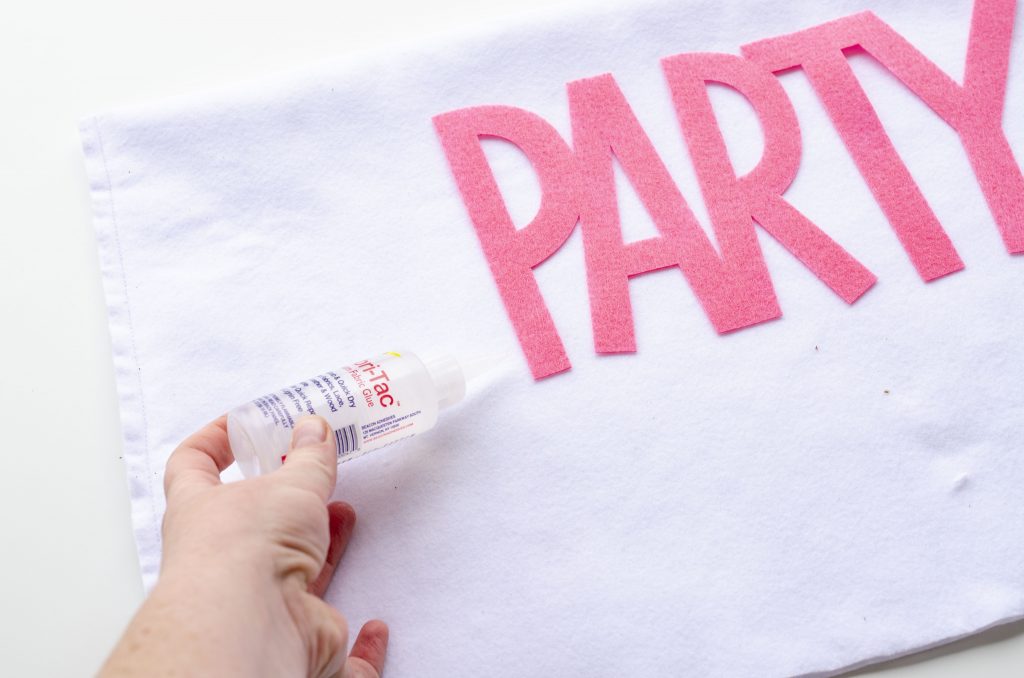
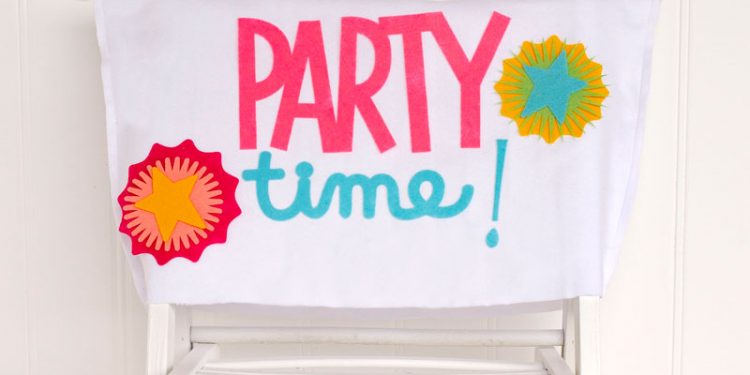
Once all the felt pieces were cut, I glued the words/pieces to the Birthday Chair Cover! I use the Beacon Fabric Glue and it worked fabulously!
Let dry completely! 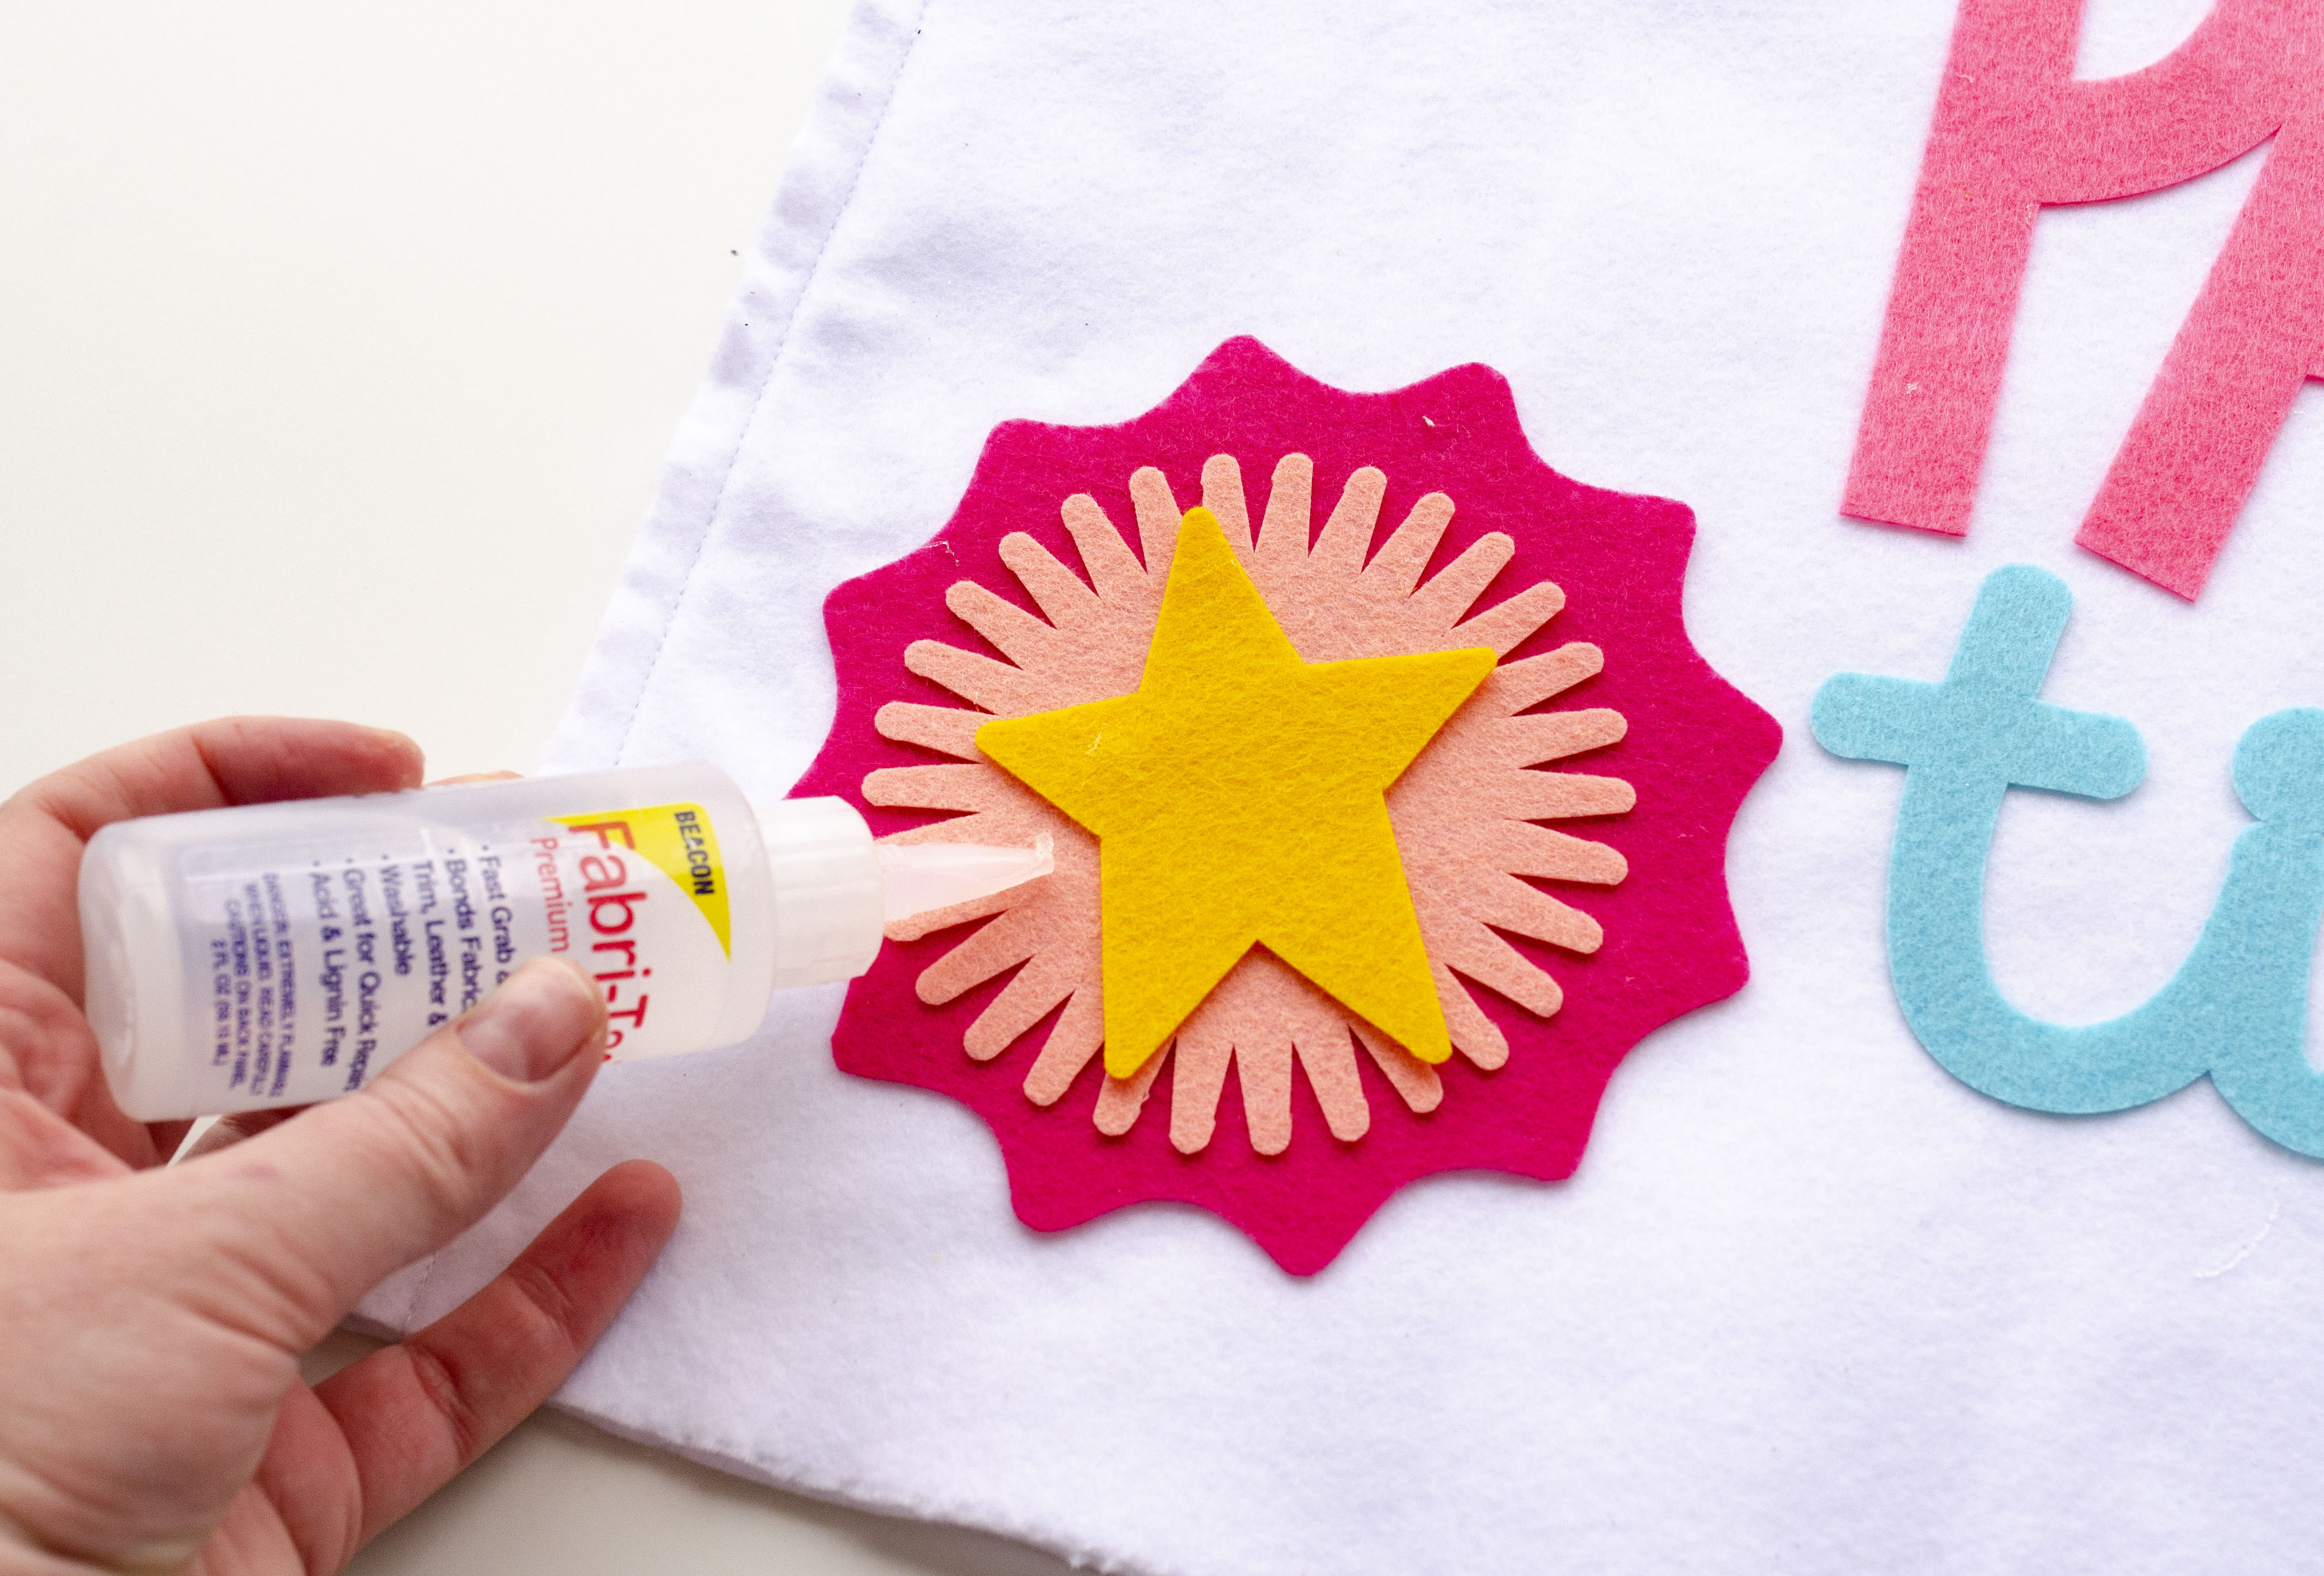
Once your Birthday Chair Cover is down, place it over your chair and place your little darling in it for a photo op. If you’re really feeling it, I would make DIY Paper Party Flags to create the most coordinated, darling Photobooth ever.
To take it EVERN FARTHER….make the DIY Felt Crown and DIY Flower Cake Toppers to make a complete party scene!
DIY Party Paper Fans with Cricut

DIY Felt Crown 
DIY Flower Cake Toppers 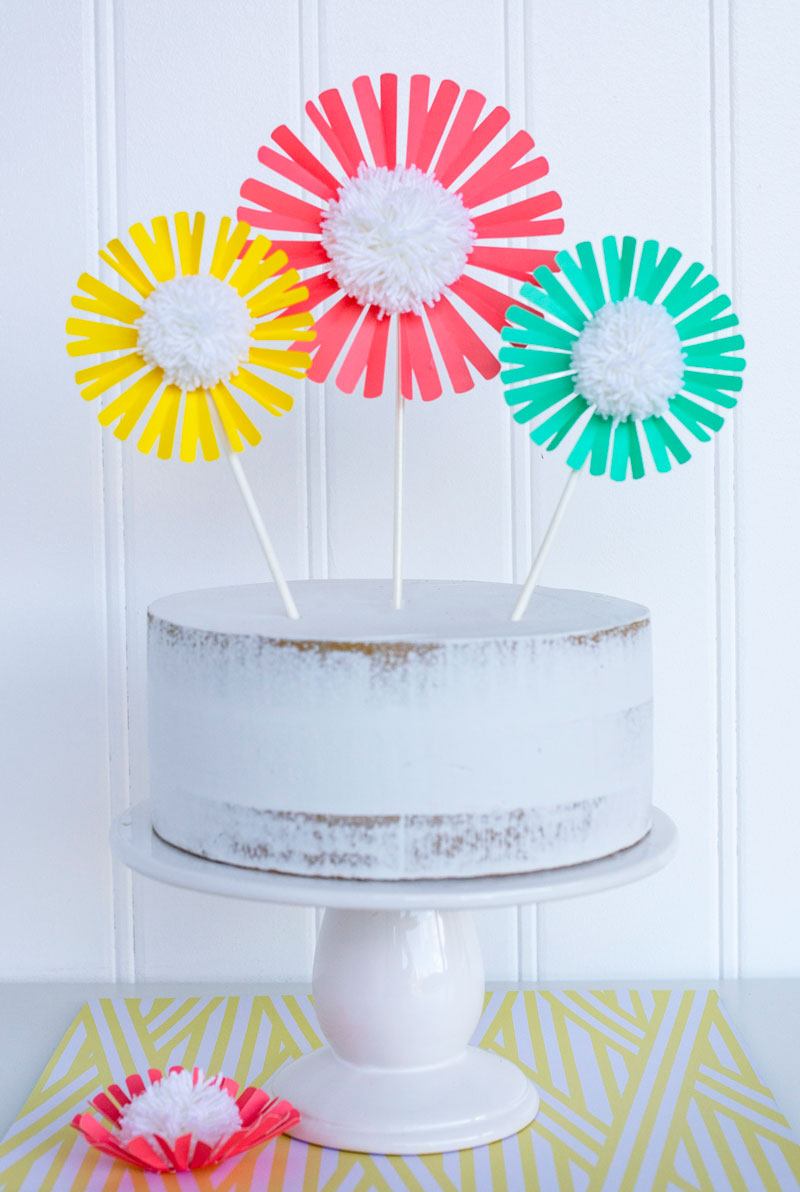
PIN THE DIY BIRTHDAY CHAIR COVER FOR LATER
This is a sponsored conversation written by me on behalf of Cricut. The opinions and text are all mine.




Comments 1