**This post was sponsored by Circut, but ideas and opinions are ALL mine!
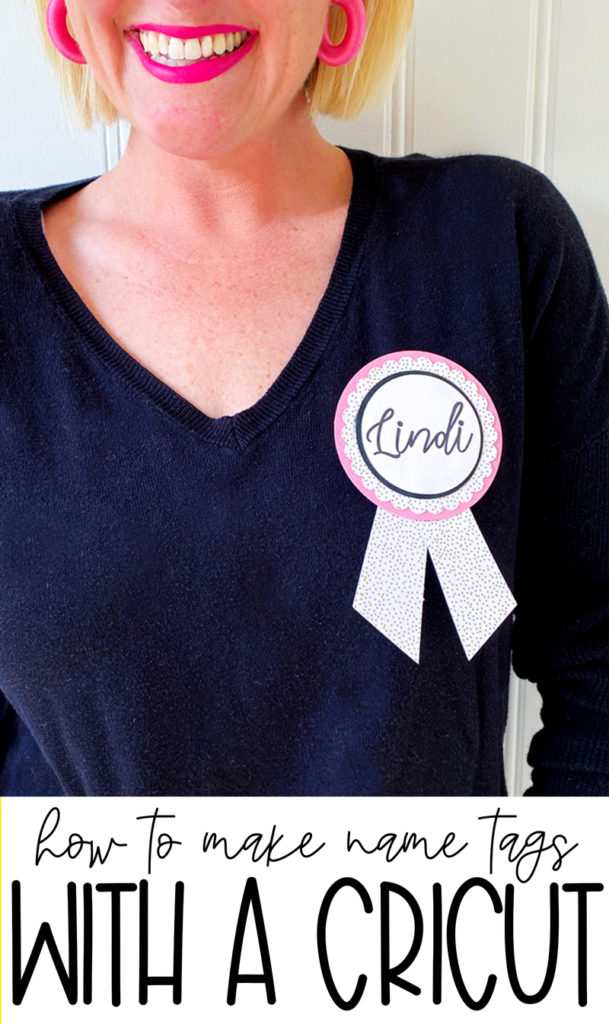
Wedding are the most magical event ever! They are typically one-three days of pure love, happiness and joy. Combing two families together is beautiful, but let’s be honest….sometimes it’s SOOO hard to keep track of everyone’s names!
Especially with everything else that is going on. I’m here together to share how to make GORGEOUS Wedding Name Tags to take away the awkwardness of forgetting your new ‘sisters’ name!
I’m going to show you have to make it with a Cricut Machine, step by step!
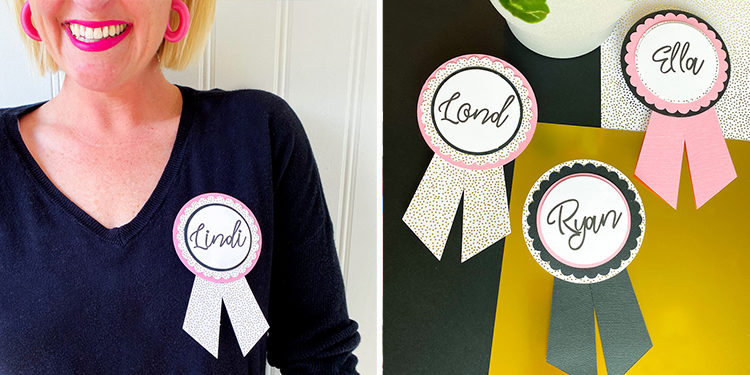
They are a breeze to make and add such a fun personal touch to any wedding.
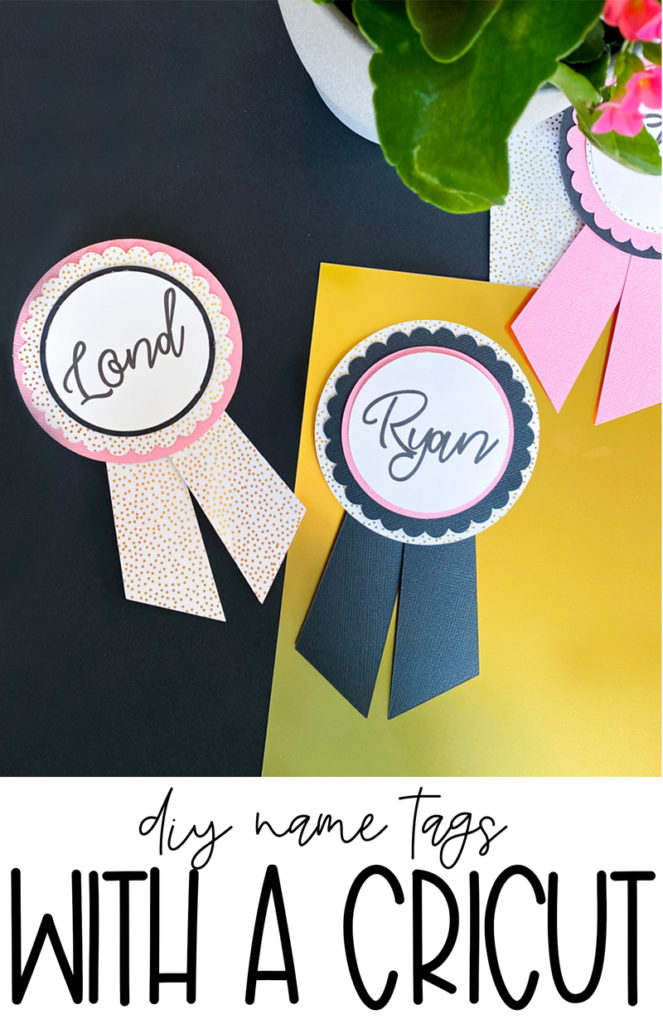
WEDDING NAME TAG TUTORIAL
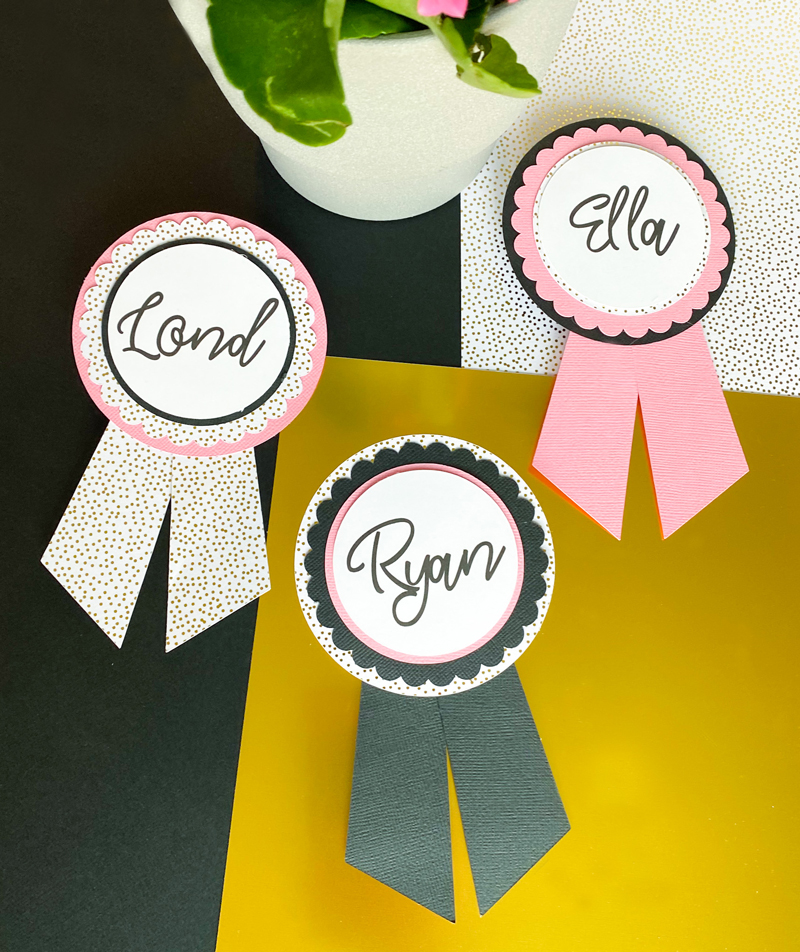
SUPPLIES YOU’LL NEED
Name Tag SVG File
Cricut Maker or Explore Air 2 Machine
Printer (I use the Canon TS9521C All-In-One Wireless Crafting Printer and really like it)
Hot Glue Gun (I love this Xyron Glue Pen)
DIY NAME TAG TUTORIAL
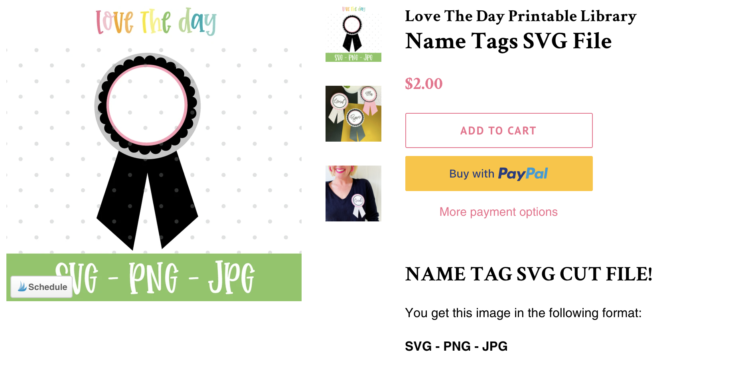
1. PURCHASE THE NAME TAG SVG FILE!
The first thing you’ll need to do is purchase the NAME TAG SVG FILE from my printable and SVG shop!
This bundle will provide you with the ability to create the name tags with a Cricut Machine or any cutting device!
2. UPLOAD THE TAG SVG FILE TO CRICUT DESIGN SPACE
The next step is to upload the SVG file to Cricut Design Space.

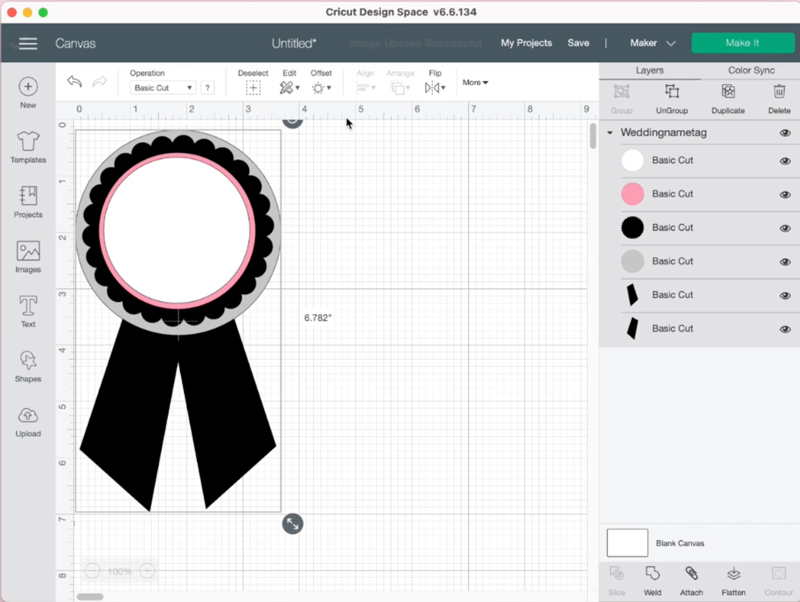
3. INSERT THE FILE INTO A NEW CANVAS
Insert the name tag svg into your canvas and ungroup the layers!
4. USE THE TEXT TOOL TO CUSTOMIZE THE NAME TAGS
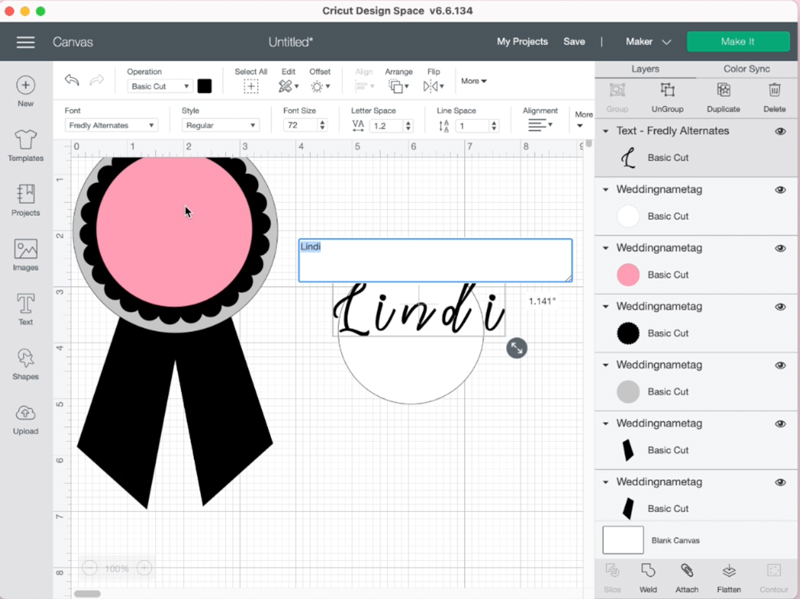
Head to the tool panel on the left of you canvas and click on the ‘T’ icon. That will allow you to write text!
Type in the name for the name tag in the smallest white circle. Just above your canvas is the ‘FONT’ selector. Browse through your fonts and choose a font that you like!
5. RESIZE AND FORMAT YOUR NAME
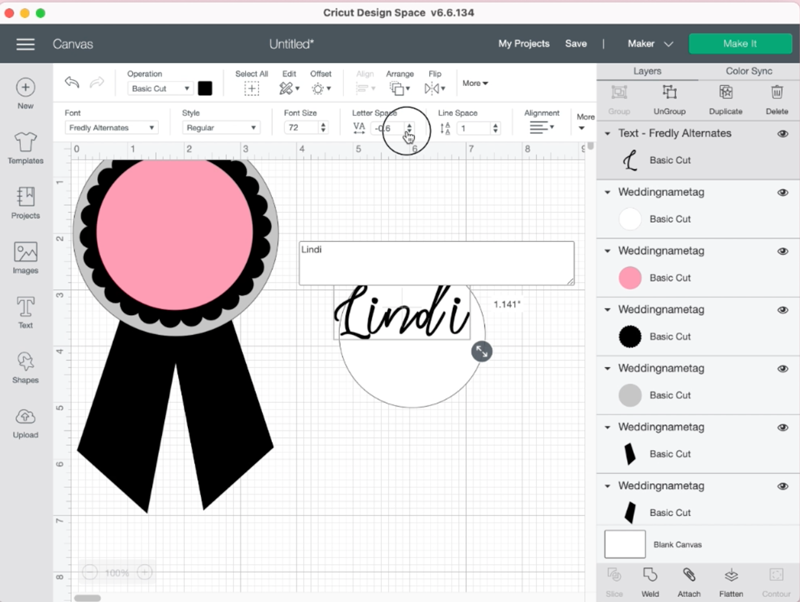
Using the ‘Letter Space’ tool, adjust and format the name to your liking. I decreased the letter spacing so the letters on my name tag were closer together.
Resize until the name fits perfect in the smallest white circle.
6. GROUP & FLATTEN YOUR WHITE CIRCLE LAYER
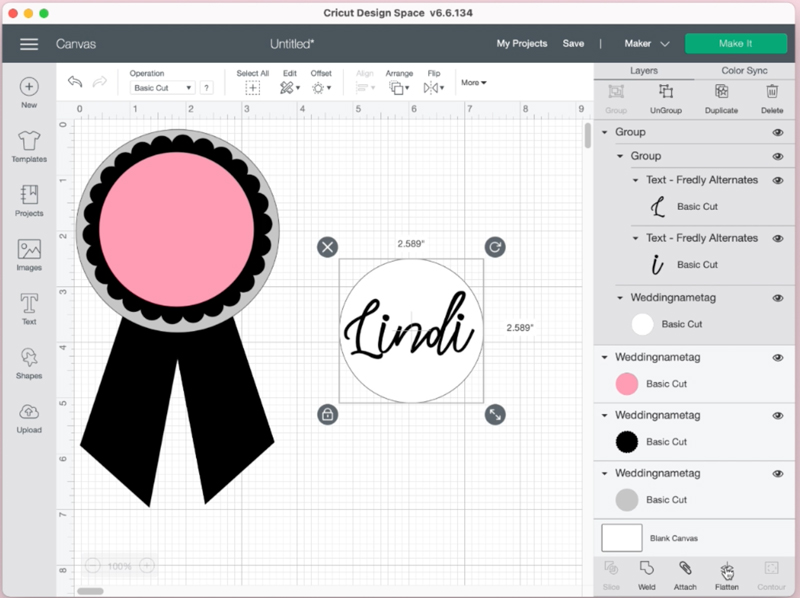
Because we want our name to print on that white circle and then have our Circut Machine cut that circle out, we need to group the two together and then flatten!
Make sure your text layer is ABOVE the white circle on your layer panel. Select both your text and that white cirle and then press ‘GROUP’.
After they are GROUPED, press the FLATTEN BUTTON! That will ensure your text will print on the white circle!
7. PRESS MAKE IT & LET YOUR PRINTER & CRICUT DO THEIR THING!
Next press MAKE IT and the project will arrange itself on color-coated mats, starting with your white printed circle first.
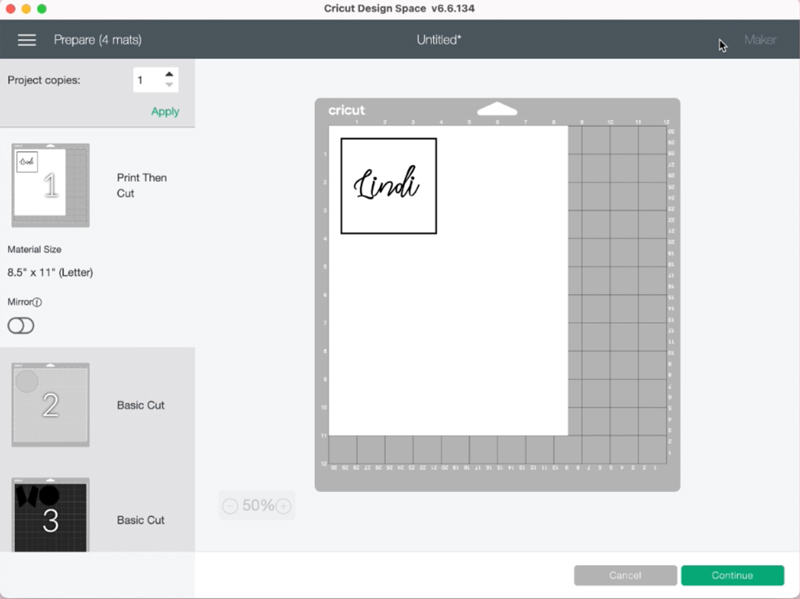
8. PRINT YOUR NAME TAG LAYER
Once you press MAKE IT, the file will be sent to your printer to print. Place white cardstock in your printer and watch the magic!
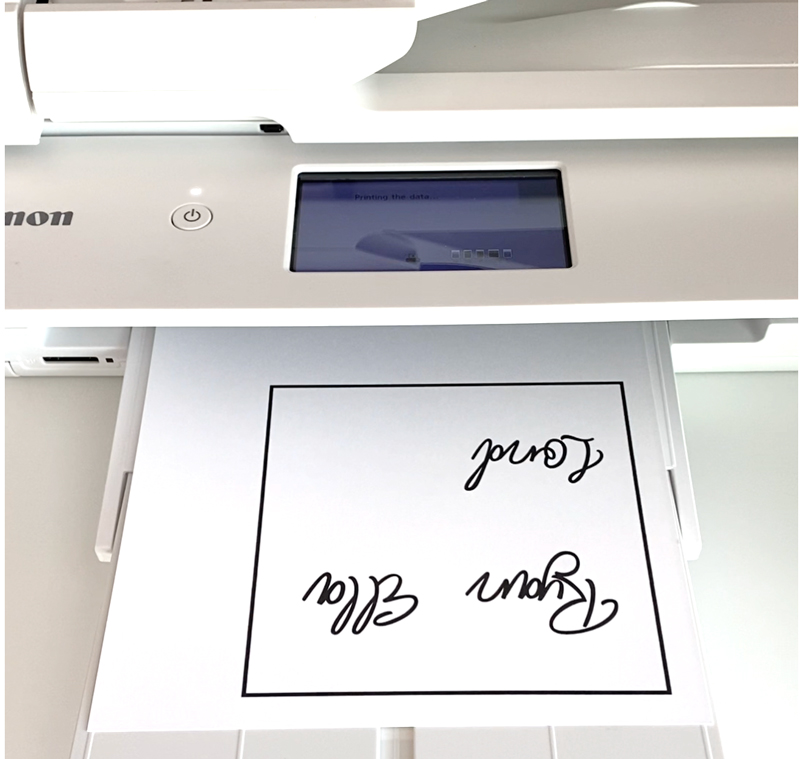
9. CUT OUT YOUR PRINTED NAMES
Once you’ve printed your names, place that white cardstock on your Cricut Mat and send it through your Cricut Machine. It knows the file just printed and will cut out the circles perfectly!
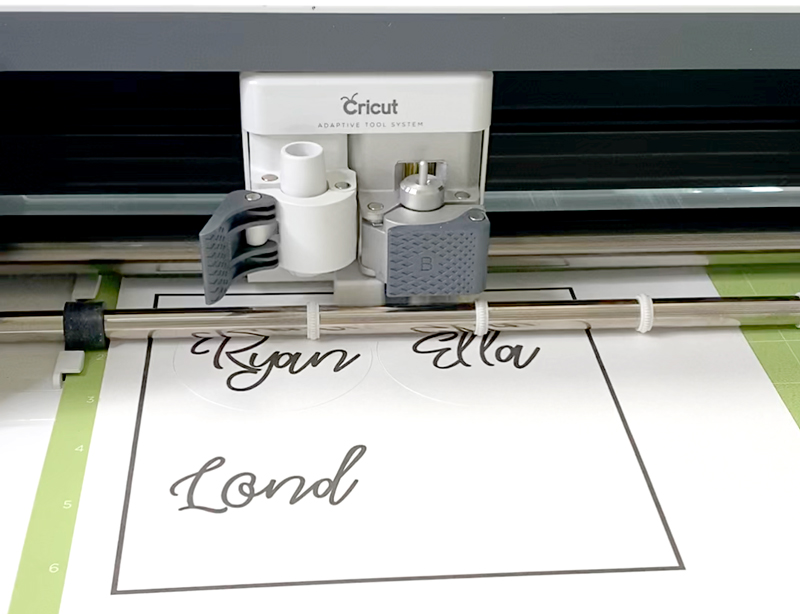
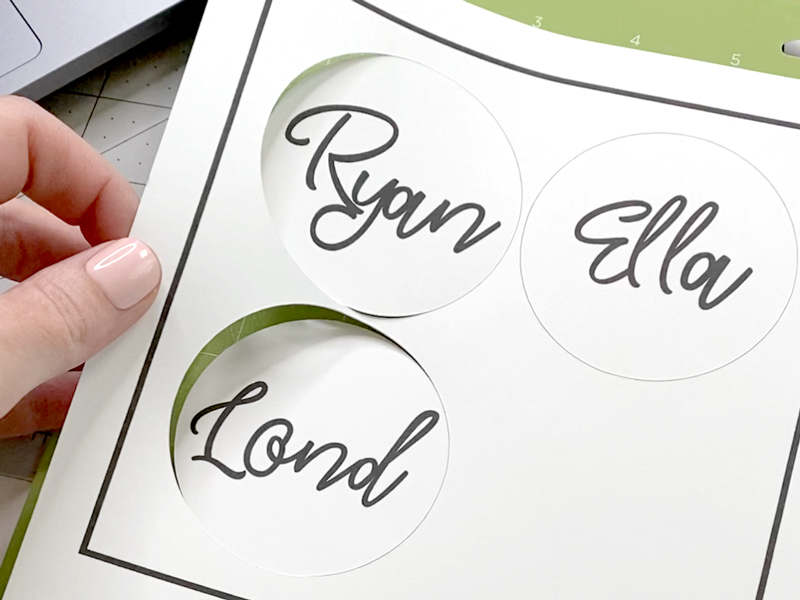
10. CUT THE REMAINING LAYERS OF THE NAME TAG
Continue feeding your Cricut Machine with the two different colors of cardstock! The machine will cut out your pieces and we will assemble in the next step.
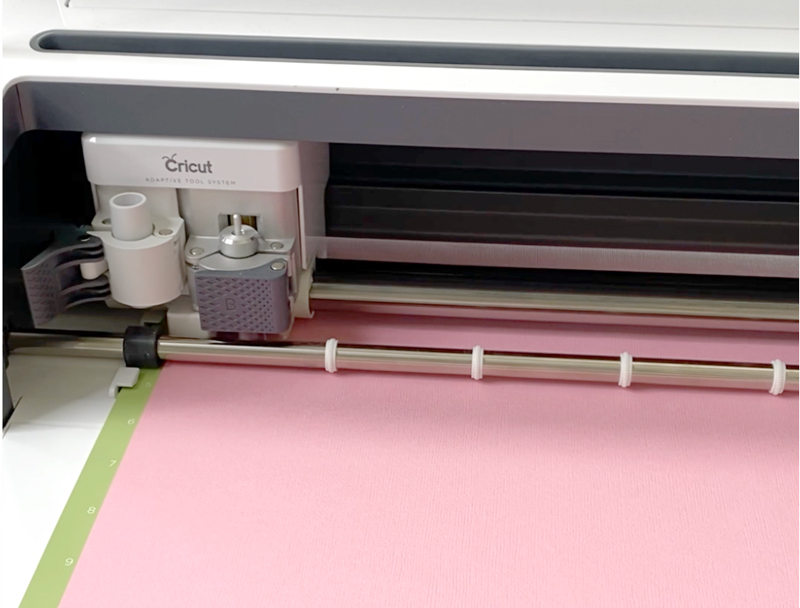

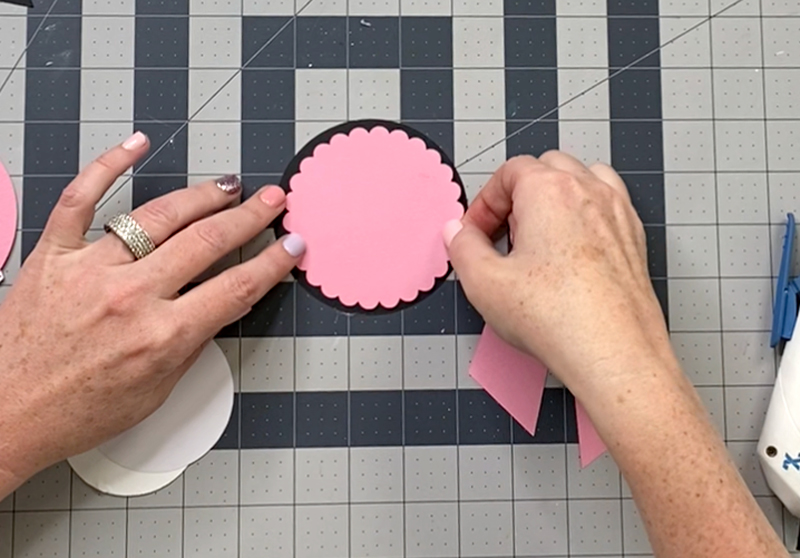
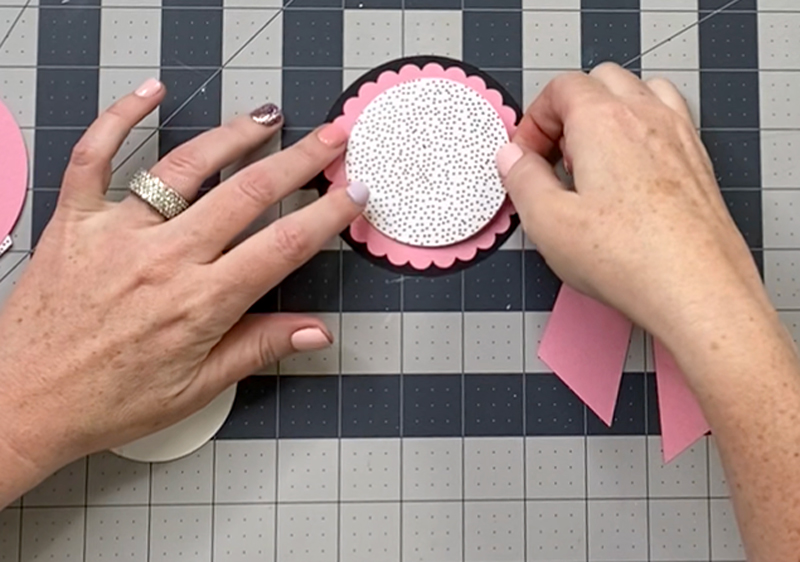
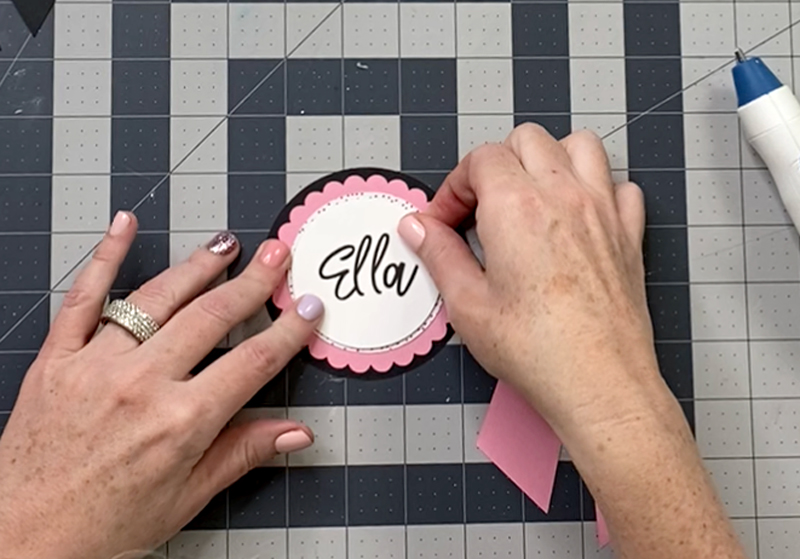
11. HOT GLUE YOUR WEDDING NAME TAG LAYERS TOGETHER
Now that all your pieces are cut, clue them together starting with the largest circle!
Once the three circles are glued together, name layer on top, add the cut ribbon-like cuts.
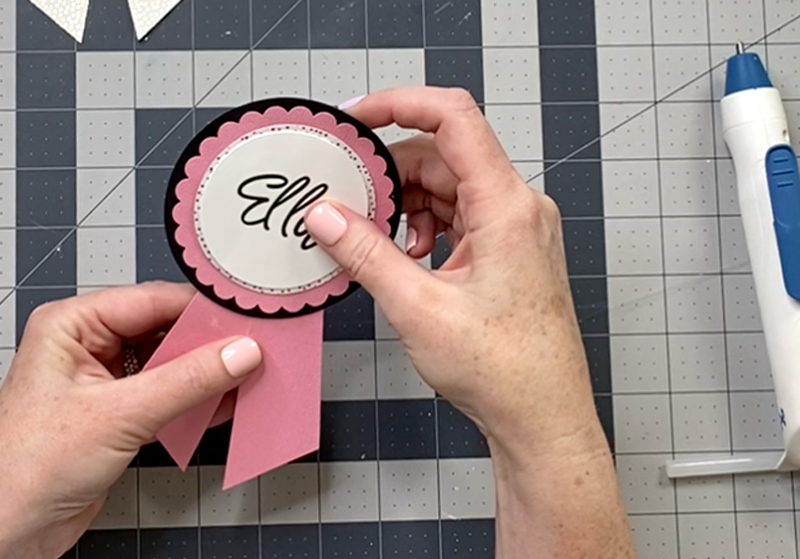
12. ADD A PIN TO THE BACK OF THE TAG
I purchased pins with a sticker back and they work awesome! Peel of the tape back and adhere the pin to your name tags.
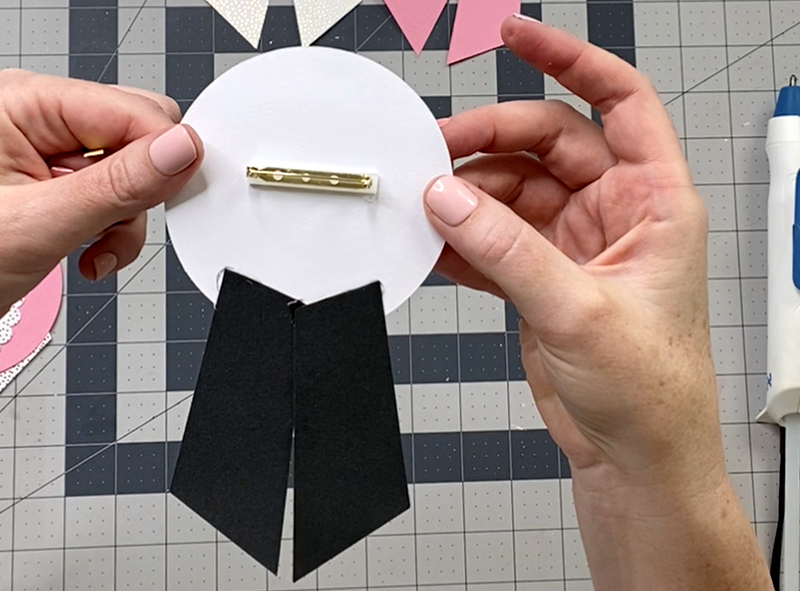
And BAM!! You are done! Repeat for all your guests and you have the most perfect wedding name tags ever! No one will be uncomfortable when they forget names!!
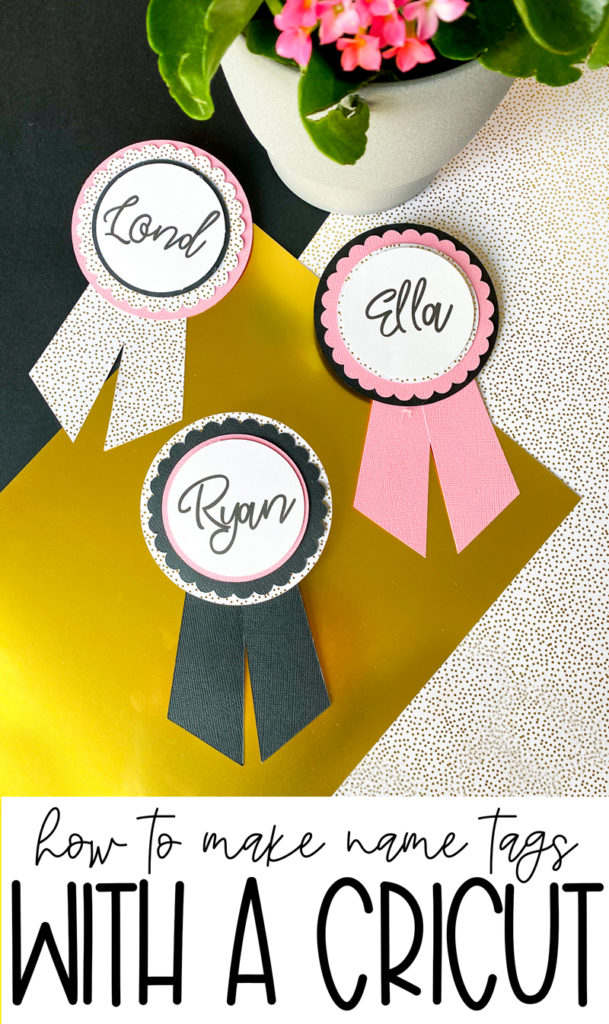
If you create this DIY Wedding Tags, make sure to take a picture and tag me at @lovetheday on Instagram. I’d LOVE to feature you in my stories!
For more WEDDING inspiration, check out these posts!
10 Stunning Wedding Backdrop Ideas
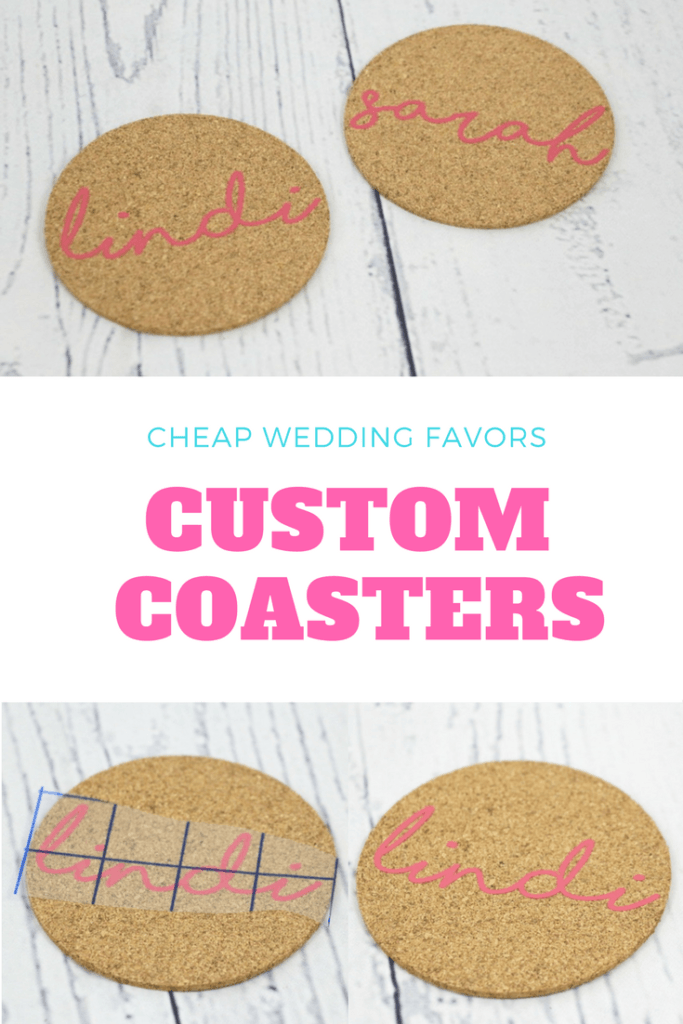
Cheap Wedding Favors
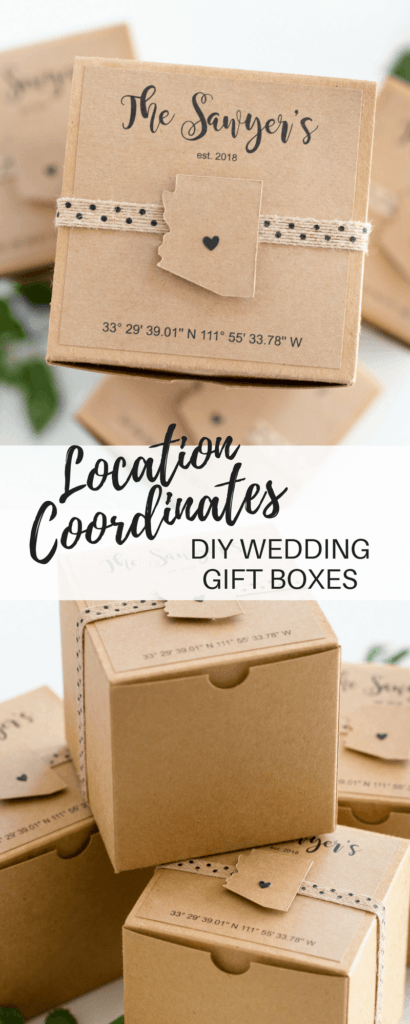
DIY Wedding Gift Box Idea




Thanks for sharing, this is a really cool idea. Now you can create such icons in the form of enamel pins. It doesn’t take much time, but it looks great! There are detailed instructions here https://www.enamelpins.com/blog/how-to-make-enamel-pins/ , if you are interested
I would add more subdued colors, e.g. blue or brown
fgfgfgg
thanks
if you are interested – https://victoriyaclub.com/search/?online=1
If you’re on the hunt for the best bride, I highly recommend giving it a try!
thank you. so good blog. From Sprunki
I think that would be a great method to find the perfect bride, so you should try slope!
such a good way to remember everyone’s name! Speed Stars
your article is very intrresting thanks симетрично