Spring is here in Texas and I couldn’t be happier!! We’ve had the weirdest winter ever and between COVID and the crazy winter storms, I’m ready for sunshine! And bunnies!
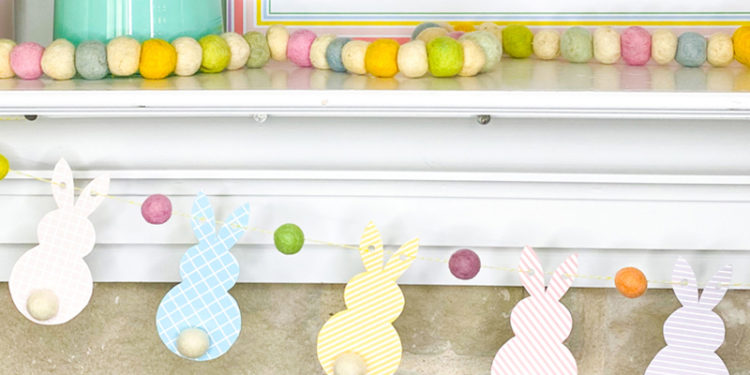
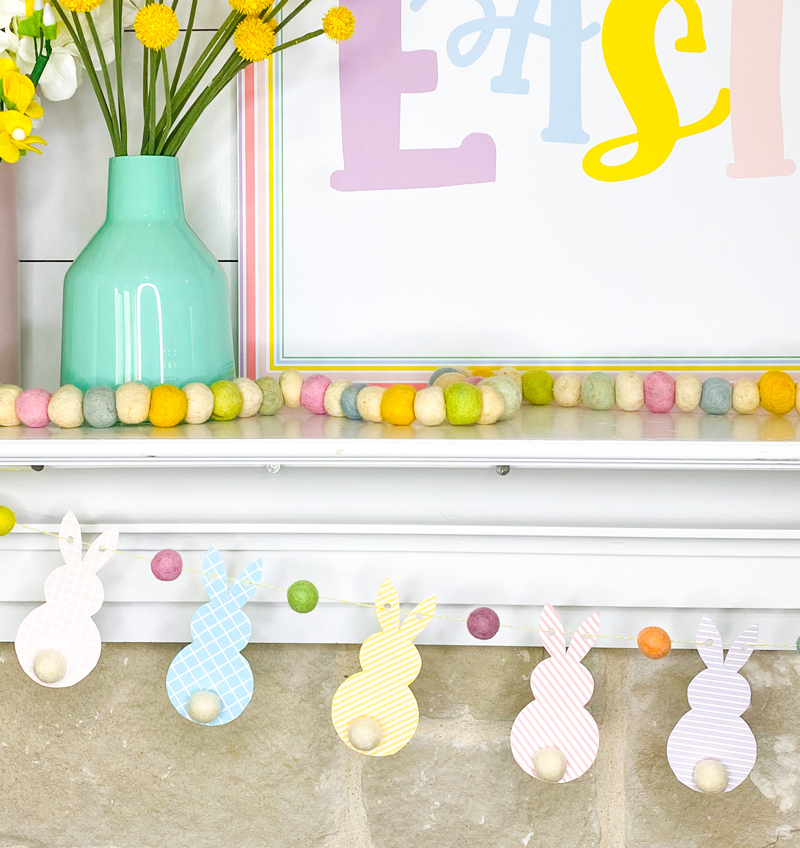
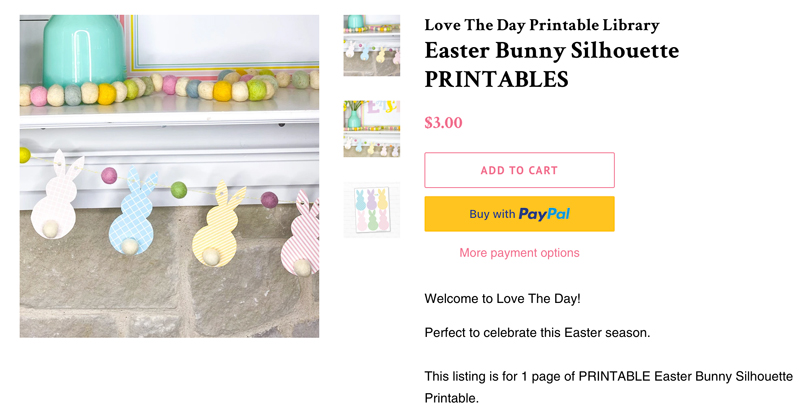
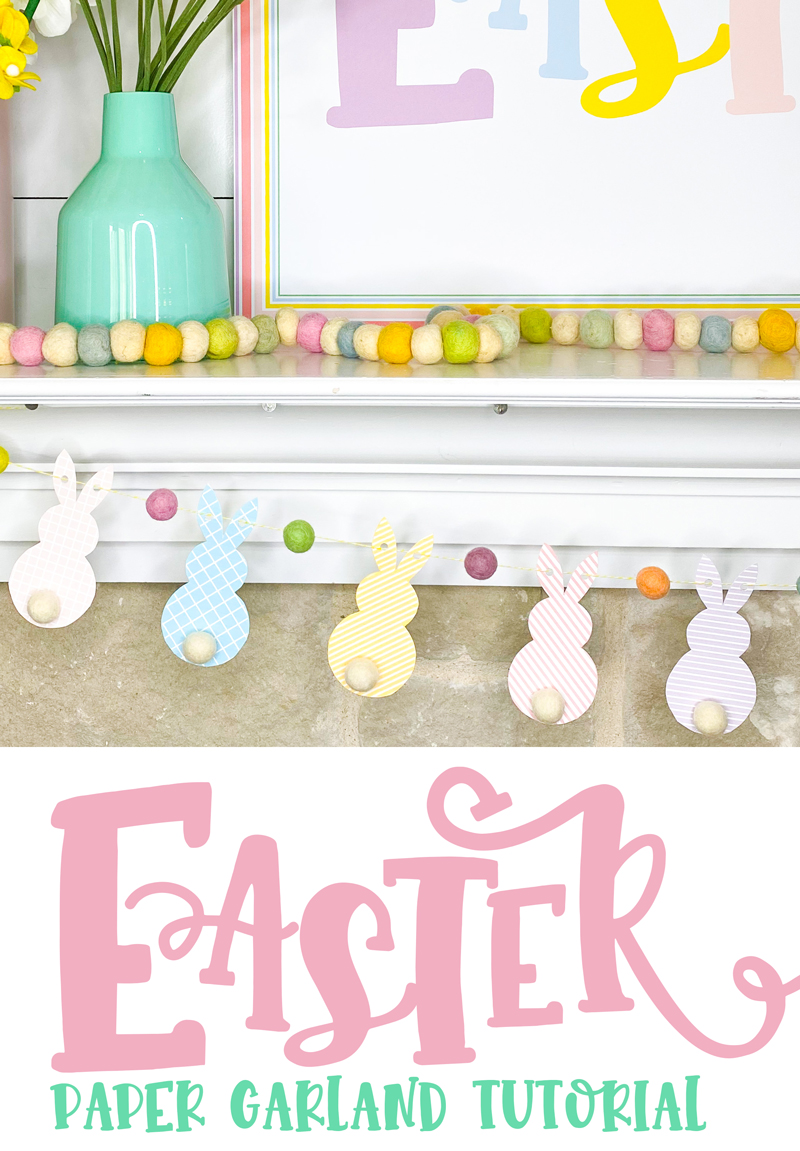
Because what is Easter and spring without a MILLION bunny crafts! Today I’m sharing a Paper Bunny Garland Tutorial that is as easy as printing out a bunch of bunnies!!
HOW TO MAKE A PAPER BUNNY GARLAND
SUPPLIES YOU’LL NEED
Easter Bunny Silhouette PRINTABLES
INSTRUCTIONS FOR PAPER BUNNY GARLAND
1. PURCHASE THE EASTER BUNNY SILHOUETTE PRINTABLES
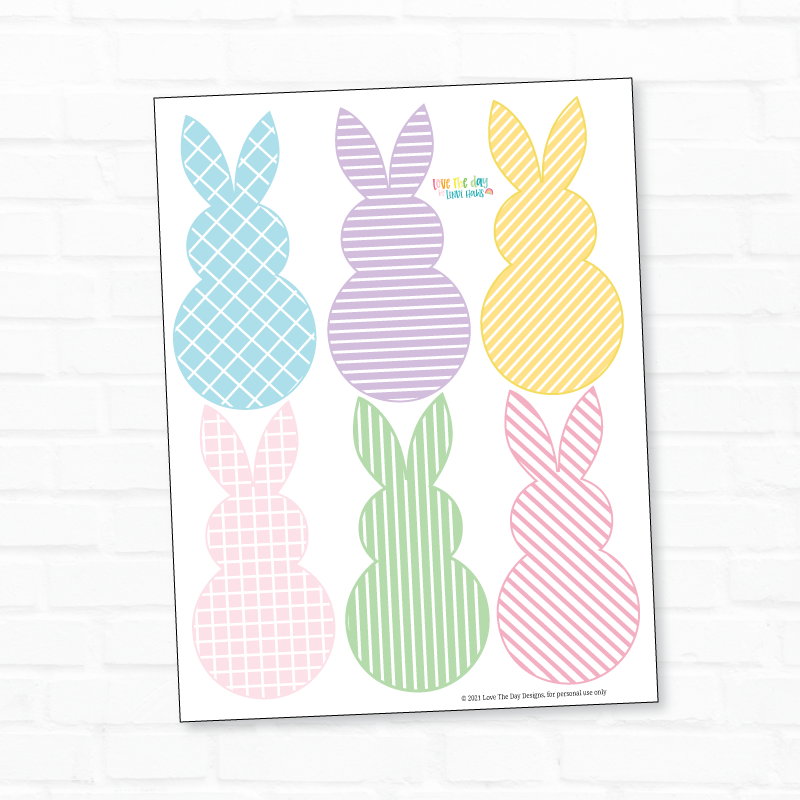
The first thing you’ll need to do is purchase the Easter Bunny Silhouette PRINTABLES from my printable and SVG shop!
2. PRINT OUT THE PAPER BUNNY SILHOUETTES
The next step is to either print out the printable bunny silhouettes.
Make sure to print the file at 100%!
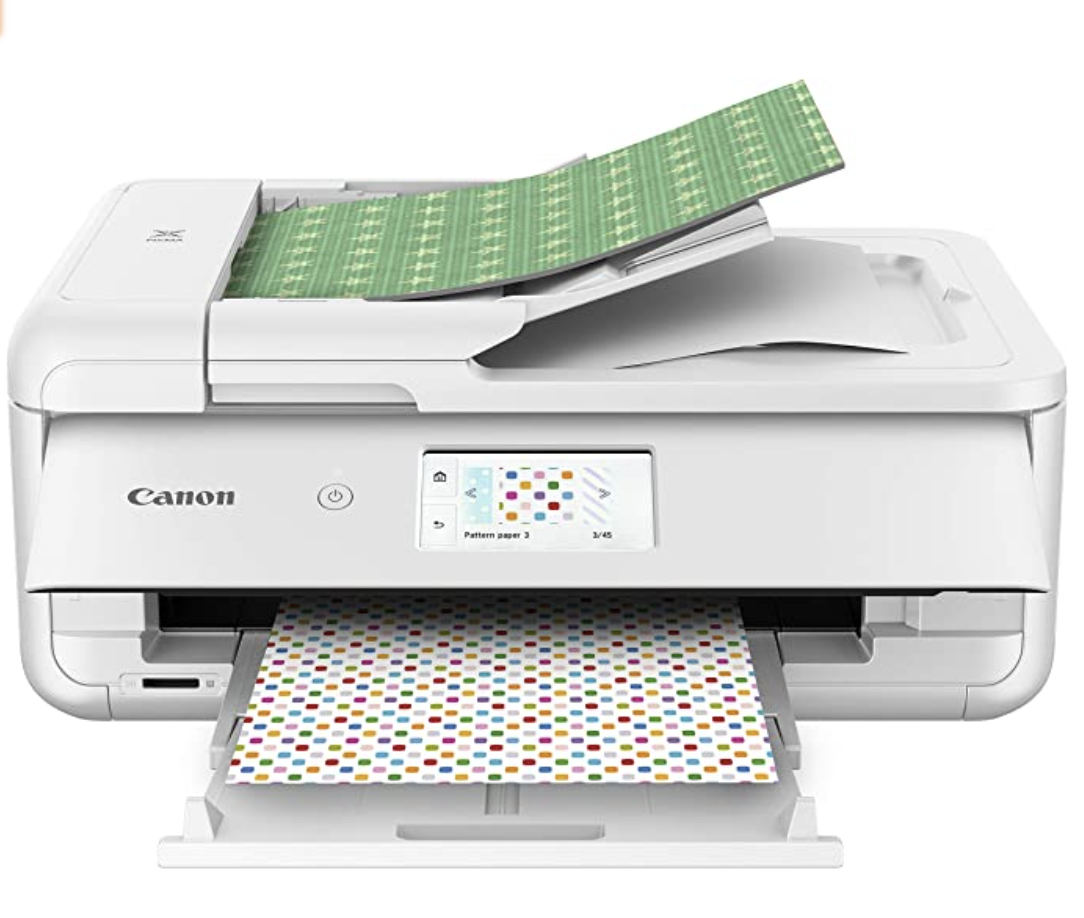
I like to print all my printables on the Canon TS9521C and print my files on 110lb cardstock for decor crafts.
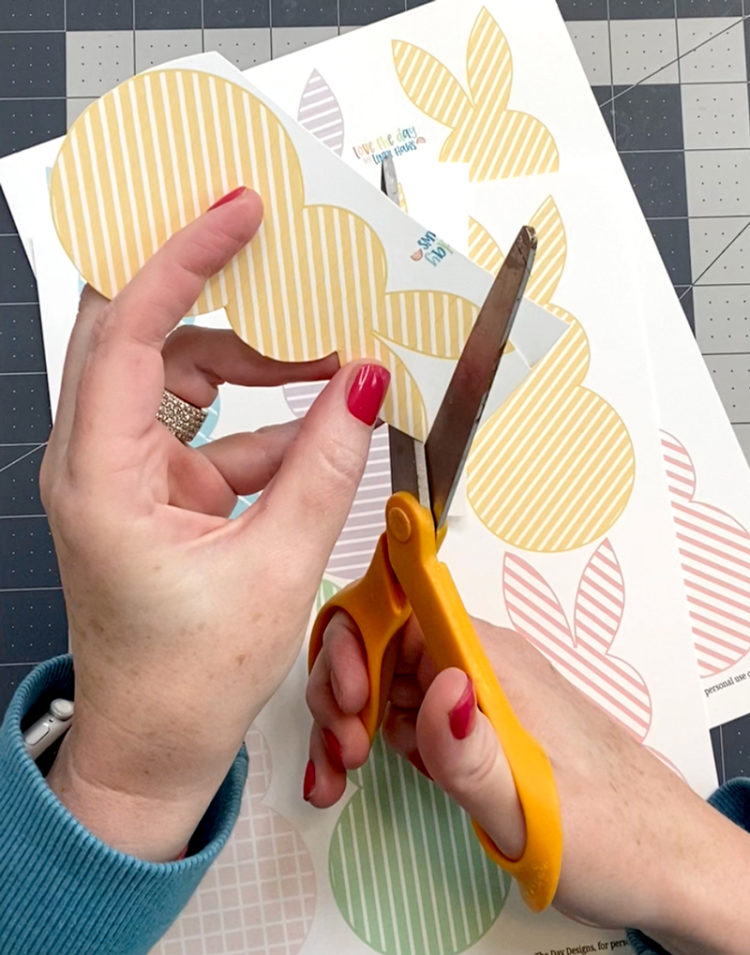
3. CUT OUT YOUR BUNNIES!
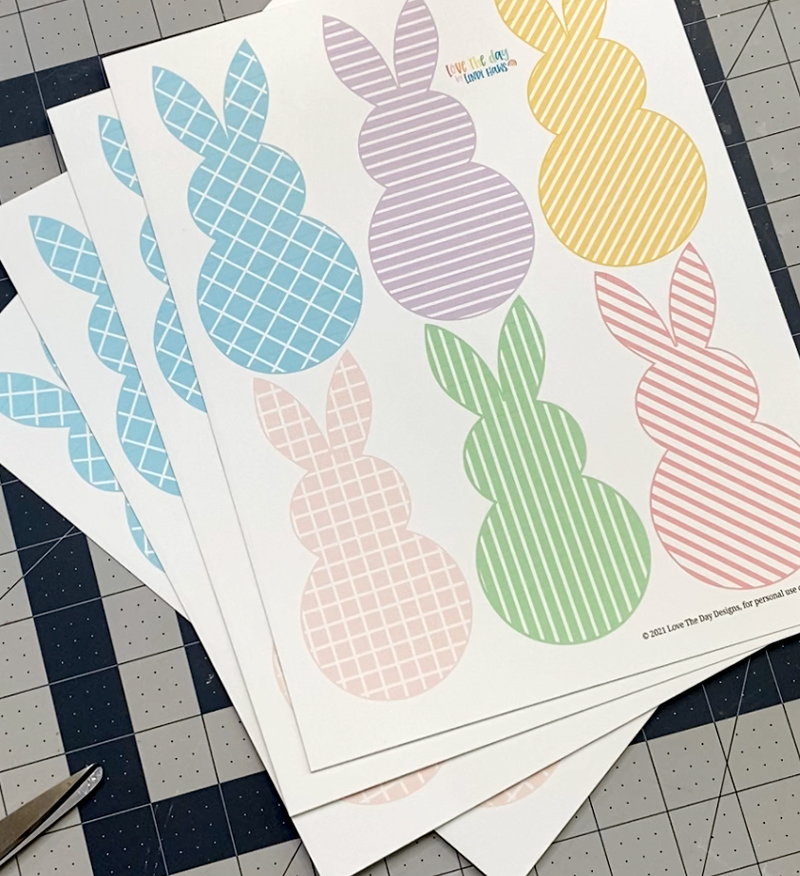
Grab your Fiskar Scissors and star cutting your bunnies out! I printed and cut out three pages of the bunny silhouette printable.
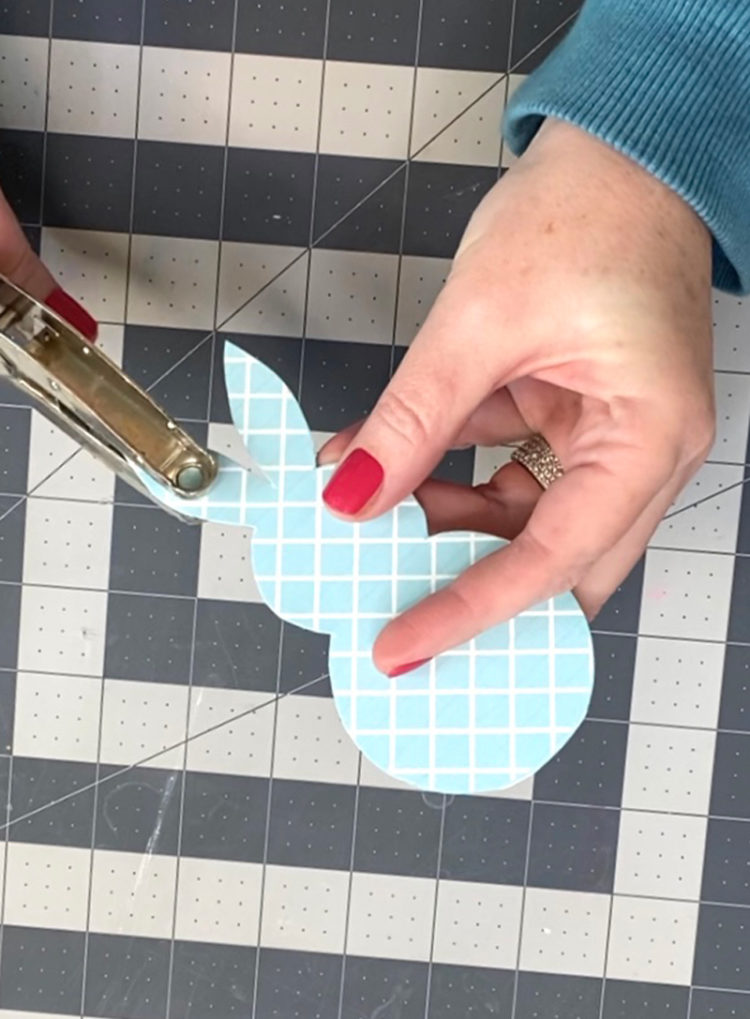
4. PUNCH HOLES IN YOUR BUNNIES
Grab your hole punch and punch holes in ALL of your bunny’s ears!
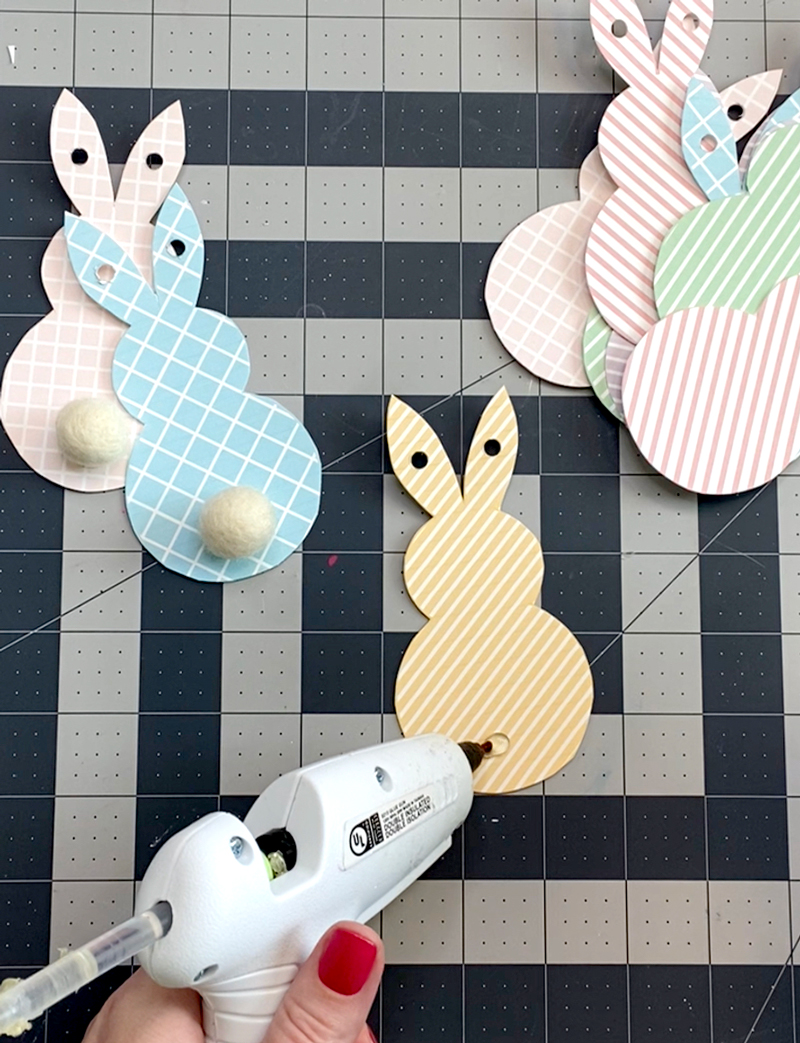
5. GLUE THE WHITE FELT BALLS ON YOUR BUNNY
With a glue gun, hot glue the white felt balls on your bunnies.
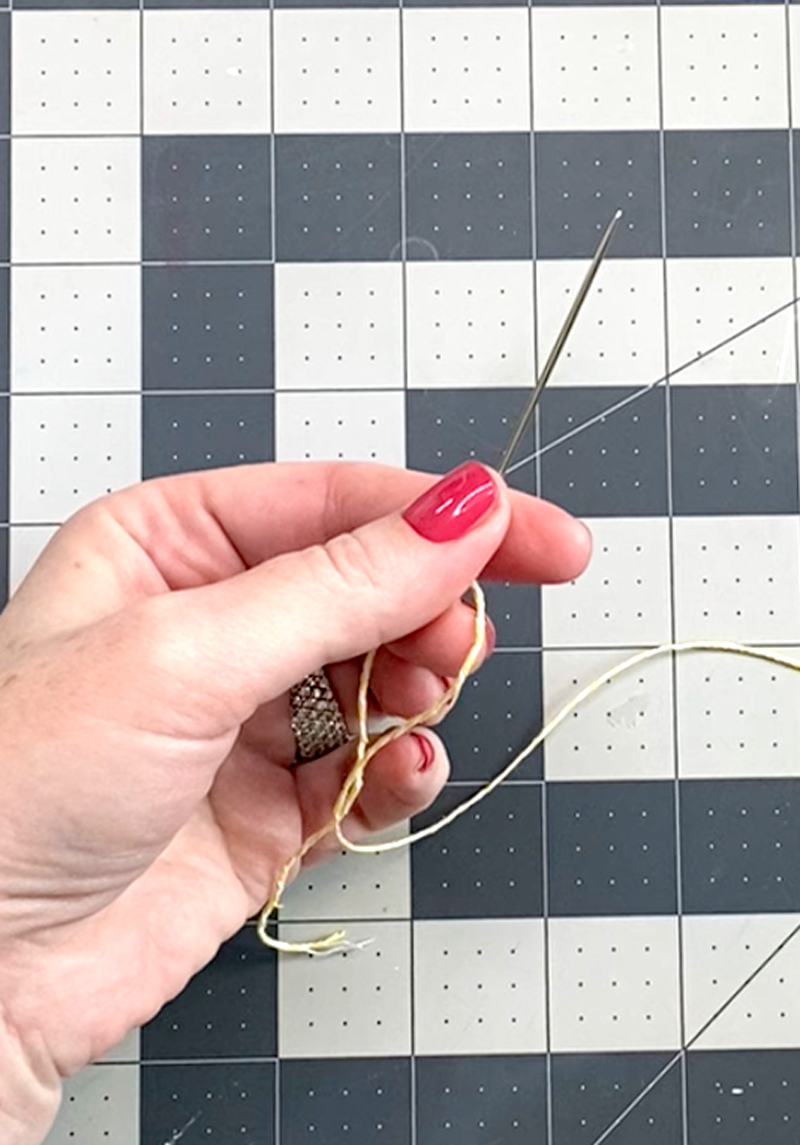
6. GRAB YOUR TWINE AND THREAD YOUR NEEDLE
Purchase a needle with a large head and thread your baker’s twine through it’s eye.
7. STRING YOUR GARLAND TOGETHER
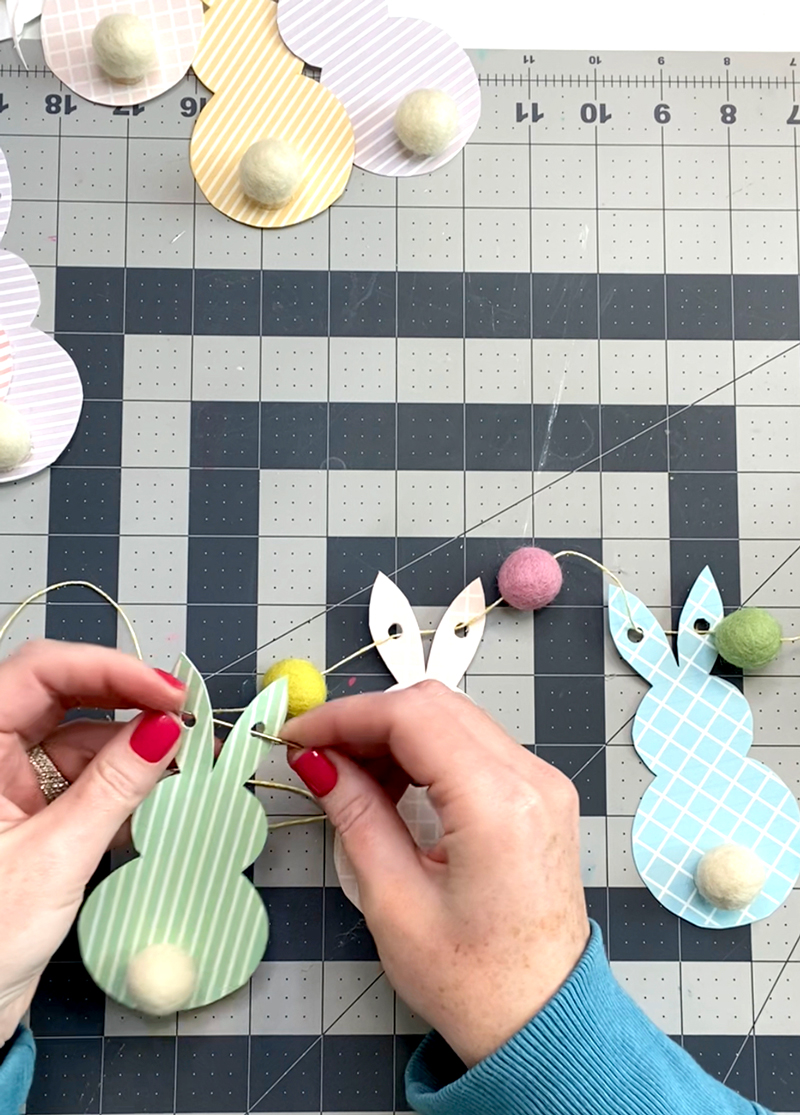
Using your needle, string your garland together alternating bunny and colorful felt ball! Make as long as desired.
If you create this Paper Bunny Garland, make sure to take a picture and tag me at @lovetheday on Instagram using hashtag #LTDprintables.
I’d LOVE to feature you in my stories!
For more EASTER inspiration, check out these posts!

