If you follow me on Instagram, you know I went on a secret trip a few weeks ago. I teased you explaining how incredibly exciting and cool it will be when I can FINALLY share and guess what…today’s the day!!!
I was in Utah at the Cricut Headquarters learning all about their latest product. And guys…it’s seriously THE COOLEST!
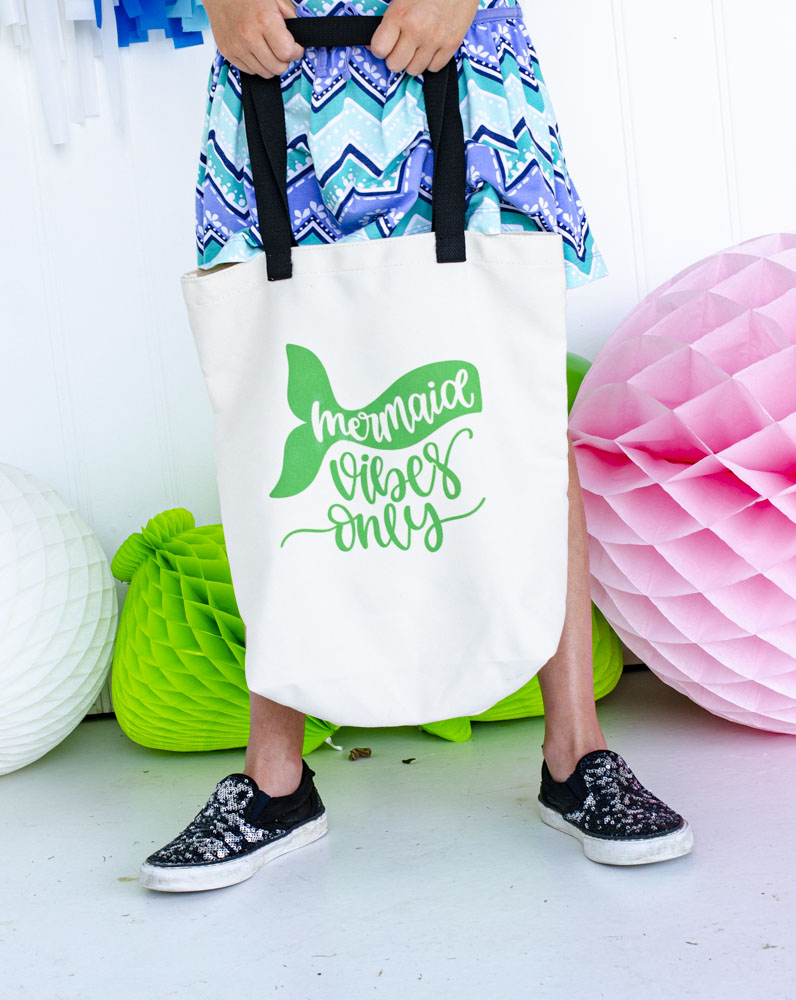
INTRODUCING….CRICUT INFUSIBLE INK!
Ok, let me explain what this amazing product is. It’s a new DIY system that makes it possible to create professional level projects on T-shirts, totes, coasters and more for the first time. You can now achieve store-bough quality all by yourself!
Unlike Vinyl and Heat-Transfer Vinyl that attaches on top of a base material, infusible ink becomes one with the base itself. The transfers are bright, don’t bleed (how is this even possible?) and seamless. The transfers never flake, peel, crack or wrinkle. Amazing right?!
Let me show you how it works!
WHAT YOU’LL NEED TO USE INFUSIBLE INK
- Infusible Ink Transfer Sheet – Infusible Ink sheets transfer into rich, sharp colors once transferred using hot temperatures. Packages come with two sheets, a sheet of butcher paper and a practice swatch.
- Cricut Blank – Blanks MUST be compatible with Infusible Ink. Currently there are shirts, totes and coasters available to use with infusible.
- Cricut Machine – Both the Cricut Maker and Cricut Explore Air 2 are capable of cutting Infusible Ink.
- Standard Grip Machine Mat
- EasyPress – Both the EasyPress and EasyPress 2 are compatible with Infusible Ink, but I HIGHLY recommend using the EasyPress 2. The 2 machine can get temperatures up to 400°! miking it the go-to heat companion for Infusible Ink. Its advanced features ensure flawless Iris results every time.
- EasyPress Mat
- Cardstock (80lb) 12″X12″, White (colored is not recommended)
- Butcher Paper
- Lint Roller
HOW TO USE INFUSIBLE INK ON T-SHIRTS
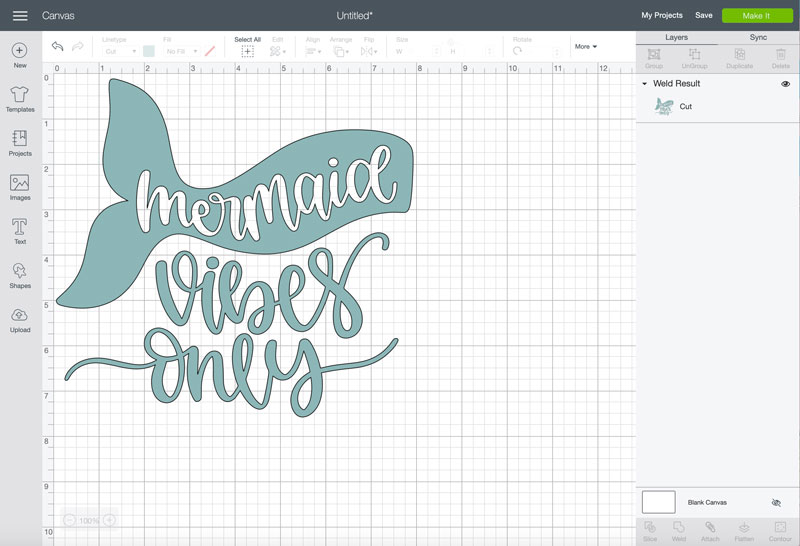
- Choose from one of the 75,000 designs on Design Space! I chose this darling mermaid image.
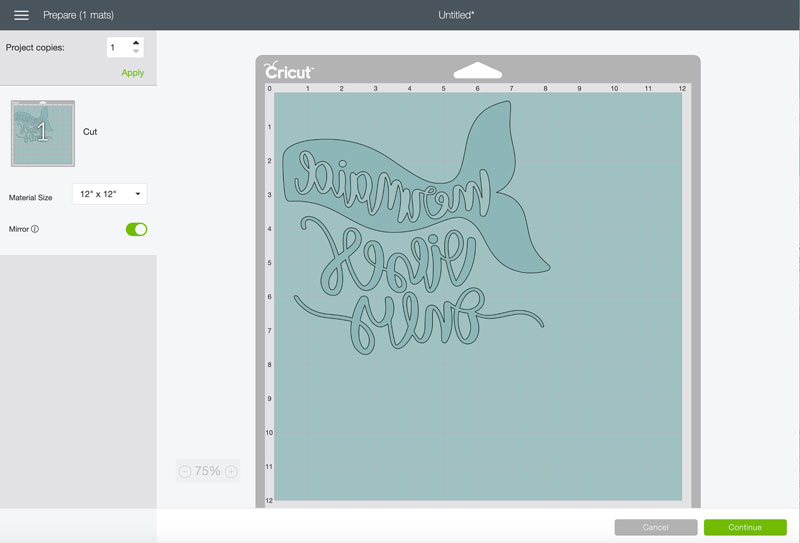
- Place Infusible Ink Transfer Sheet onto a StandardGrip mat, with the liner side down. Press cut….don’t forget to mirror!
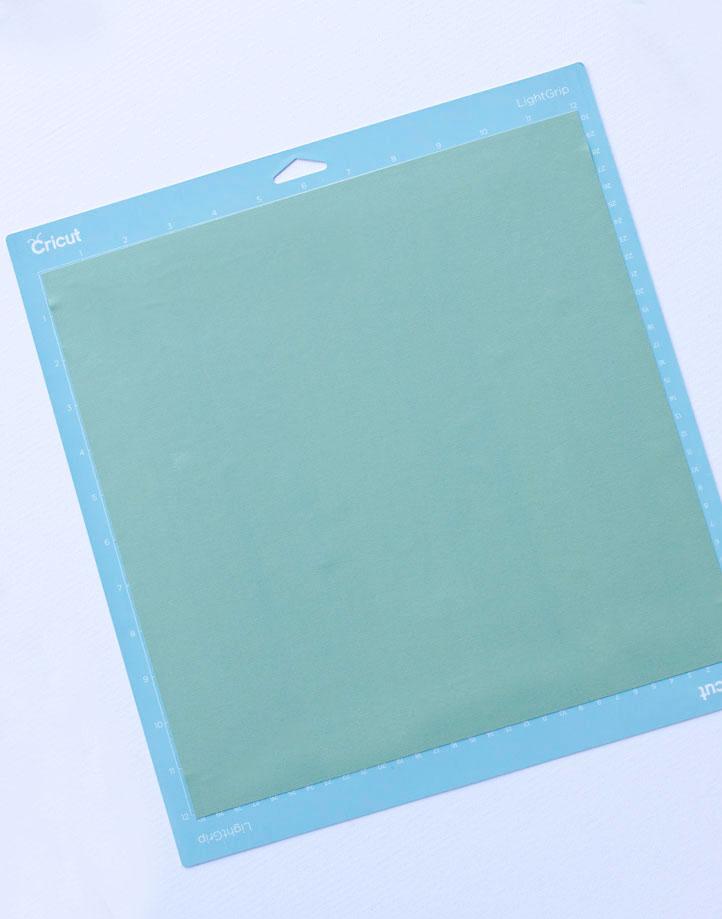
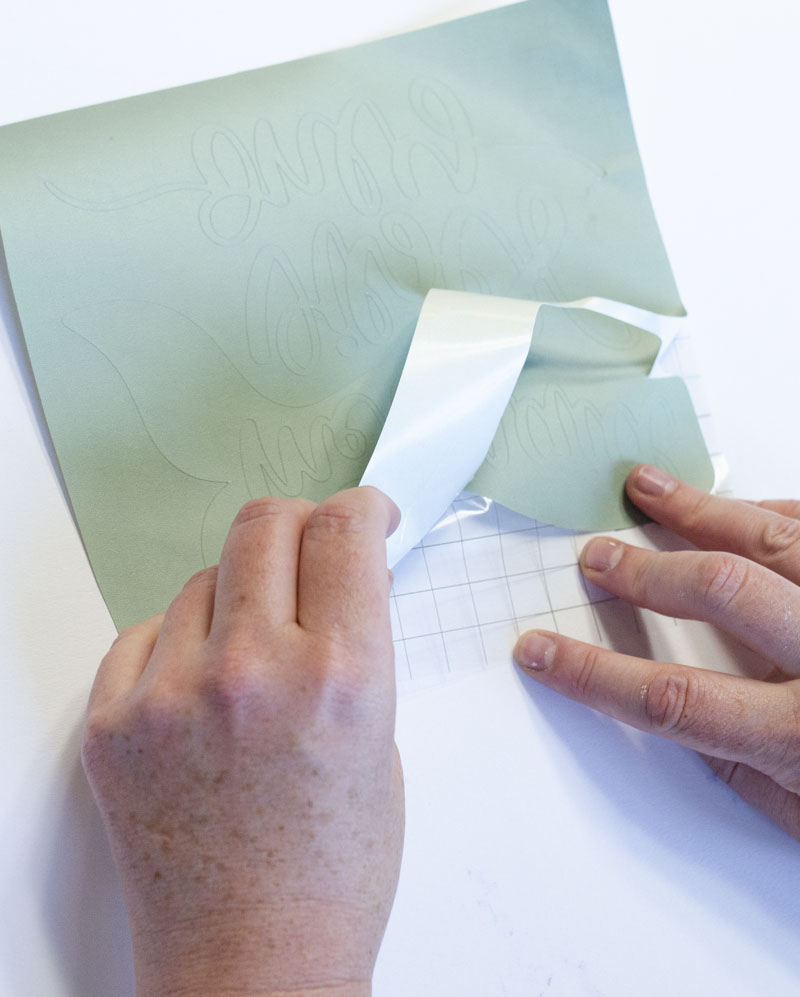
3. Weed! Remove cut design from mat and trim away unused area of sheet (make sure your hands dry when you weed)!
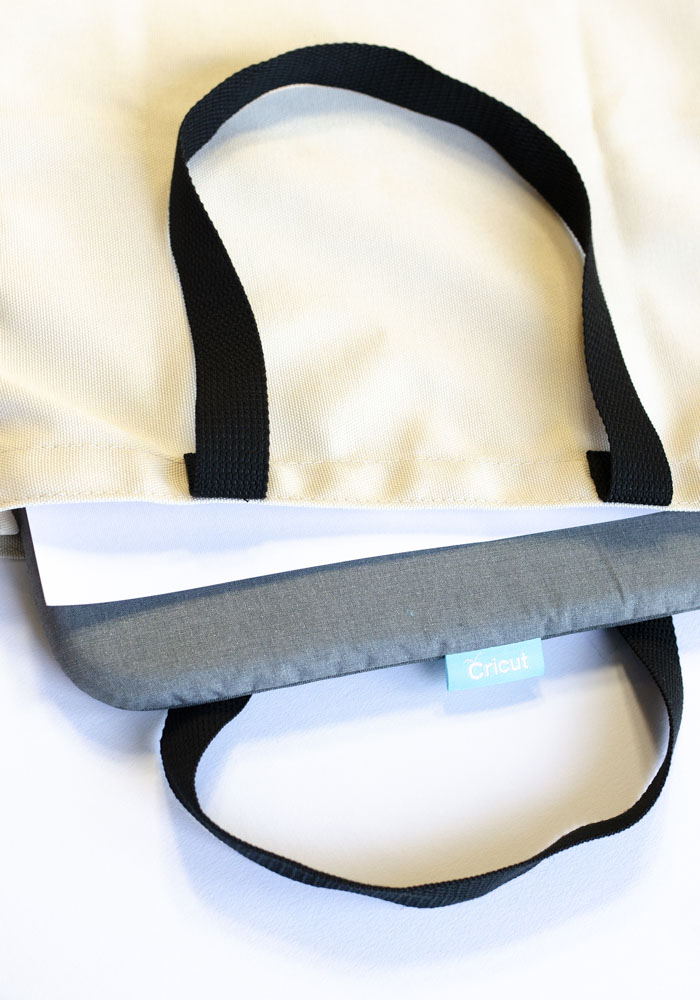
4. Place cardstock on top of Cricut EasyPress Mat, then position both inside the tote. The cardstock will protect your mat and project.
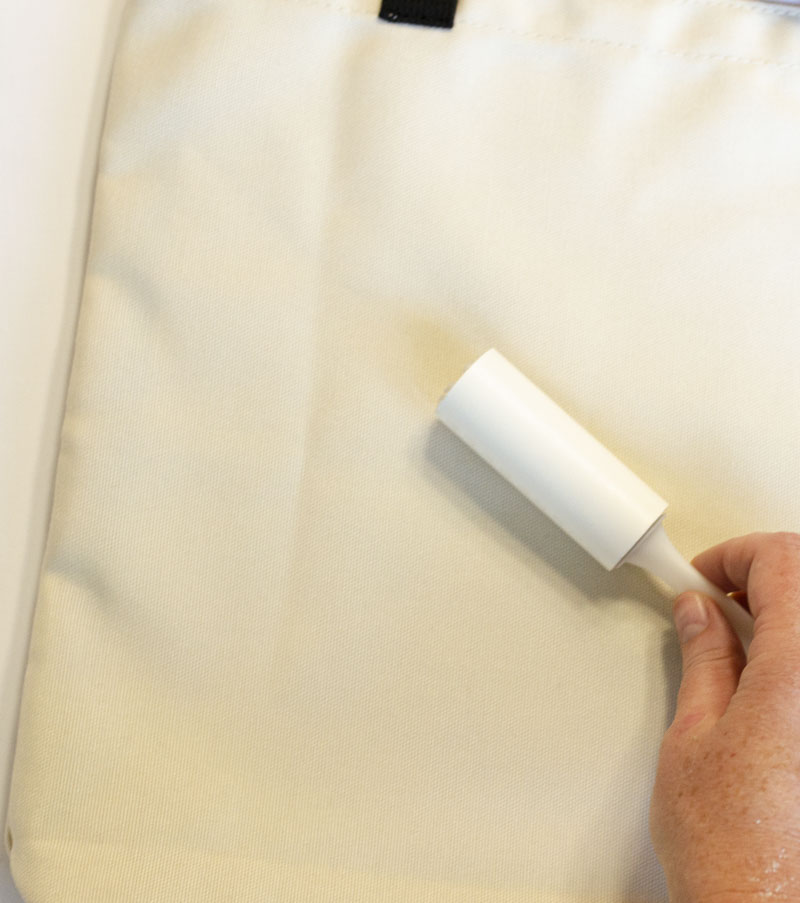
5. Use a fresh adhesive to lint roll the entire tote!
6. Cover blank with butcher paper. Butcher paper must be larger than Cricut EasyPress heat plate. Preheat application area to remove moisture and wrinkles! For this project press at 385 Degrees for 15 seconds, light pressure. Remove butcher paper and let tote cool!
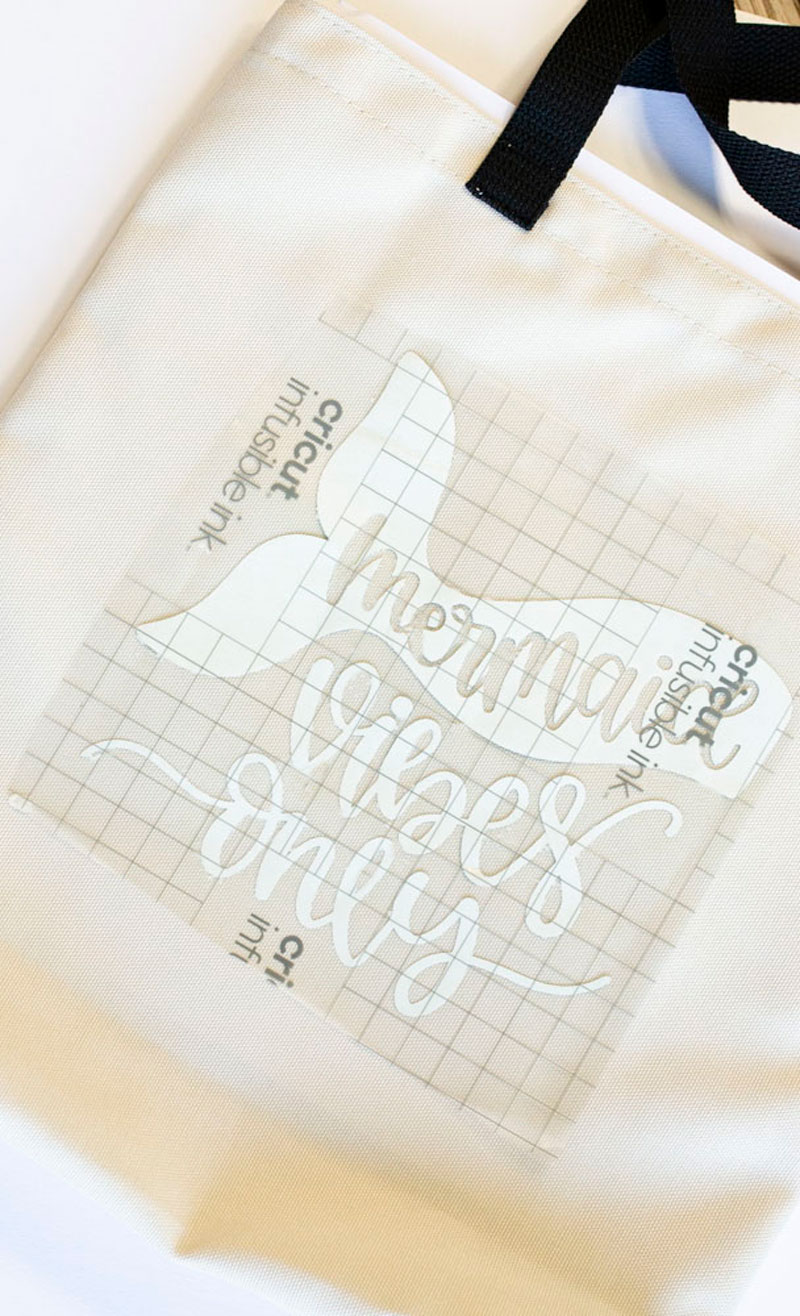
7. Place your design face down on the tote. The clear liner should be on top and the printed side of the Infusible Ink Transfer Sheet should be against the tote.
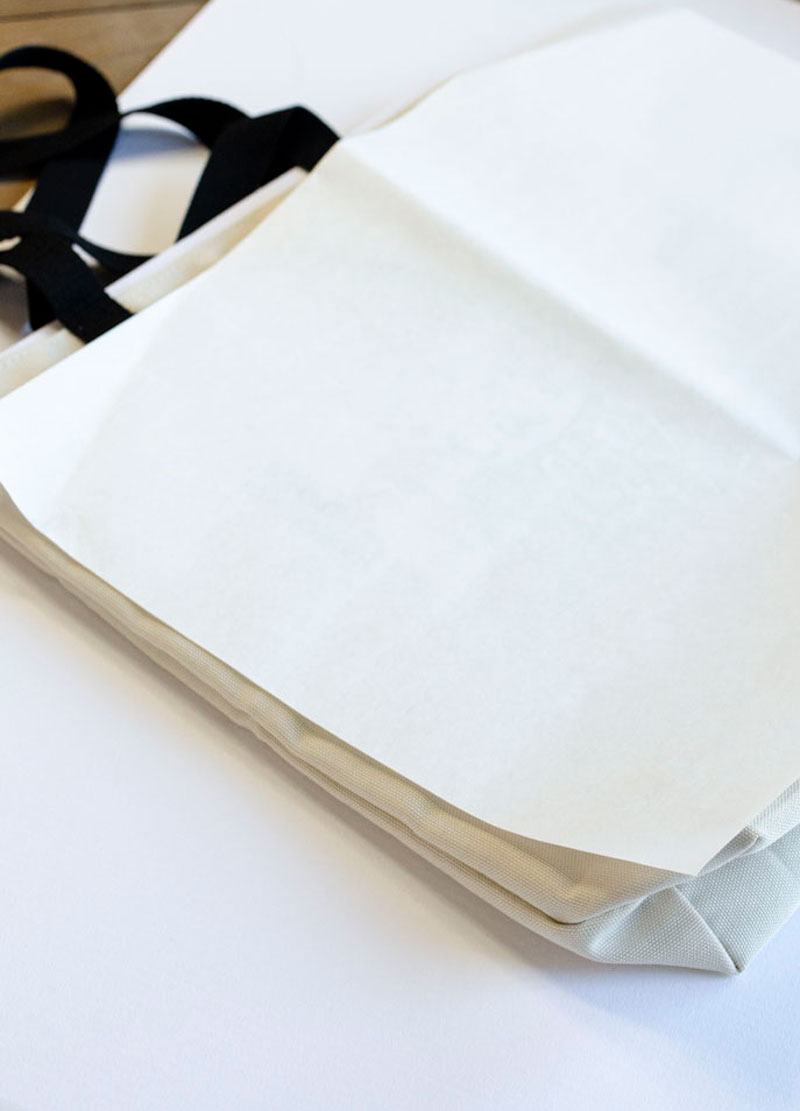
8. Place the butcher paper on top of the design.
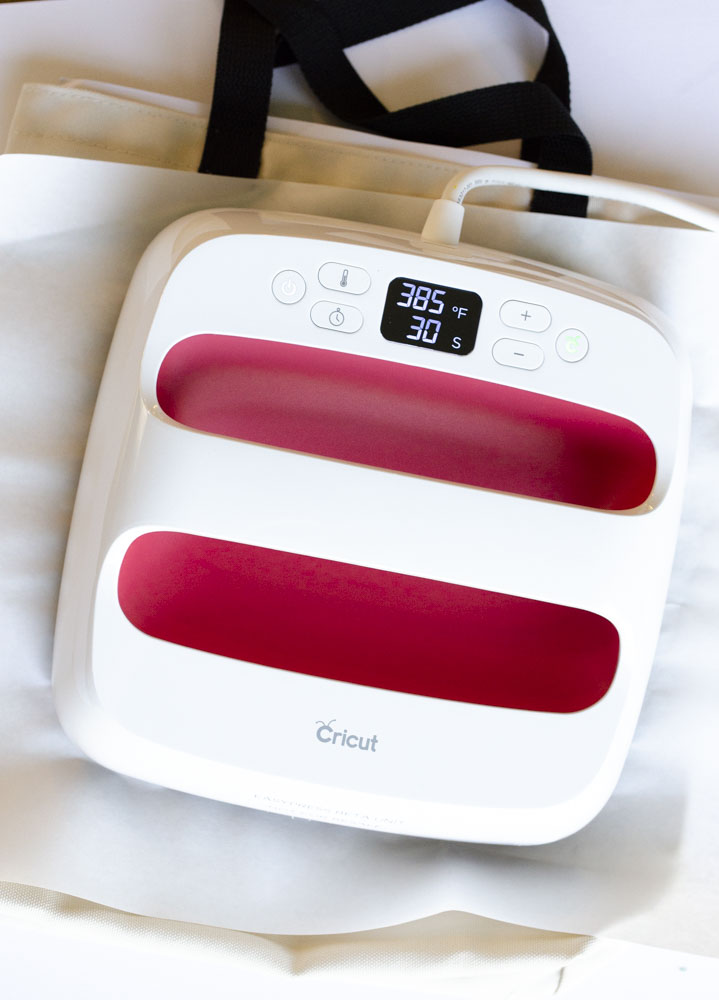
9. Press with Cricut EasyPress. For this project press at 385 degrees for 40 seconds using light pressure.
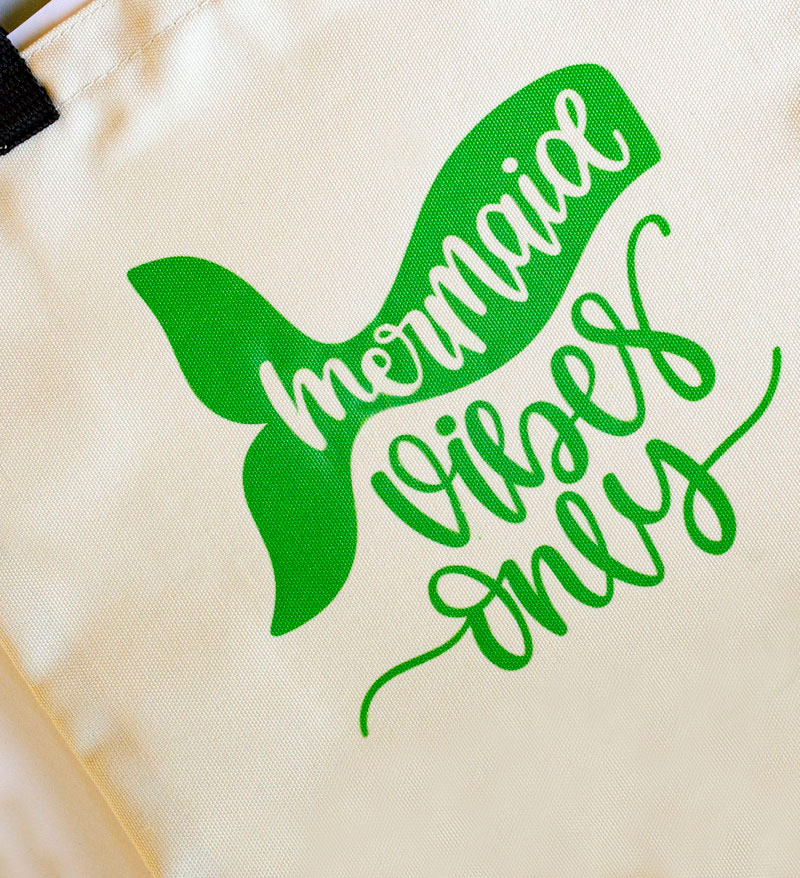
10. When time is up, slowly lift press. Try not to move the stack, including the butcher paper.
11. Let the project cool completely. Slowly remove butcher paper, then slowly remove the transfer paper.
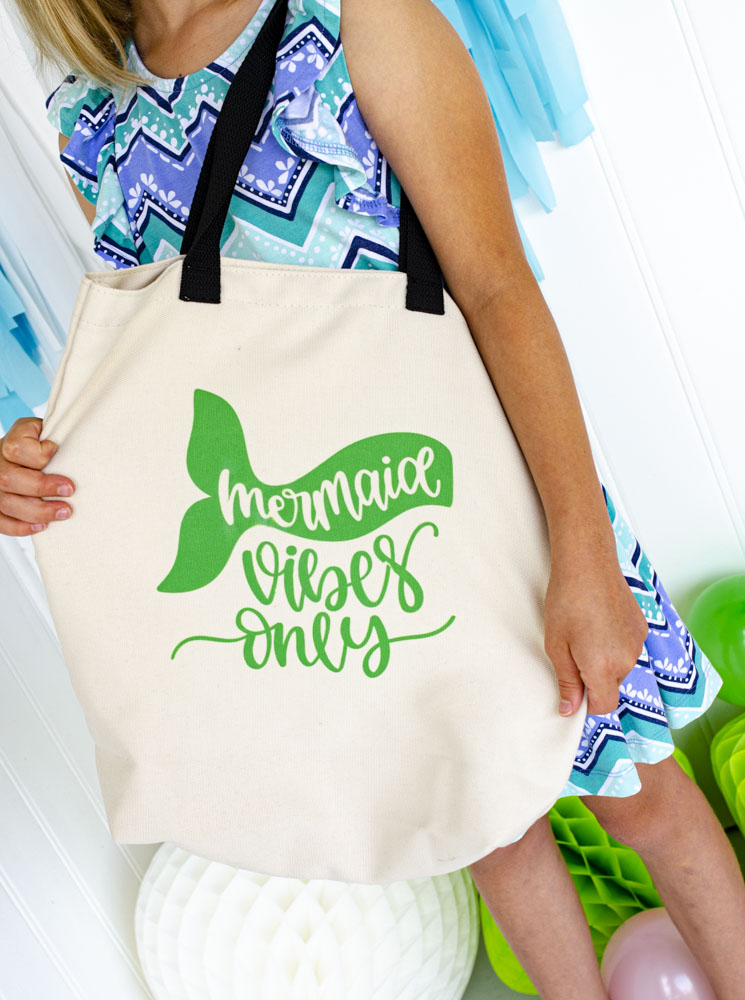
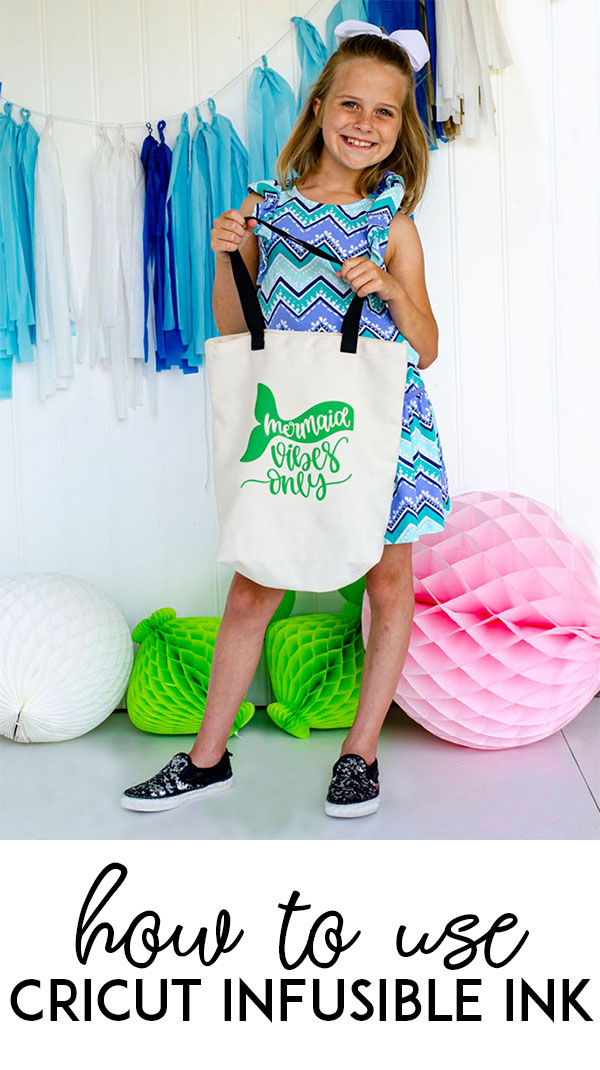
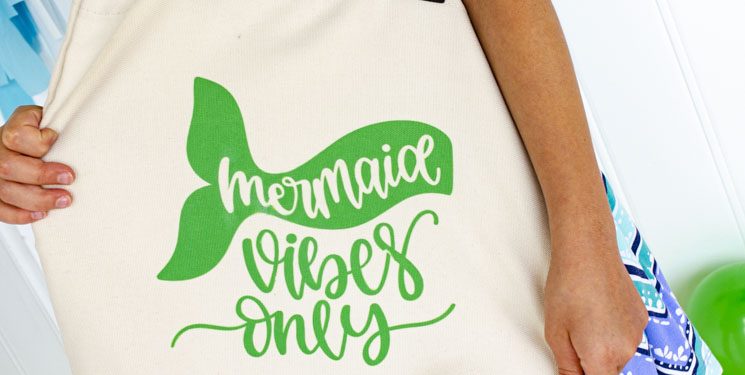
The results are ridiculous right?!! The ink transfers so seamlessly and looks so, so professional. And how does it not bleed?! It blows my mind!
HOW TO USE INFUSIBLE INK ON COASTERS
- Place a sheet of laser copy paper on a LightGrip Machine Mat.
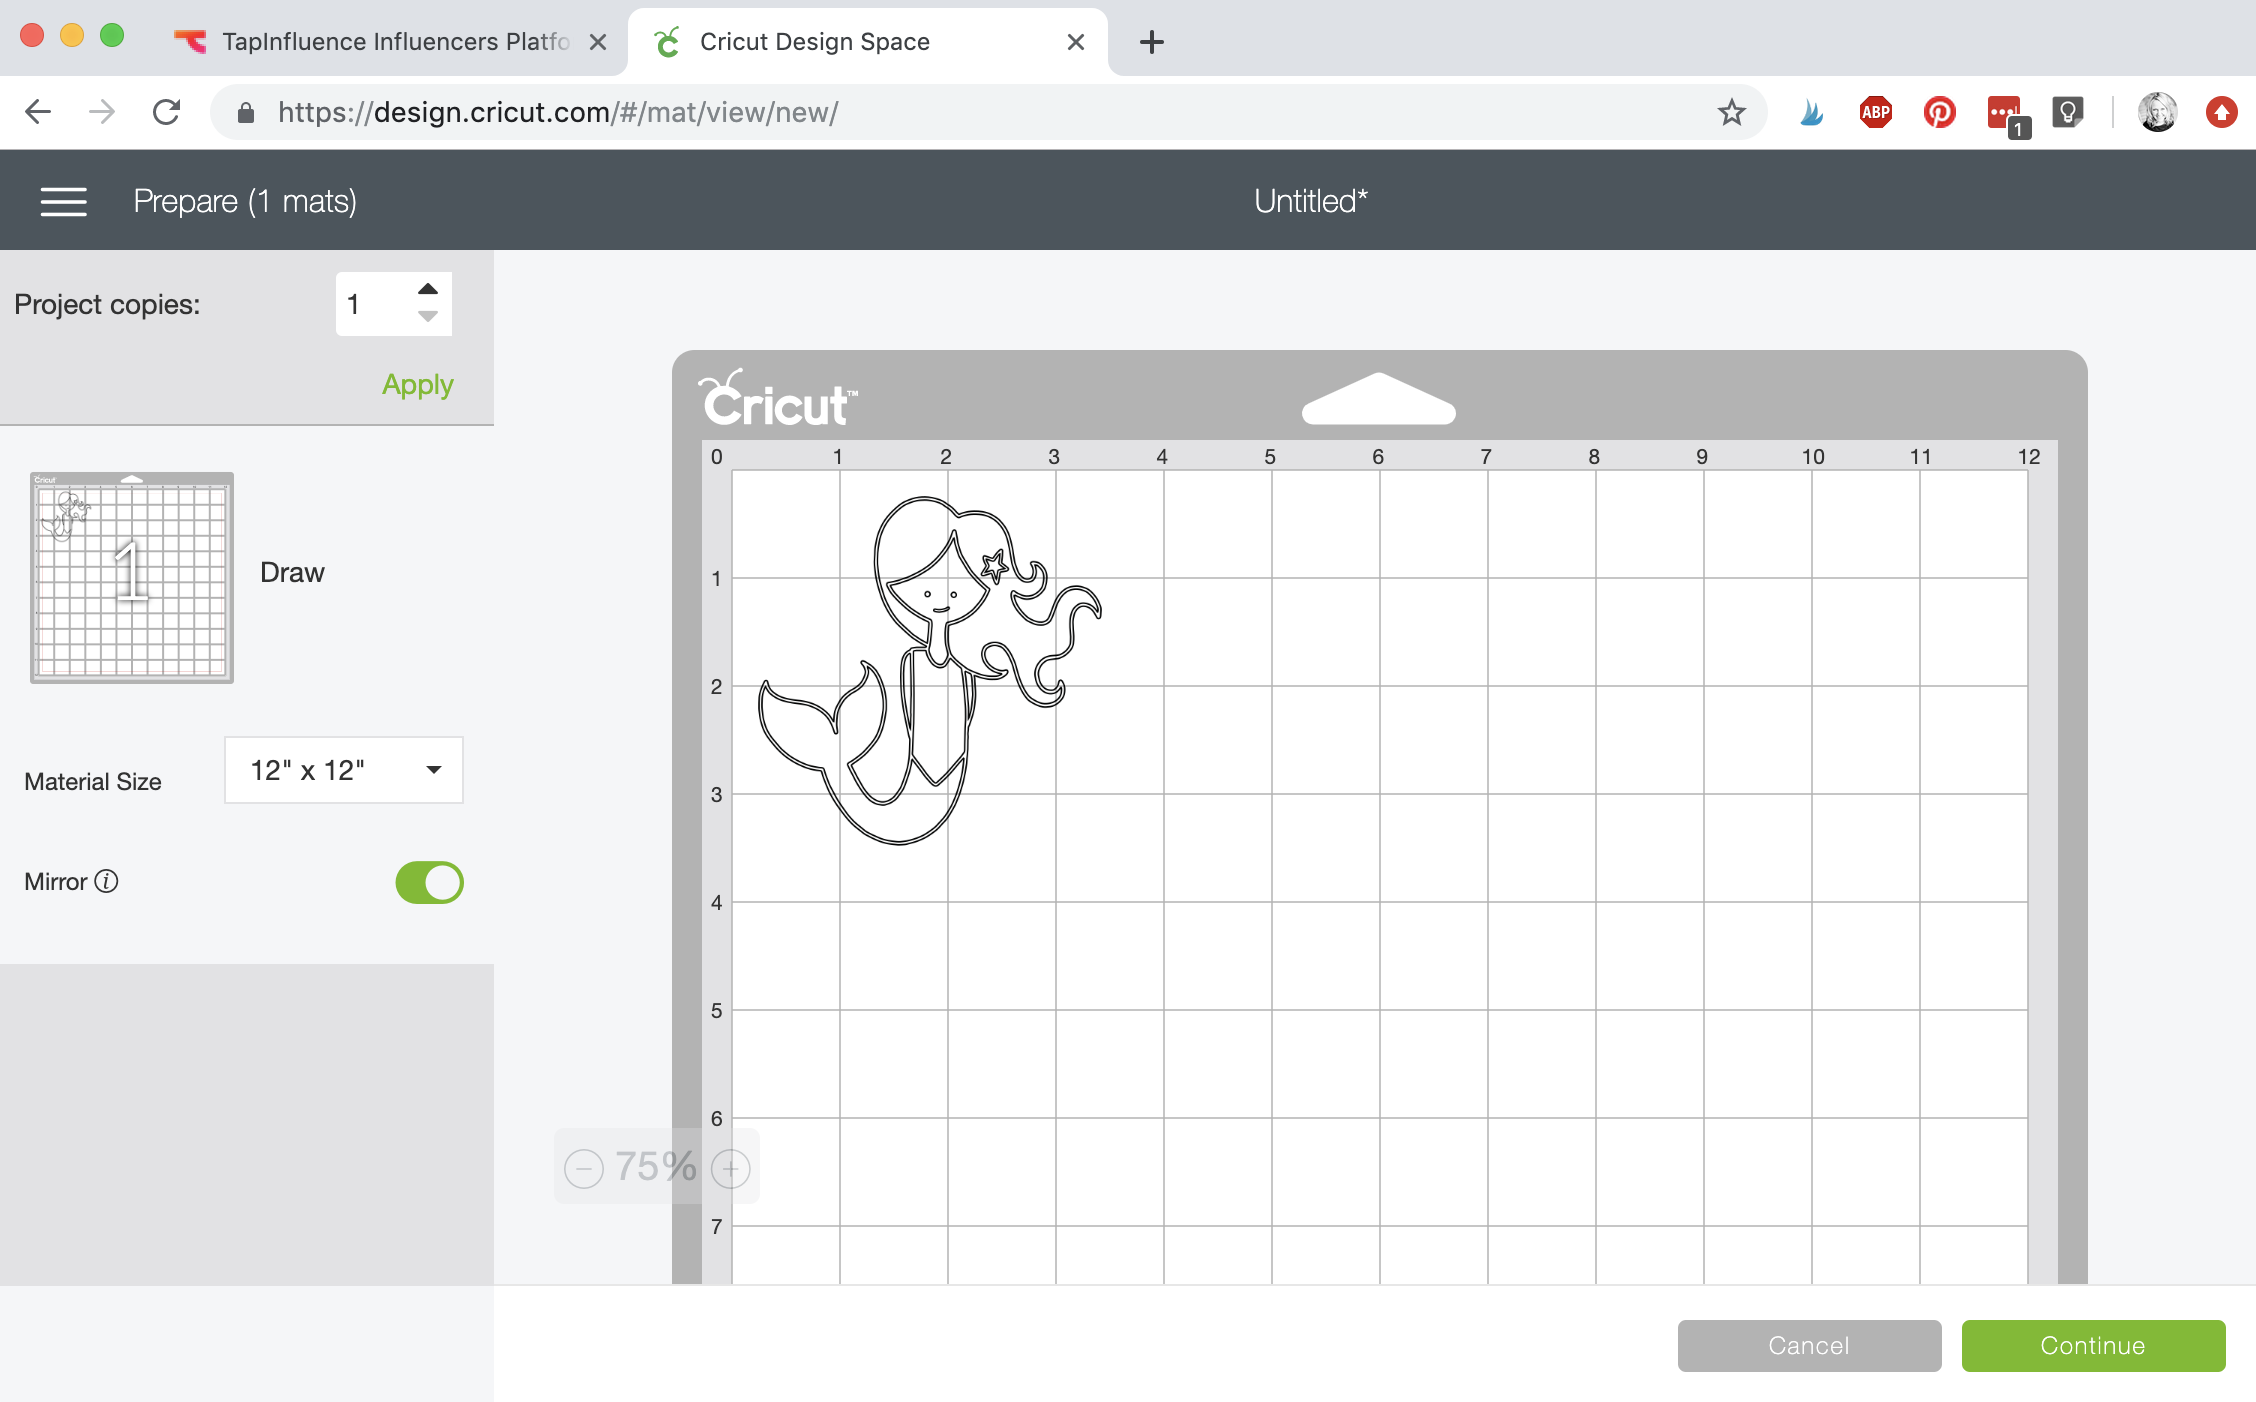
- In Design Space, select and size a design or image to fit a coaster blank. Set the Linetype to Draw and assign a pen or marker color. Make sure to mirror your design!
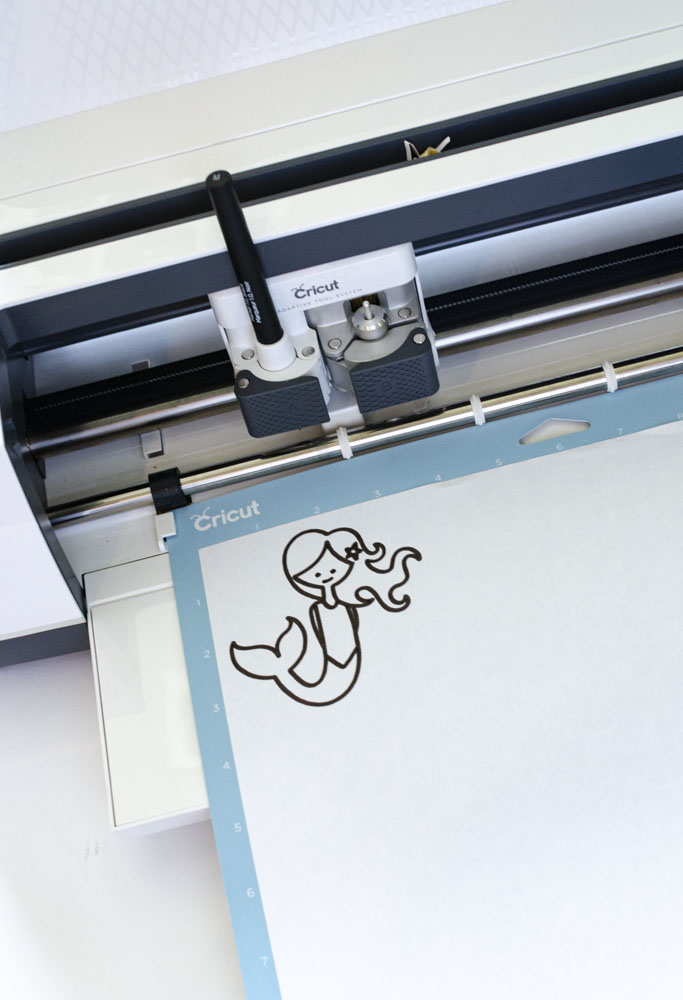
3. Place the Infusible Ink Pen into Clamp A then press GO!
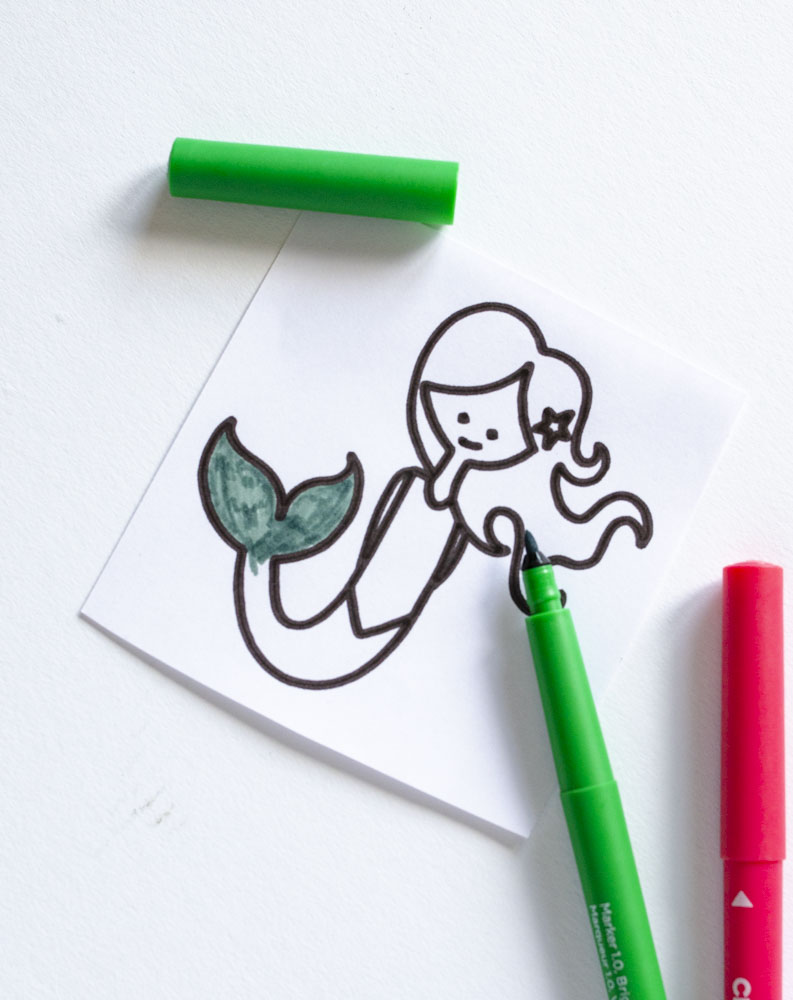
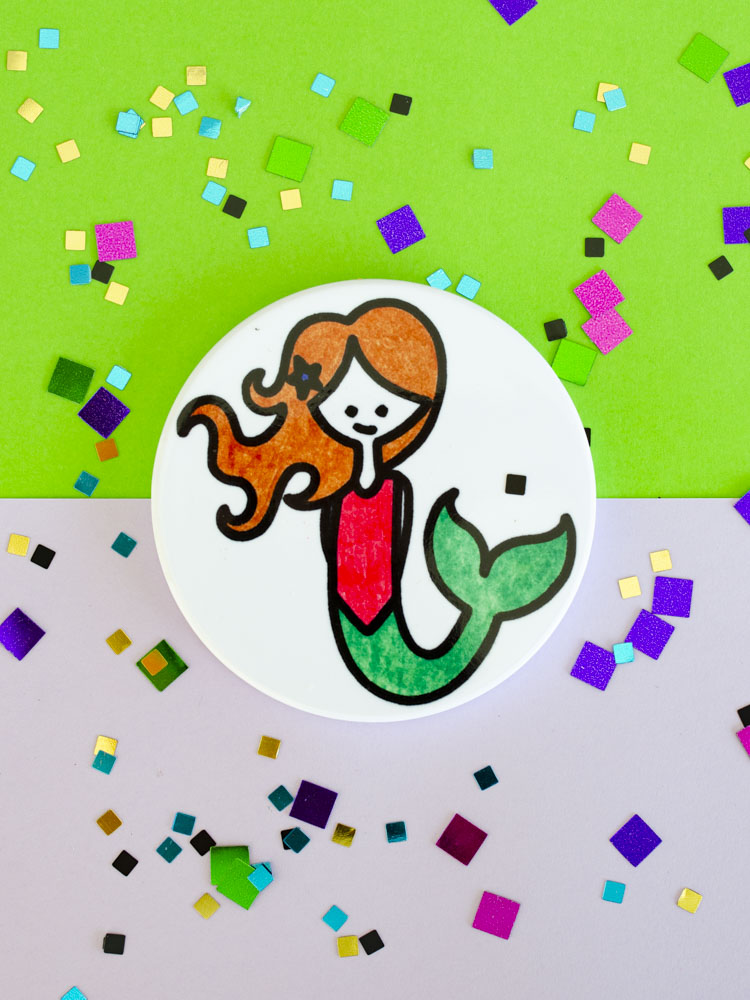
4. Remove the design and color in your image using Infusible Ink Markers or Pens.
5. Wipe you coaster with a lint-free cloth!
6. Cover your Cricut EasyPress Mat with butcher paper to protect your mat.
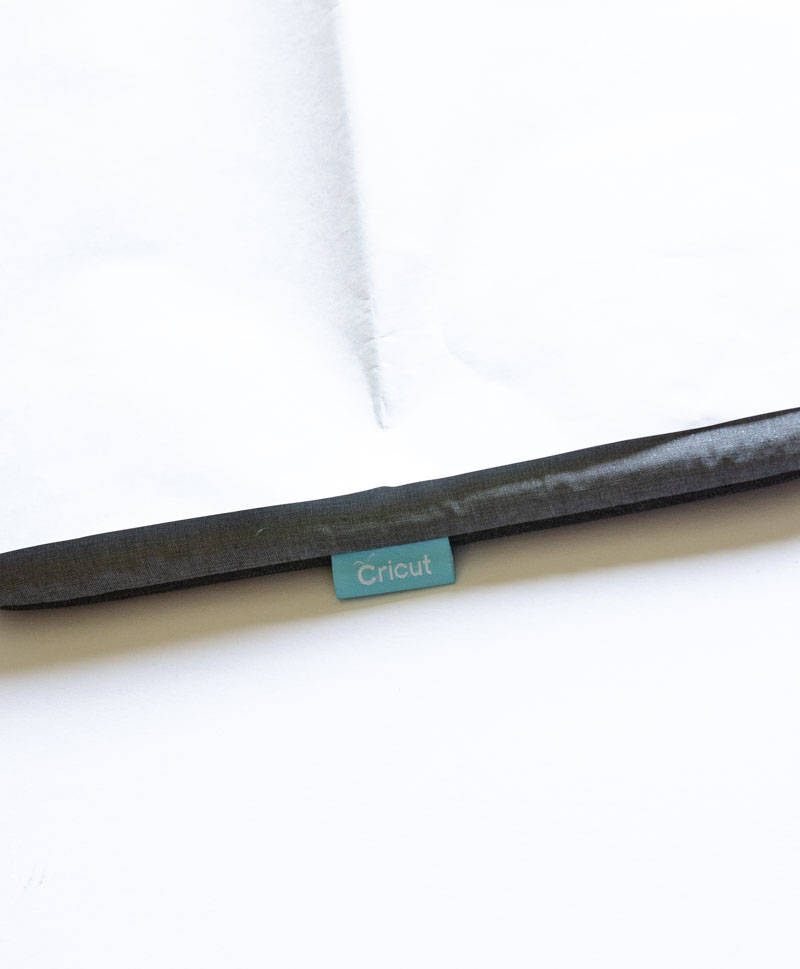
7. Place design face down on your coaster. To secure in place, us Heat Resistant Tape. Place coaster onto butcher paper and mat with design facing up.
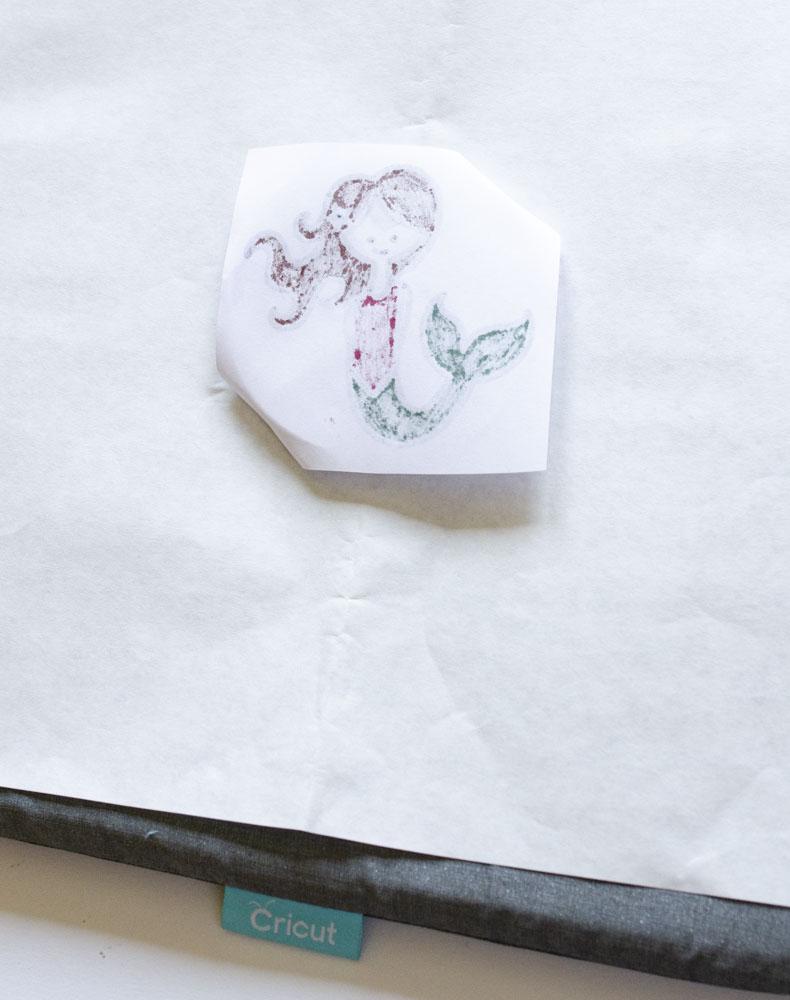
8. Cover coaster with cardstock and press with your Cricut EasyPress! For this project press at 400 degrees for 60 seconds using no pressure.
9. When the beep sounds, SLOWLY lift the press. Try not to move the stack, including the butcher paper. Coaster will be SUPER, DUPER hot. Let cool completely then slowly remove butcher paper, tap and design.
PIN THIS IMAGE FOR LATER
This is a sponsored conversation written by me on behalf of Cricut. The opinions and text are all mine.





Comments 1