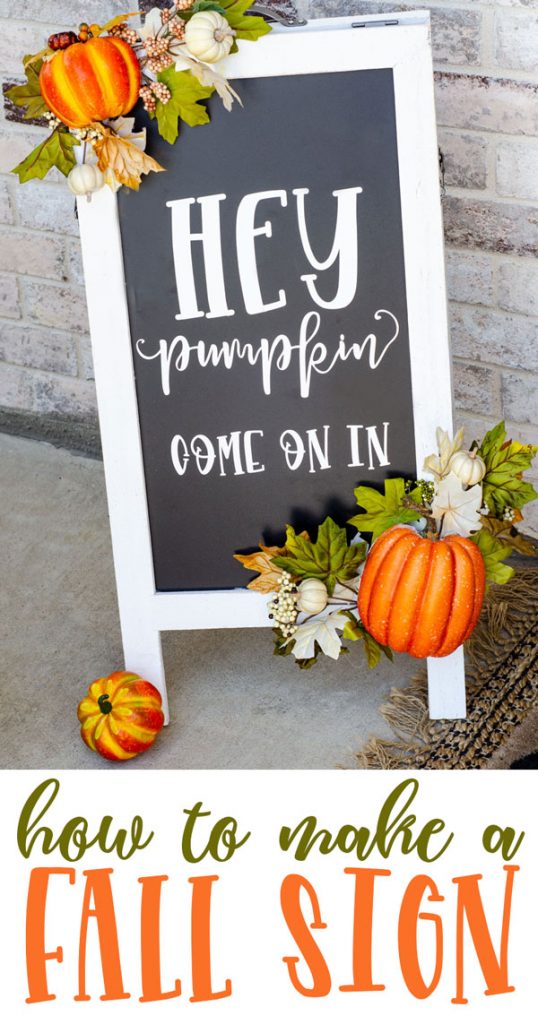
Fall is here and I’m ready to decorate. In years past I’ve spent the majority of my decorating time on my fall mantel, but this year I took it outside and created some fun Fall Pumpkin Decor for my porch. I saw a tabletop chalkboard sign at Michaels and knew that baby was coming home with me. I headed to their fall pumpkin section, grabbed some foam pumpkins and some of their amazing fall sprigs and went to work. I’m OBSESSED with how it turned out and love how it looks on my porch.
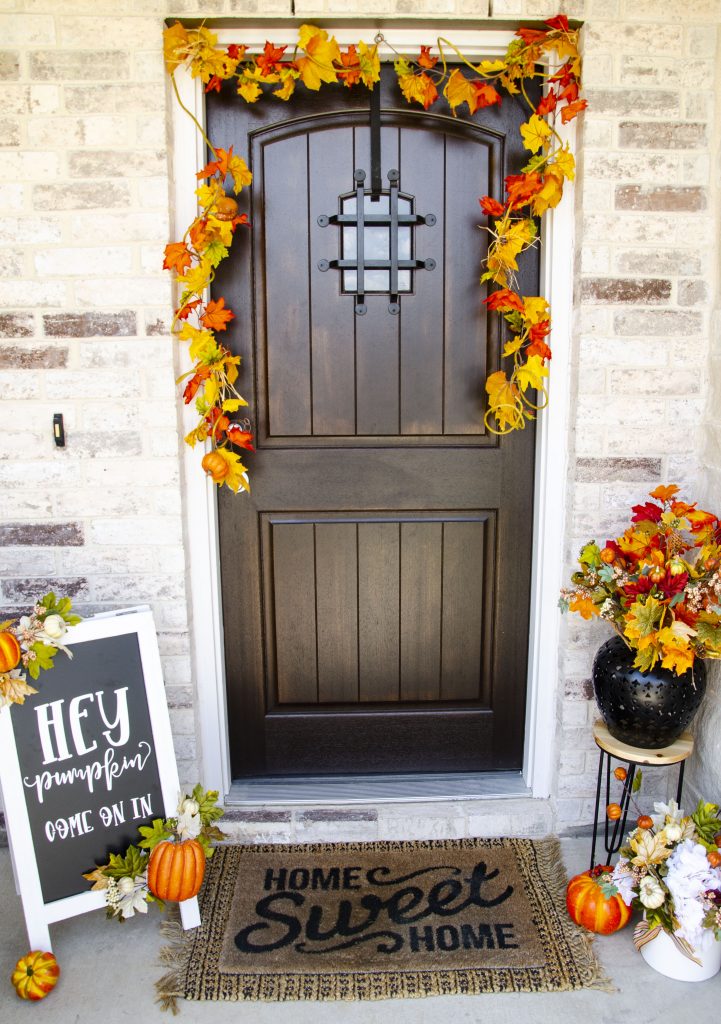
I thought you might like one for your front porch so I’ve provided a step by step tutorial below!
As always, if you make a Love The Day Craft, make sure you share it using hashtag #LTDcrafts. 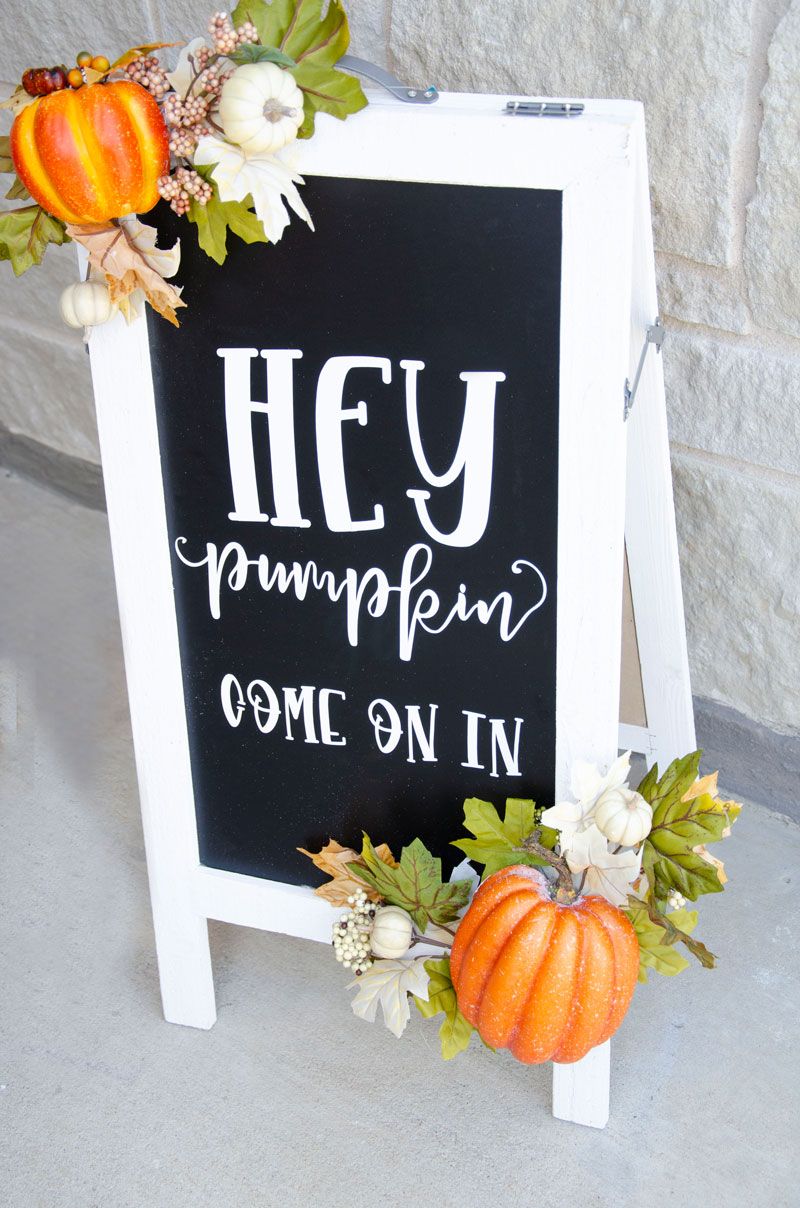
HOW TO MAKE FALL PUMPKIN DECOR TUTORIAL
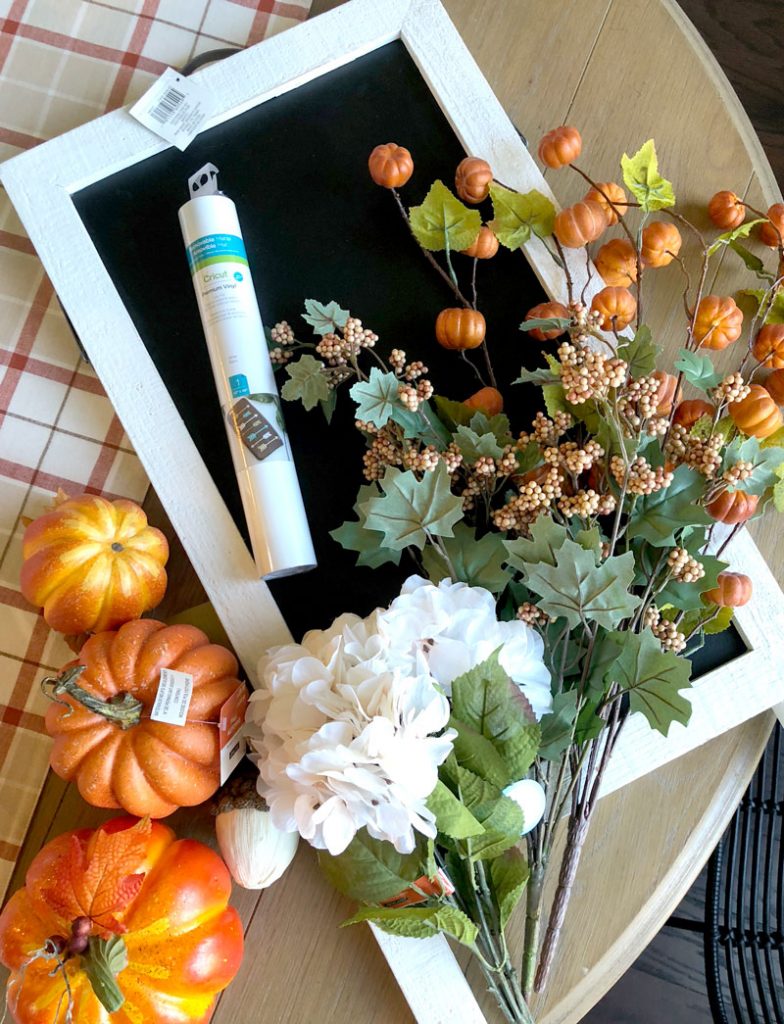
FALL PUMPKIN DECOR MATERIALS
White 2-Sided Tabletop Sandwich Chalkboard By Ashland™
Assorted Small Tall Decor Pumpkin By Ashland® (I used both five and three inch foam pumpkins)
Mixed Pumpkin Pick By Ashland™
Metallic Pinecone & Berry Pick By Ashland®
Transfer Tape
White Matte Premium Cricut Vinyl
Cricut Machine
Hot Glue Gun
INSTRUCTIONS TO MAKE FALL PUMPKIN DECOR
1. Download the ‘Hey Pumpkin FREE SVG’ at the bottom of this post by signing up for my email list.
2. Save the file to your desktop.
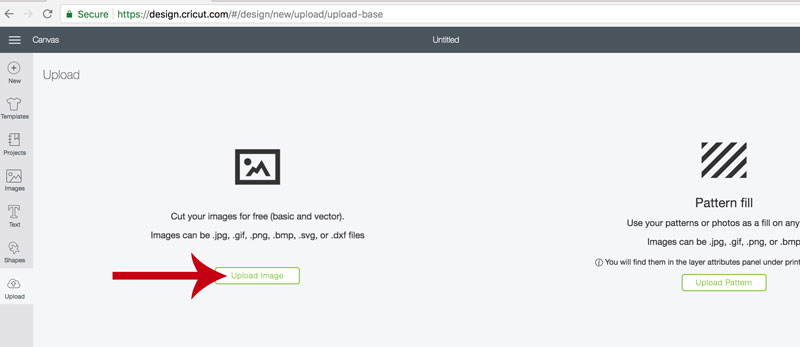
3. Open Cricut Design Space and create a new project. Click ‘Upload’ and upload the Hey Pumpkin Free SVG from your desktop.
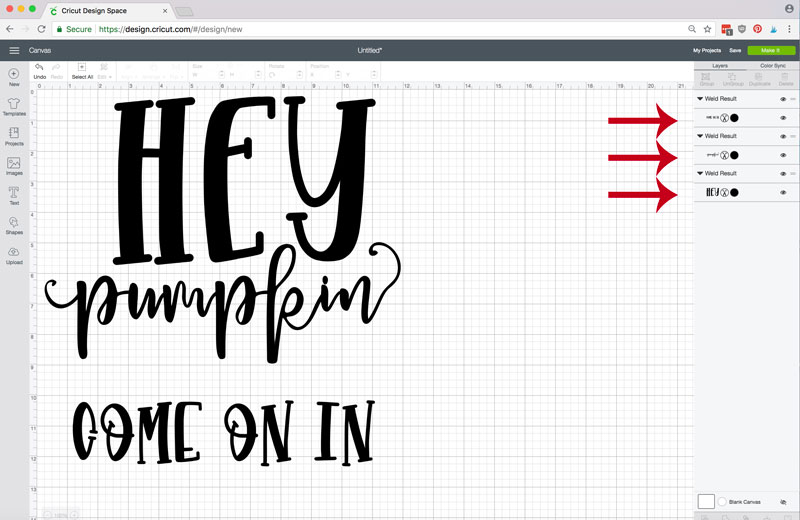
4. The file will open on your canvas and is sized PERFECTLY to fit the White 2-Sided Tabletop Sandwich Chalkboard By Ashland™.
All you need to do, it weld the three words together. So click on all the letter in ‘HEY’ and weld together. Click all the letters in ‘PUMPKIN’ and weld. Highlight all the letters in ‘COME ON IN’ and weld together.
Now you are ready to ‘MAKE IT’.
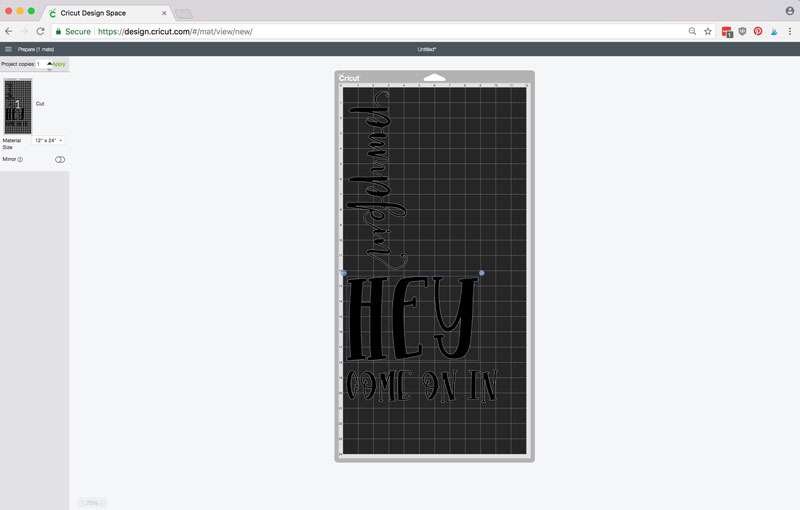
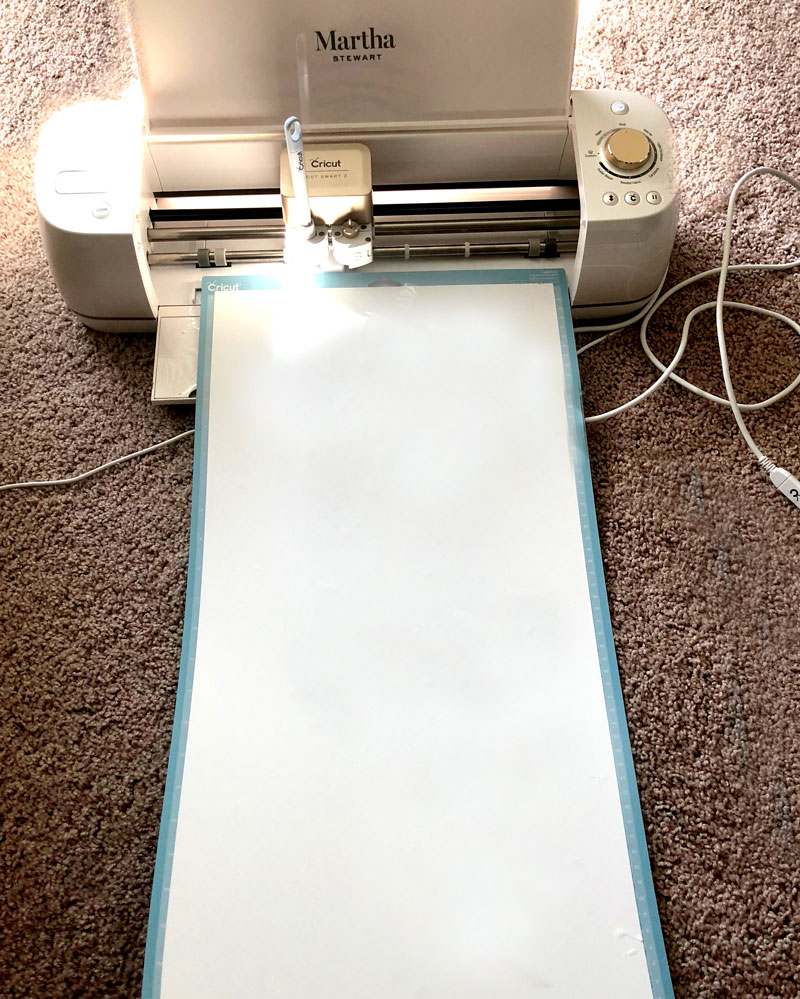
5. Put the White Matte Premium Cricut Vinyl on a 12X24 inch mat and let your machine cut away!
6. Once your vinyl is cut, start weeding around the letters so only the ‘HEY PUMPKIN, COME ON IN’ is stuck to the backing.
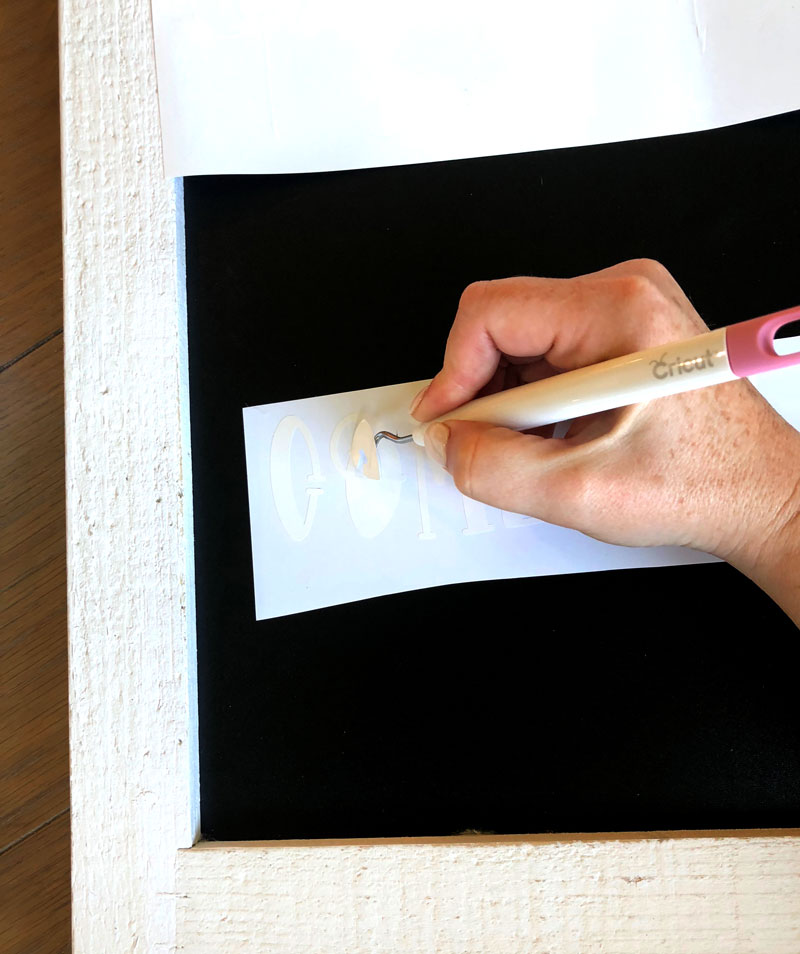
7. Lay the vinyl where you like it
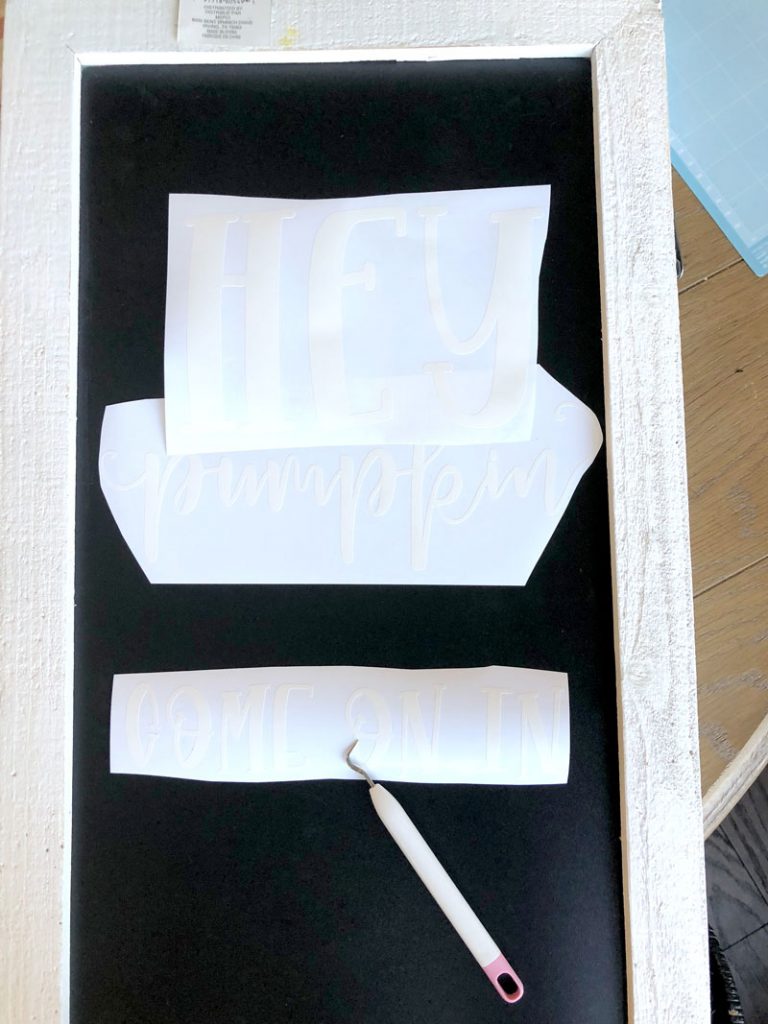
8. Place a piece of Transfer Tape over the ‘HEY’ first. Make sure the vinyl stick to the transfer tape.
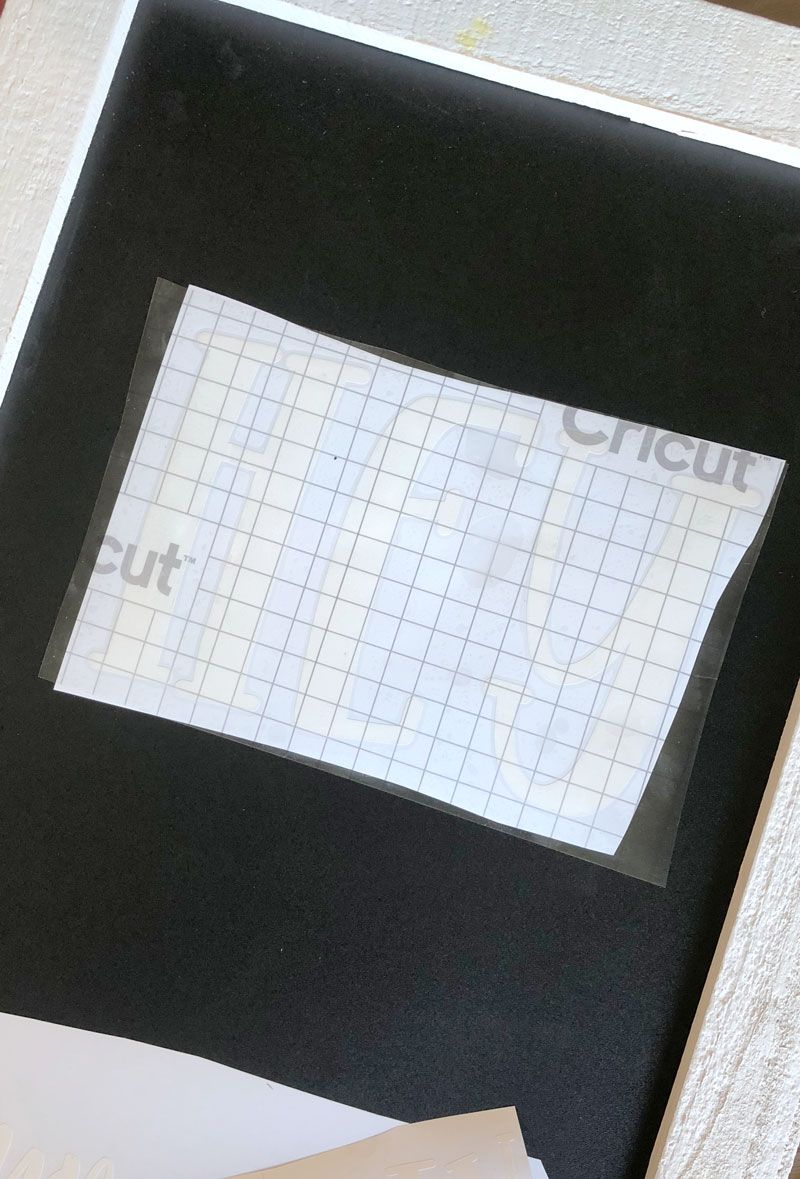
9. Remove the backing from the letters so the ‘HEY’ will now be stuck on the transfer tape.
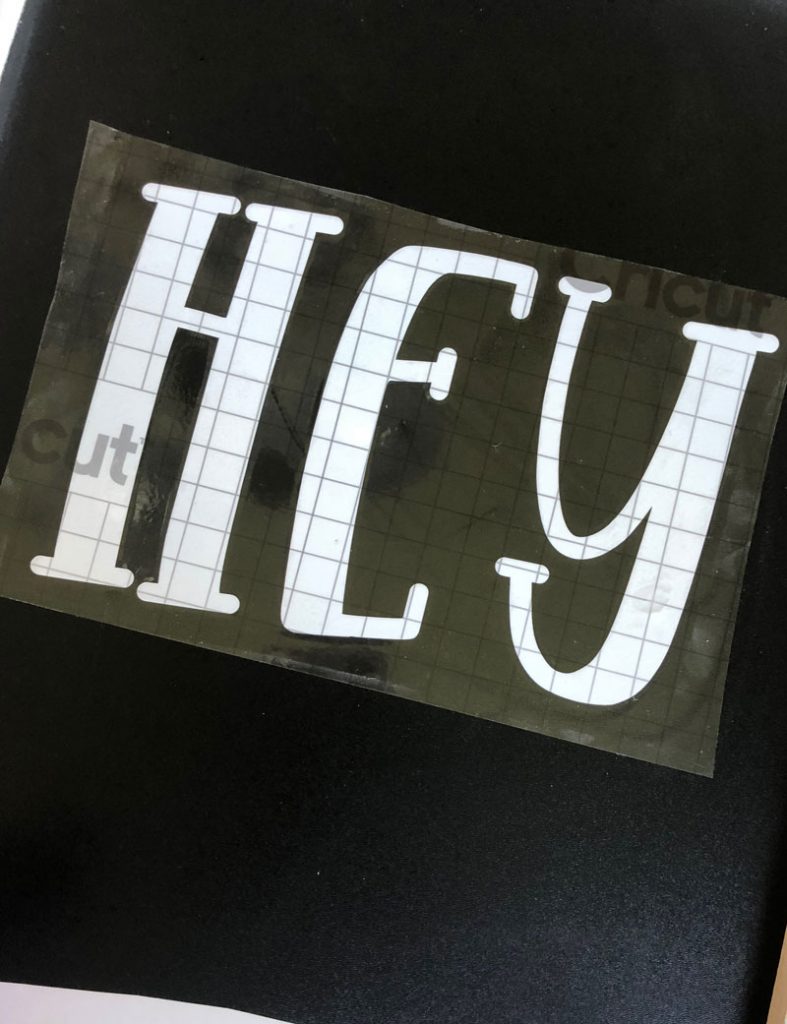
10. Place the transfer tape down where you like it and use a credit card or Cricut Scraper to ensure the vinyl is stuck to the chalkboard.
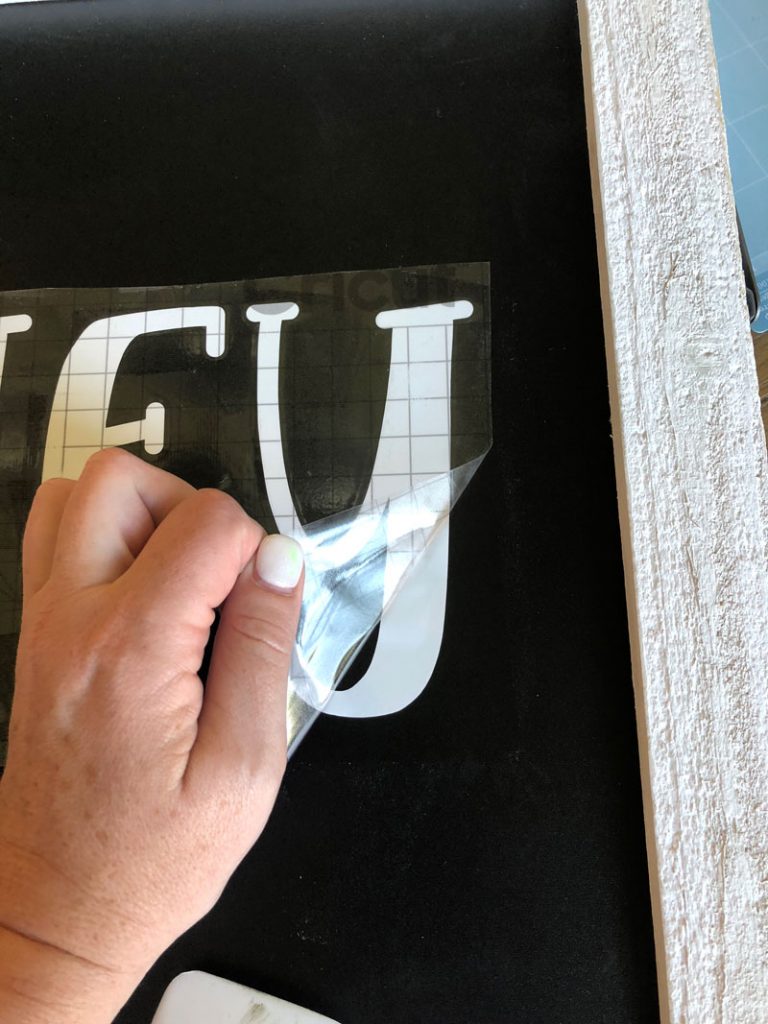
11. Remove the transfer tape, leaving the words on the chalkboard! Repeat those steps with ‘pumpkin, come on in.’
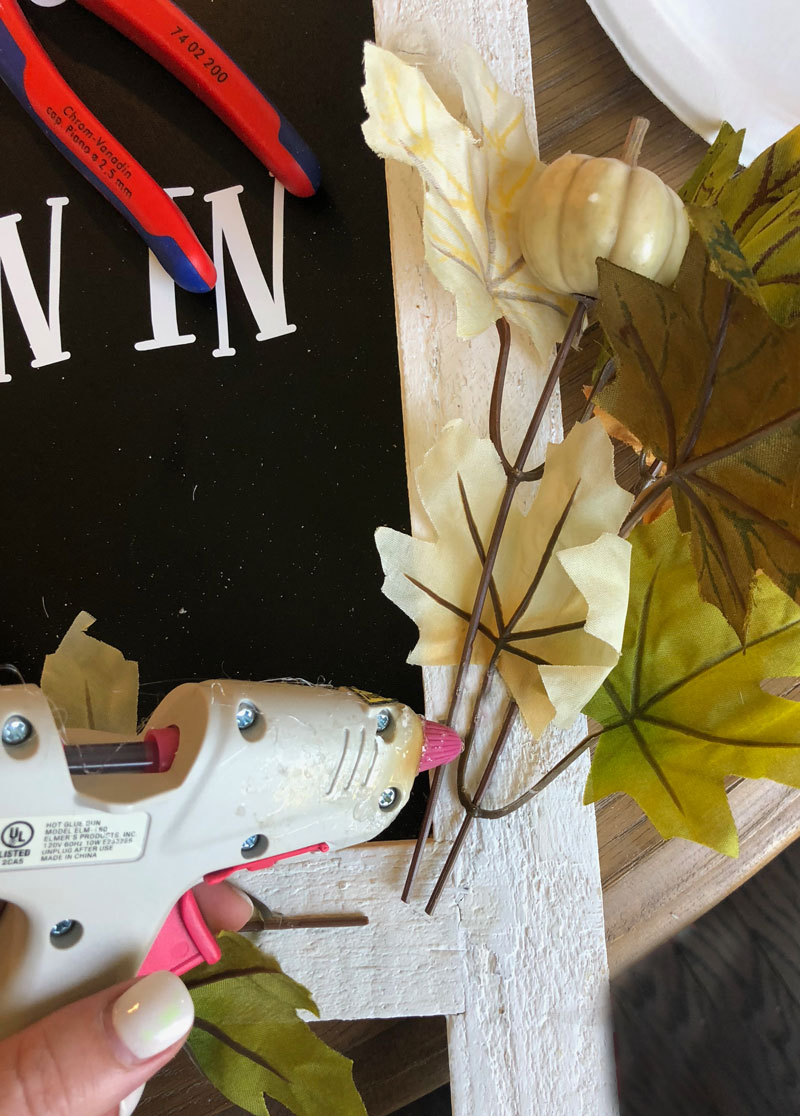
12. Hot glue the fall sprigs to the chalkboard. I glued them in the bottom right and top left corners.
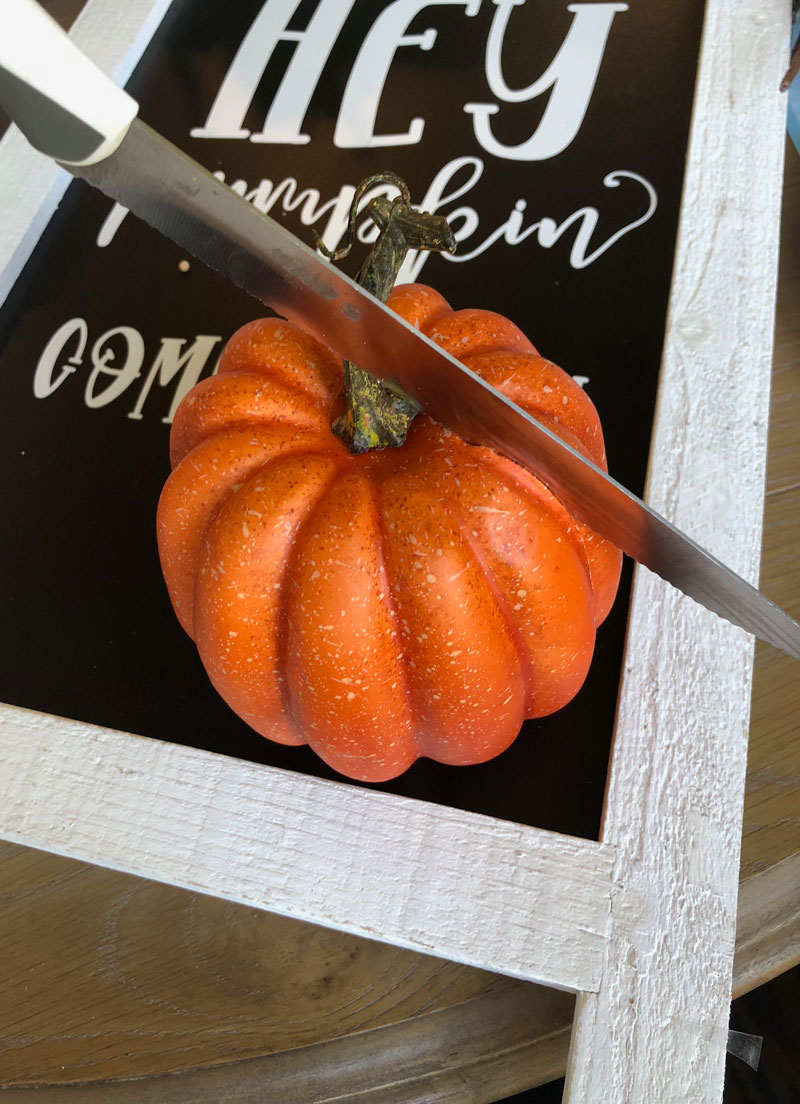
13. Take your Ashland Foam Pumpkins and cut them in half. I used my bread knife:)! 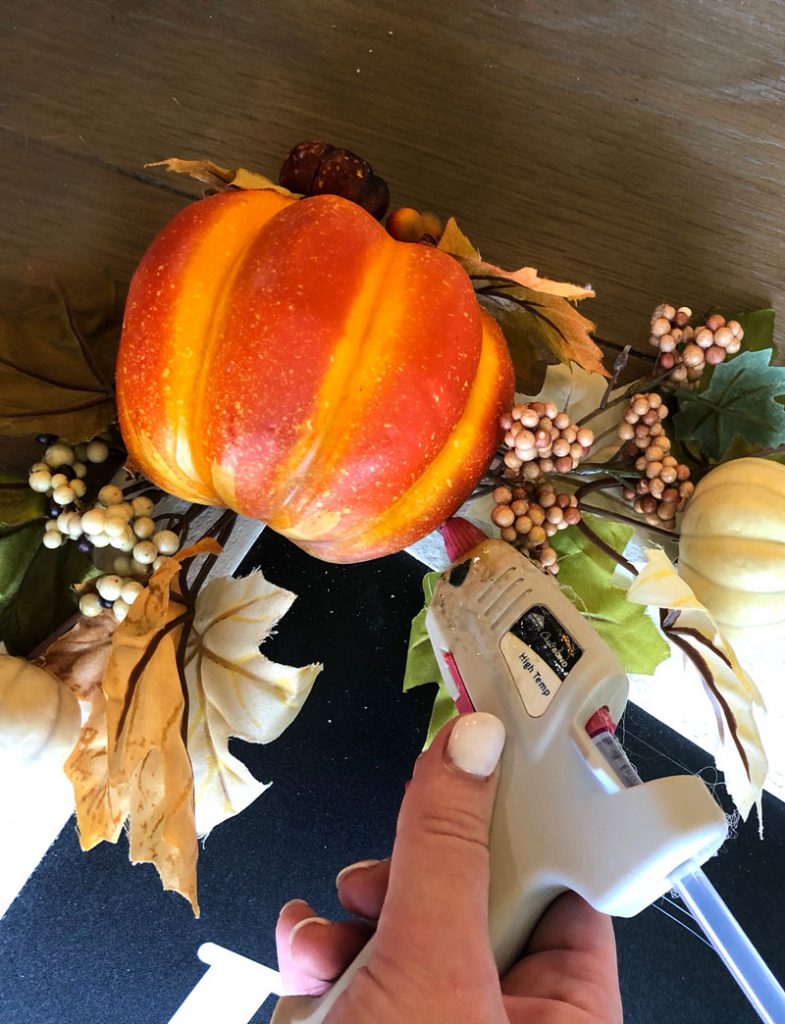
13. Hot Glue the pumpkin in the corners over the sprigs!
PIN THE FALL PUMPKIN DECOR FOR LATER
For more fall inspiration, check out this post:



I love the font you picked. SO cute!!
Thank you!