I am so excited to introduce this post as the first tutorial from the crazy talented Anj of SnowyBliss. I’ll be posting a full biography and introduction of sweet Anj in weeks to come, but in the meantime, enjoy this fabulous Picnic Caddy Tutorial.
I was a Target the other day… childless! It was awesome! I actually had a minute to browse without yelling various threats at my son. I think I even caught myself skipping now and again.;)
So this is what I came home with…
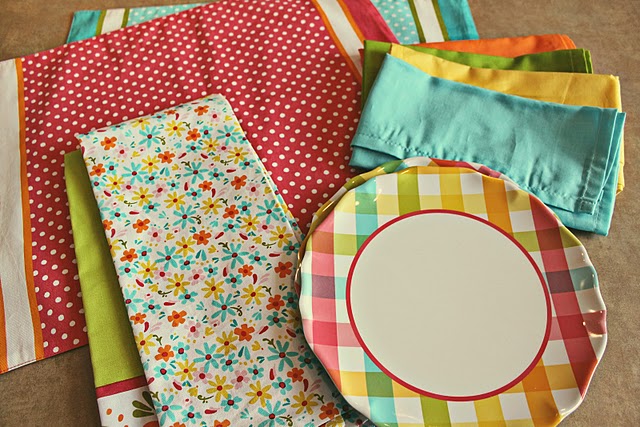 Kitchen towels, melamine salad plates, a pack of 4 cloth napkins and placemats… that all match!
And this is what I made with it….
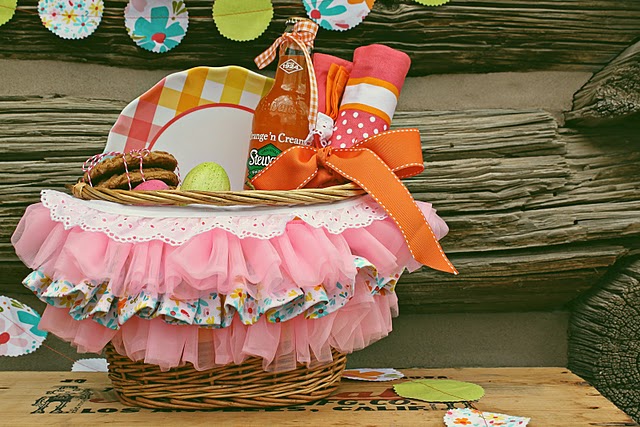
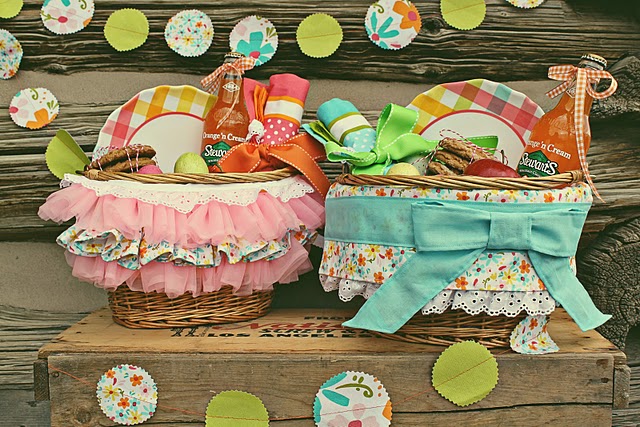 Last year for Easter instead of getting regular baskets for easter I bought my girls baskets to go on their bikes.
 At the time I had high hopes of making cute basket liners but ran out of time.
So this year, after my Target treasure hunt, they became not only cute bike baskets, but picnic baskets as well! They will be so thrilled to pack up a little picnic in their basket and ride down to the park. I can’t wait until easter, I’m so excited to strap these onto their bikes!
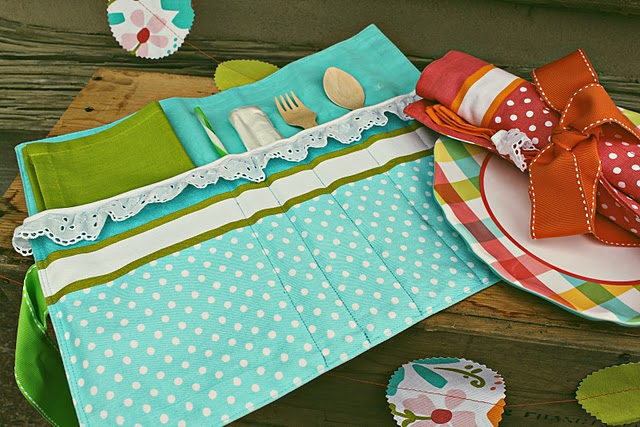 I turned the placemats I found into picnic caddy’s.
 They are a piece of cake to make! Here’s how…
 Press your placemat, then fold one end up… you can pick how high you’d like to go. Press again.
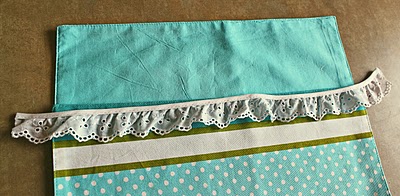
 Now I can’t leave it as is… I had to add a little eyelet trim (I adore eyelet). Simply cut a piece a bit longer than the width of your placemat. You want to attach it along the top of your folded edge. Wrap the trim around the corner, tuck it in a bit to keep the raw edge from showing. Pin… and then pin it all along the top of the fold. Then wrap it around the next corner the same way and pin again. Sew it on.
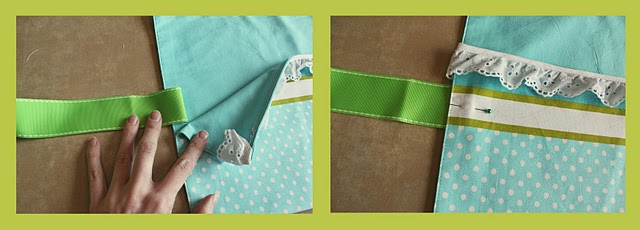 Now to add a ribbon, this will tie your caddy together. Cut a long piece of ribbon. Fold it in half. Decide where you’d like it to go (I recommend middleish) and pin.
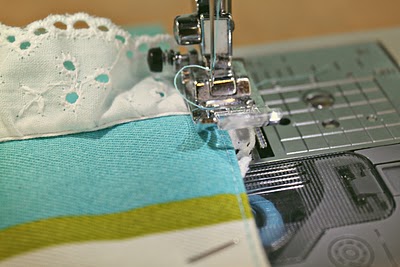 Now you’ll sew around the entire lower fold of your placemat. Start by lifting the trim up, so you start sewing underneath it. But also make sure where it wraps around stays tucked under your fold, sandwiched between the top and bottom folds of your placemat.
Sew all along the bottom fold. Finished it will look like this…
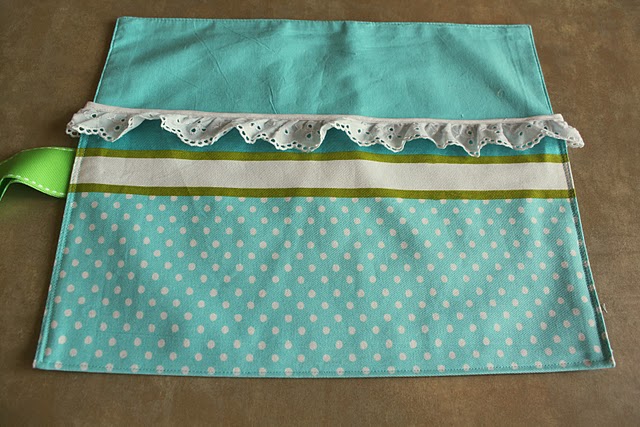 Right now it’s just one big pocket. Now to make little compartments for each of your picnic necessities.
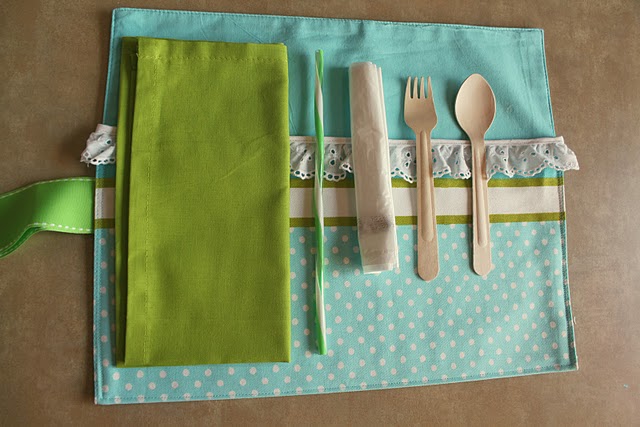 Lay them out on your placemat in the order you’d like them in.
I’m using a…
*Napkin
*Straw
*Garbage bag (I know, it sounds random, but I just had these visions of my girls coming home from a picnic and leaving a half eaten sandwich in the bottom of their bike basket to mold and rot in the hot garage. I’d at least like to have it in a garbage or plastic baggie).
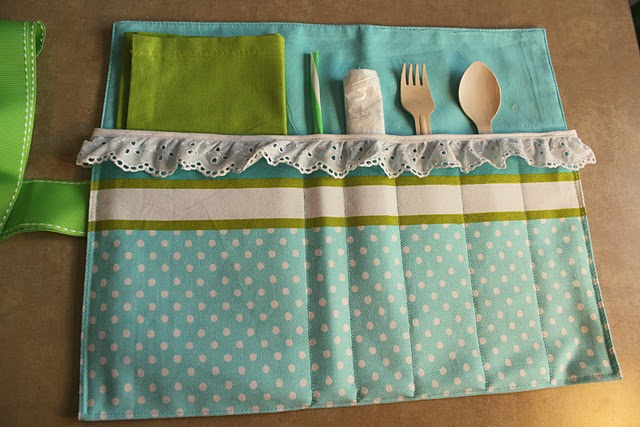
*Flatware. (I got these darling disposable forks and spoons from Amazon. I didn’t get the knives, but now I think I’m going to snag some).
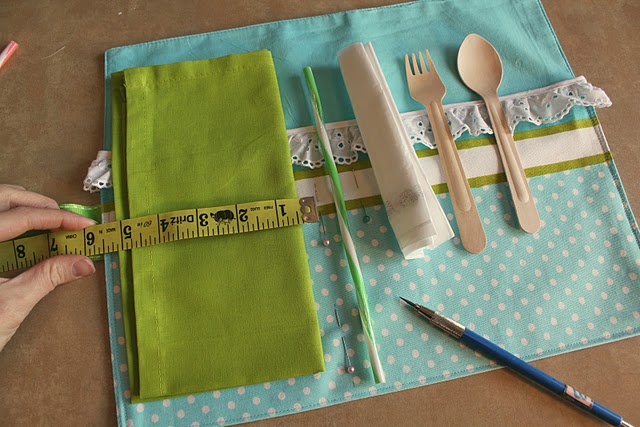 After laying them out you’ll want to make marks on our placemat to determine how big each compartment will be. Using a tape measure, determine how big of a space you need for the napkin. For me it was 5.5 inches. (Then I placed a pin… don’t do this. I realized after doing this it was silly… because I’d have a tough time sewing through pins going lengthwise). Instead make a mark. I just used a pencil. Make a few marks at 5.5 inches over from the edge down the front. Then I repeated the process with the straw and the baggie.
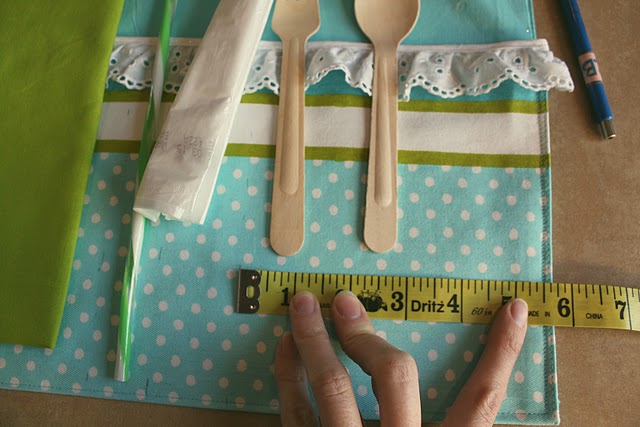 Then with the remaining space make three compartments for the flatware. Measure what space is left, divided it by three to make these compartments even steven. Then make marks accordingly. So at the end it should look like this…
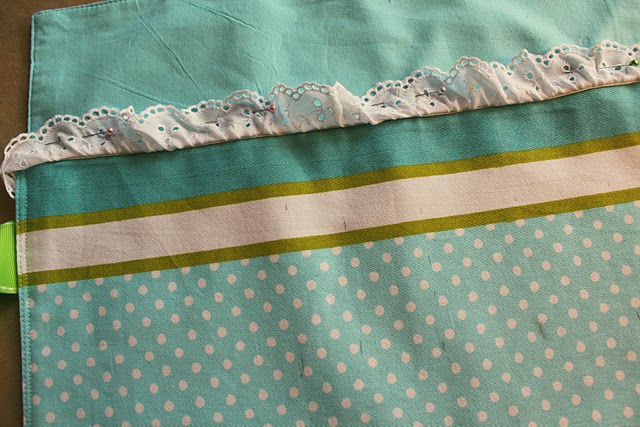 (The marks are light… but they are there).
Then pin your trim up and out of the way.
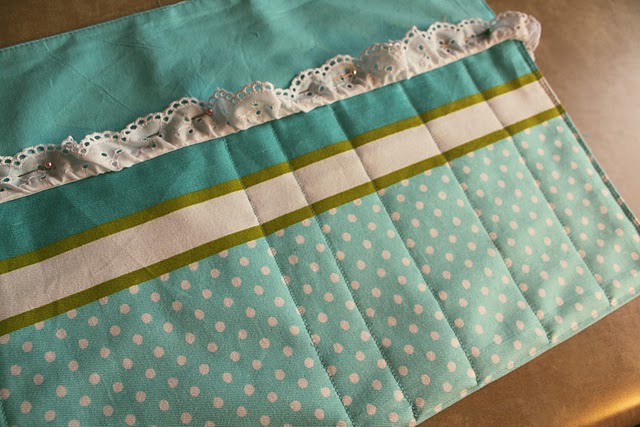
Then simply sew along each line of marks.
Your end product will look like this.
 Then fill your caddy with your picnic essentials.
 Roll it up, tie the ribbon around, make a bow. Trim the ribbon down to the length your happy with and add fray check to the edges.
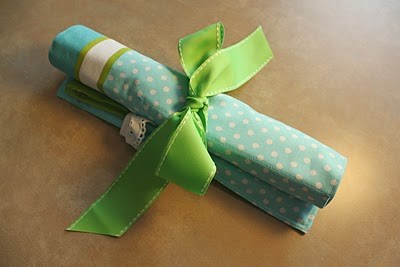 And your done!!
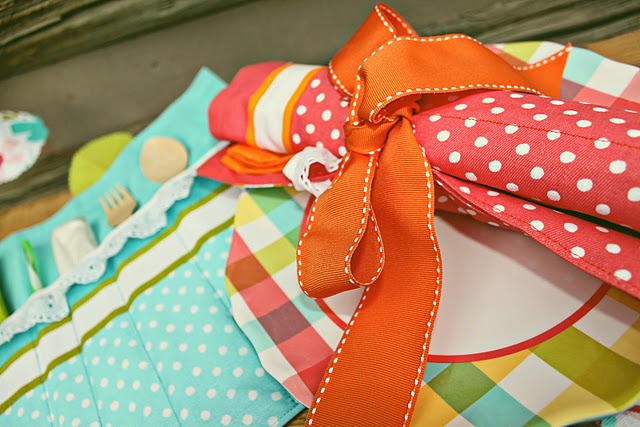 You could add some cute picnic stuff to the basket for easter. Sunglasses, sunhat, sandwich holder, fabric lunch bag, water bottle, sunscreen. For younger kids felt food would be darling for pretend picnics! If you go to etsy and search for felt food, you will find a bunch of yummy collections. If you are feeling super ambitious and want to make your own, do your search for felt food patterns. There are some seriously out of control oh-so-cute options! Another ambitious project would be a picnic blanket.
So creative!
So cute. Well done x
this is so cute! I love this idea. Ive been wanting to put together a good picnic kit for a wihle! Thanks for the tutorial!
That is amazing! I love it! 🙂
Oh wow!! This is the most amazing idea. How adorable. I am very impressed with those picnic caddy’s. And I feel so excited and inspired by this post.
PS Let me know if you sell any of these. Thanks. 🙂
That’s my girl Anj!!
Thanks so much, this is great!!
I was wondering what the size was of the placemats? I’m thinking about making these for a birthday party but I need to know the size so I can see if I can find cheap ace mats the right size. Any info would be helpful. Thank you.