Happy Wednesday! It’s a big day around here. I’m not sure if you’ve noticed, but my site has been down for TEN DAYS. For a blogger ten days is a decade. It doesn’t matter why it crashed (it was the trifecta of situations: new site launch, updating to a new server and the worst…my registrar went out of business), what’s important is that it’s back up and running.
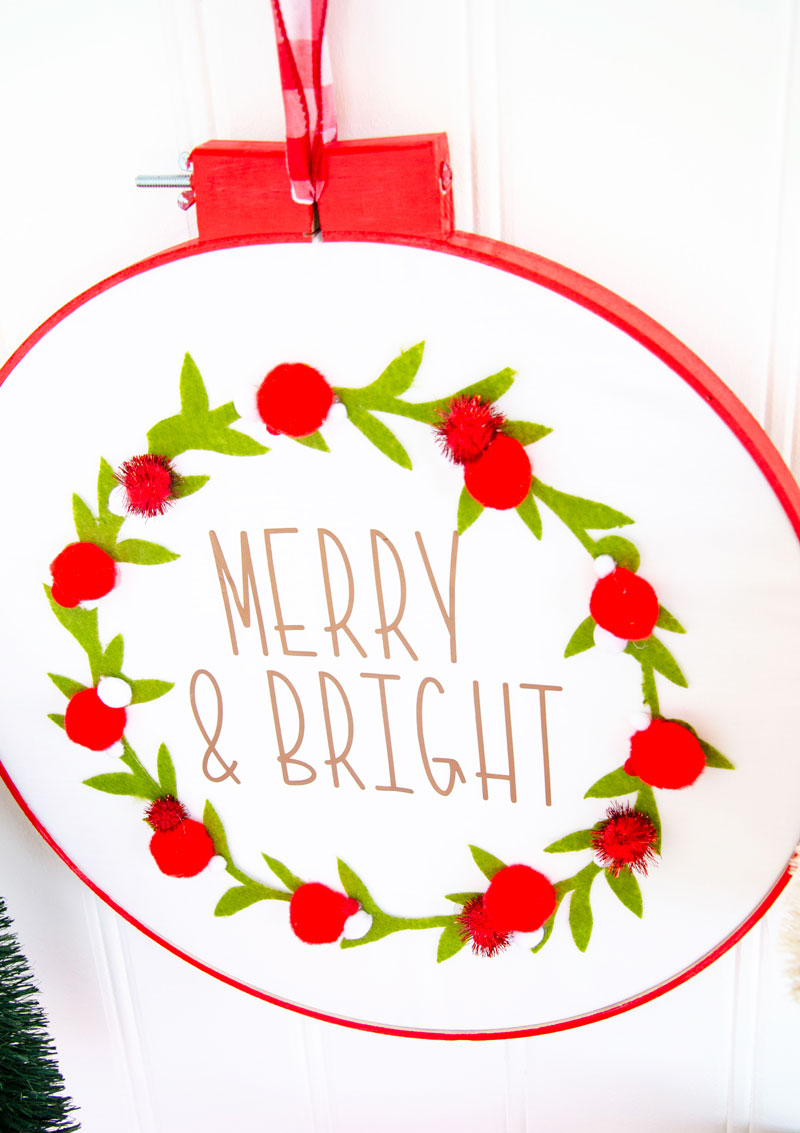
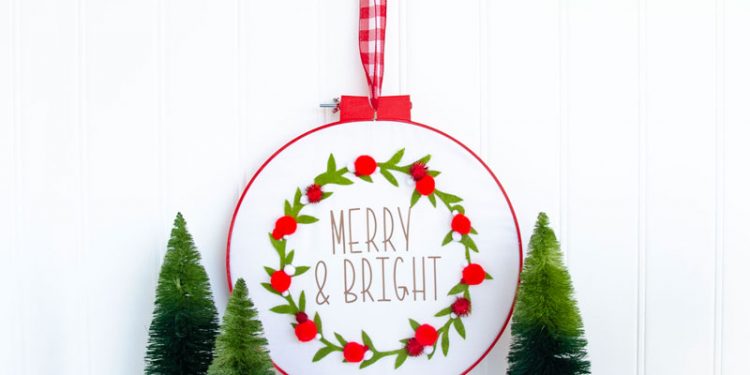
While my site was down I had some time to craft my heart out. I put my Cricut EasyPress 2 Martha Stewart Edition to work and created this Embroidery Hoop Craft Tutorial for you.

Embroidery Hoops are all the DIY rage this season (like this cute Chalk Embroidery Ornaments or DIY Embroidery Hoop Ornaments) and I thought it would be fun to try my hand at creating a Christmas Embroidery Craft for myself. Here’s what you’ll need to create it:
MATERIALS FOR EMBROIDERY HOOP CRAFT TUTORIAL
Embroidery Hoop
White Fabric
Gold Martha Stewart Iron-On
Cricut EasyPress 2 Martha Stewart Edition
Cricut® Explore Air™ 2 Special Edition
Green Felt
Red Acrylic Paint
Sponge Brush
Red Pom Poms
Fabric Fusion
Hot Glue
 INSTRUCTIONS FOR EMBROIDERY HOOP CRAFT TUTORIAL
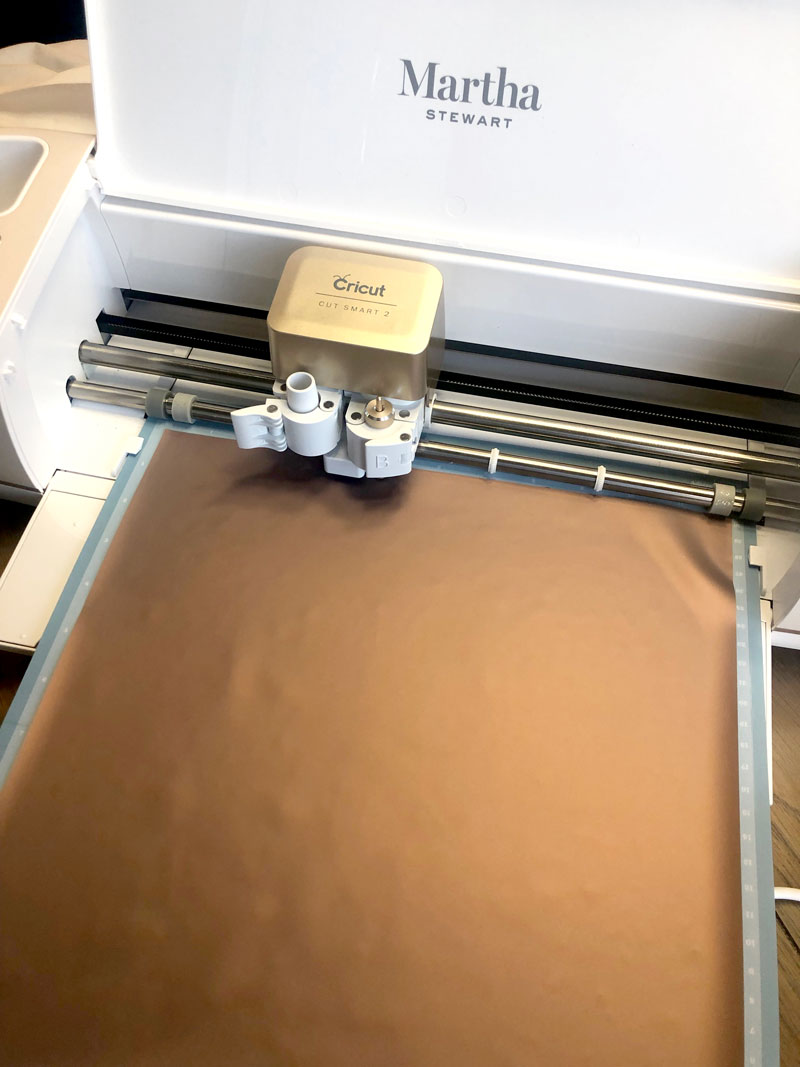 Open up Design Space and customize the Merry & Bright Card file. Cut out the ‘Merry & Bright’ section of the file with the Gold Martha Stewart Iron-On and then cut the wreath with green felt. Make sure to mirror the iron-on file!
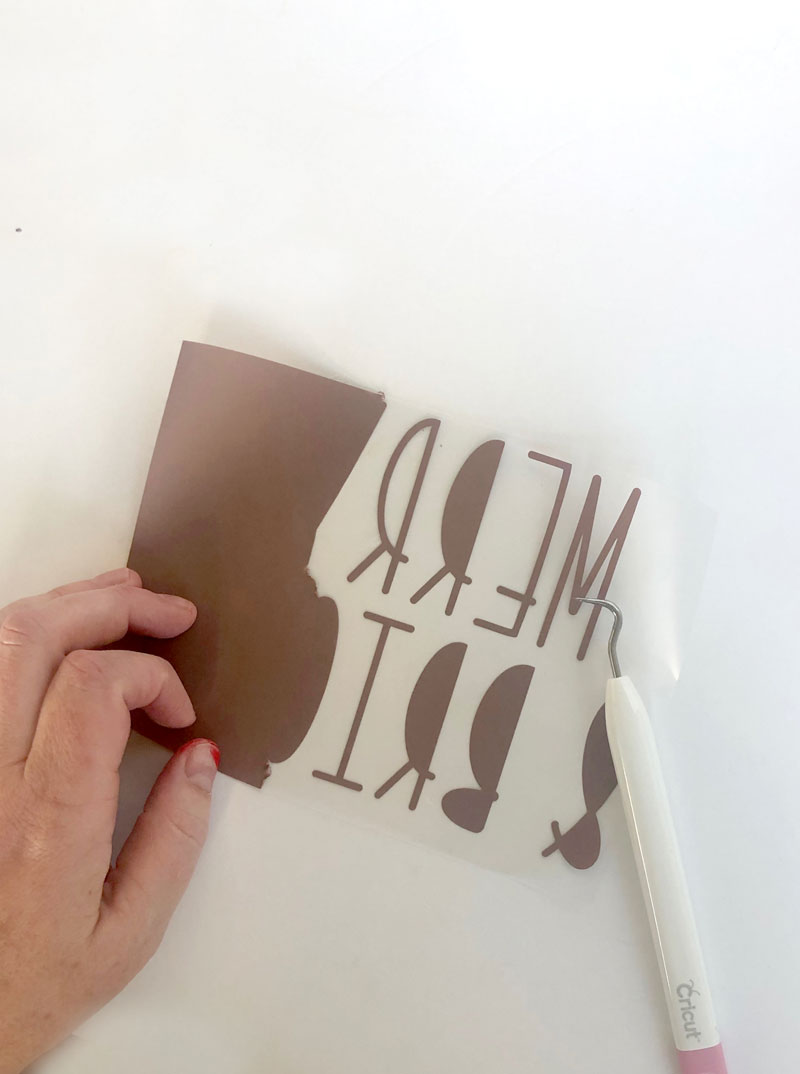 Weed around the ‘Merry & Bright’.
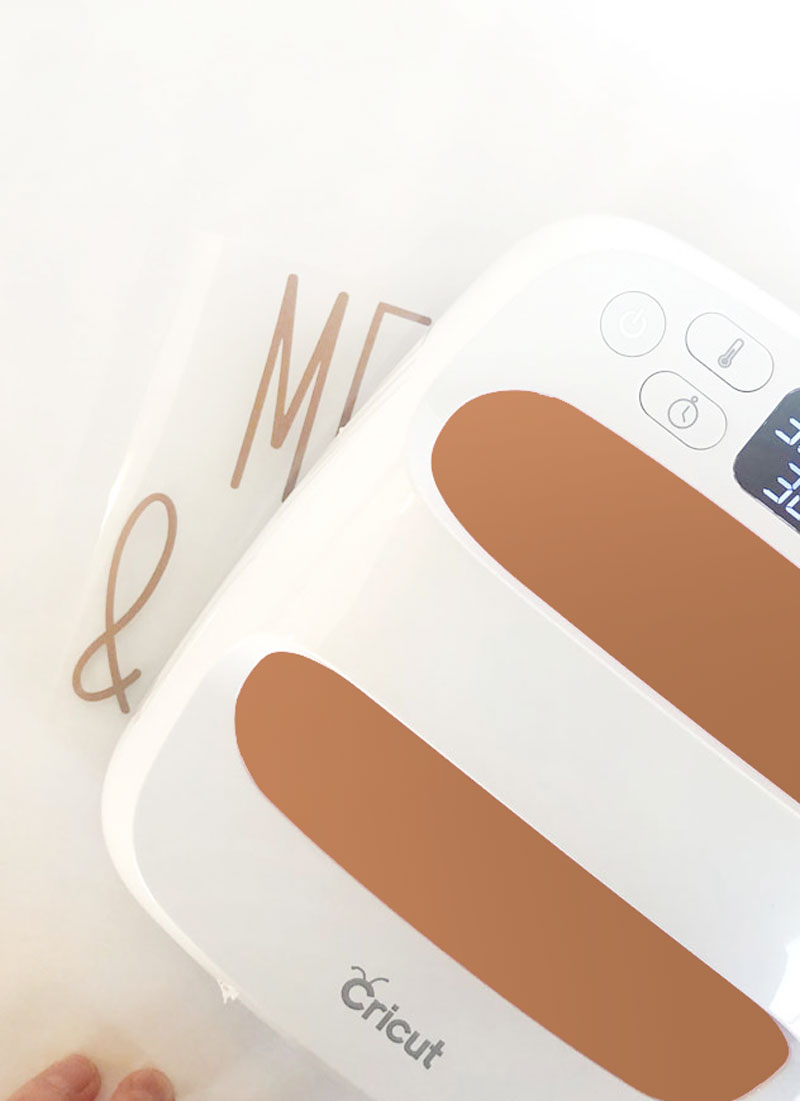 Heat up your Cricut EasyPress 2 Martha Stewart Edition to 315 degrees. Run the EasyPress on your fabric to warm up the area and then EasyPress the ‘Merry & Bright’ onto the fabric. Peel when cooled!
If you haven’t used an EasyPress yet, oh my word! What are you waiting for?! It’s the best tool EVER. And the Martha Stewart Edition is GORGEOUS. It’s pearl and gold, 9X9 and can heat up to 400 degrees.
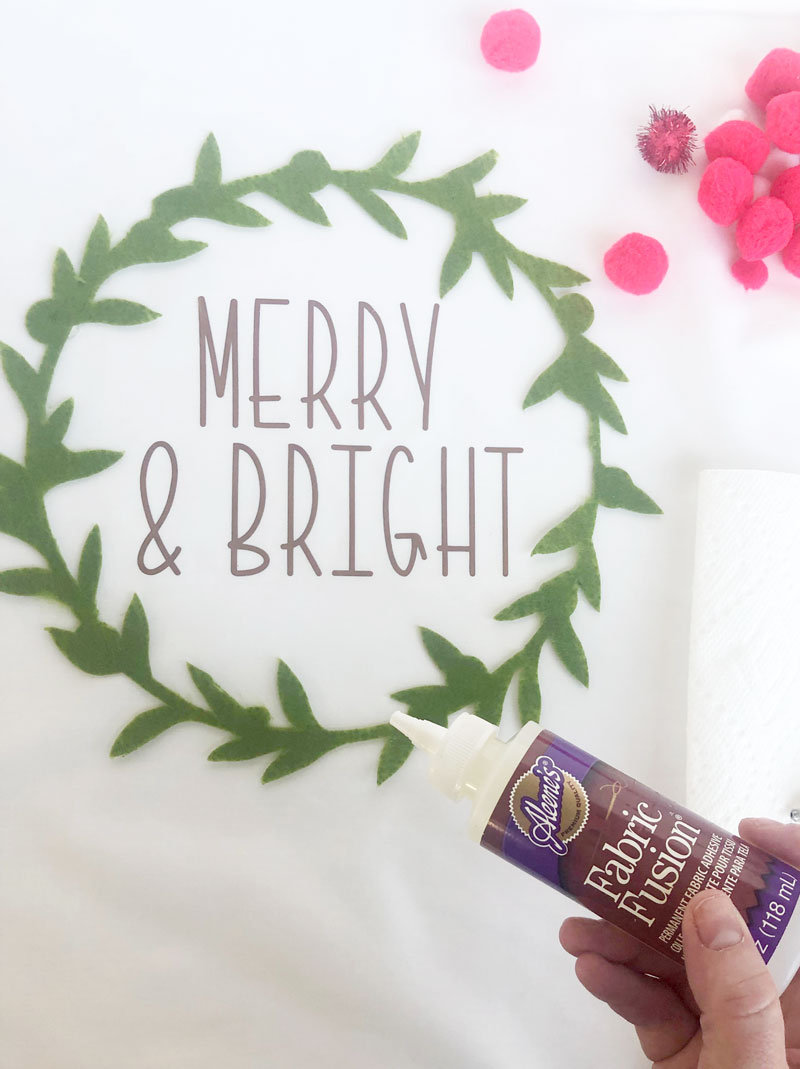 Glue the felt wreath down (around the Merry & Bright) to the white fabric with Fabric Fusion.
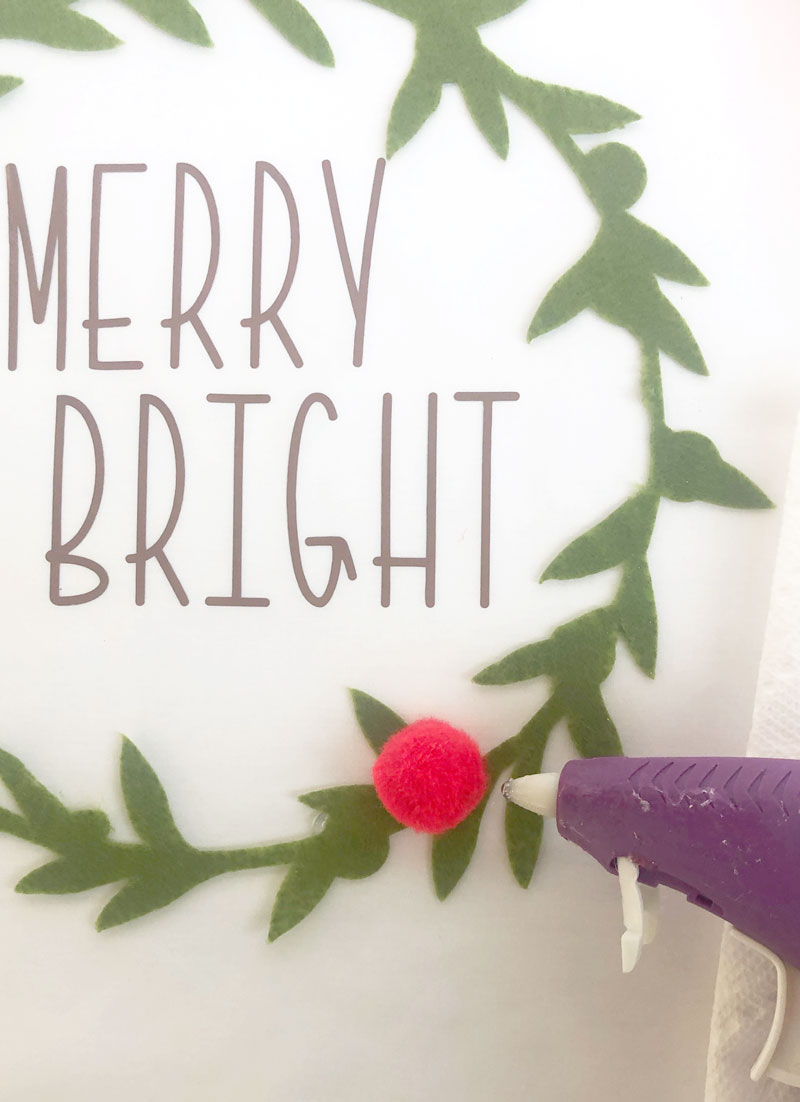 Hot-glue red pom poms onto the green felt wreath. I used three sizes of pom poms, both red and white.
Place the white fabric with the Merry & Bright and wreath inside the painted embroidery hoop. 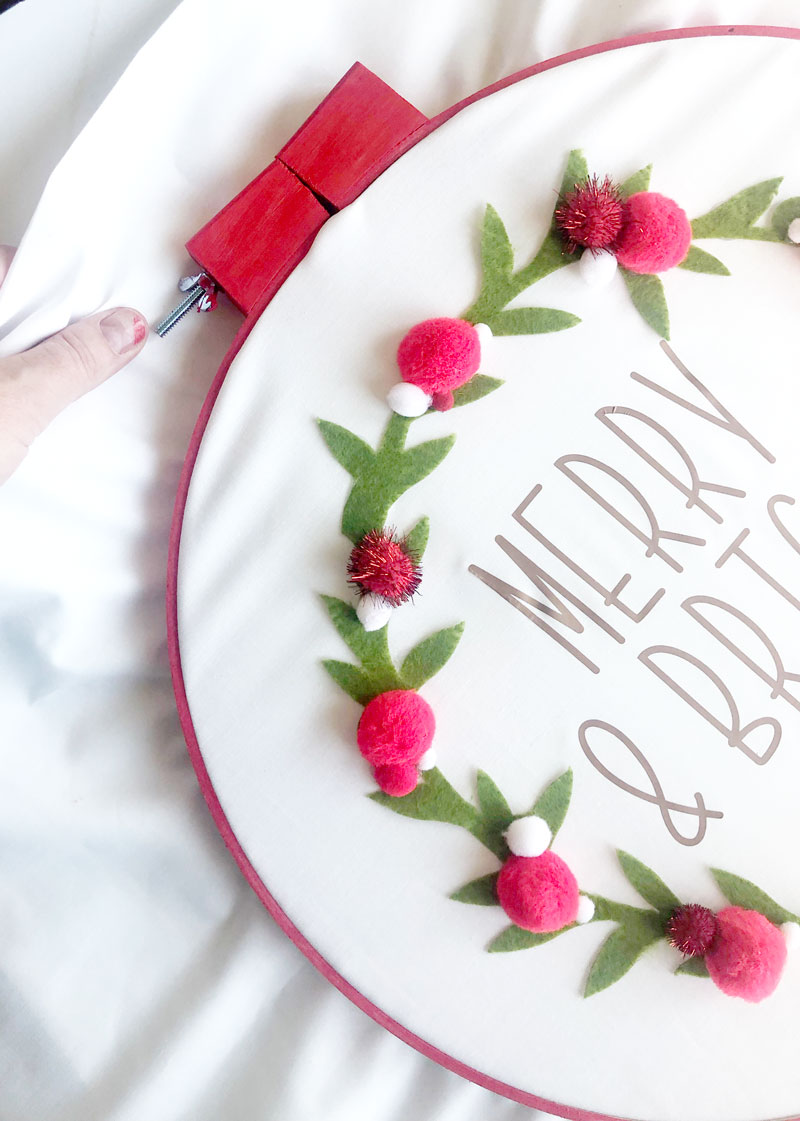
PIN THE EMBROIDERY HOOP CRAFT TUTORIAL FOR LATER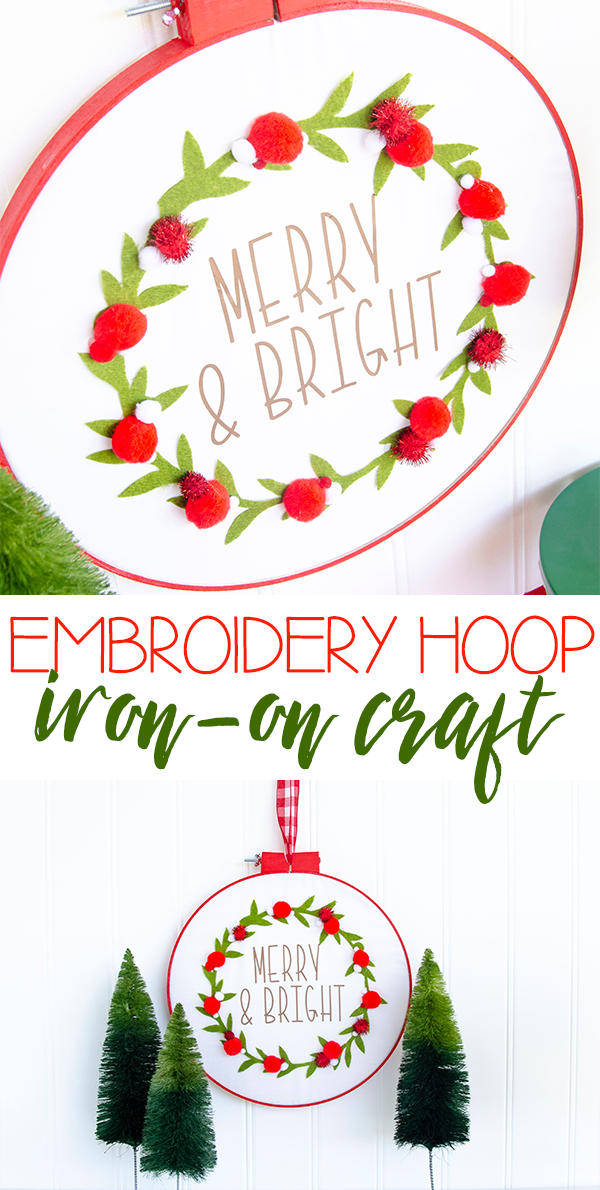
For more Iron-On Projects, check out these posts:
DIY RAINBOW T-SHIRT WITH CRICUT PATTERNED IRON ON
DIY Teacher Tote Bag with Cricut Iron-On Designs
DIY Sprinkle Napkins with Cricut Easy Press 2
Pineapple DIY Tote Bag Tutorial
This is a sponsored conversation written by me on behalf of Cricut. The opinions and text are all mine.



Comments 9