This post is sponsored by Spellbinders, but all opinions are my own.
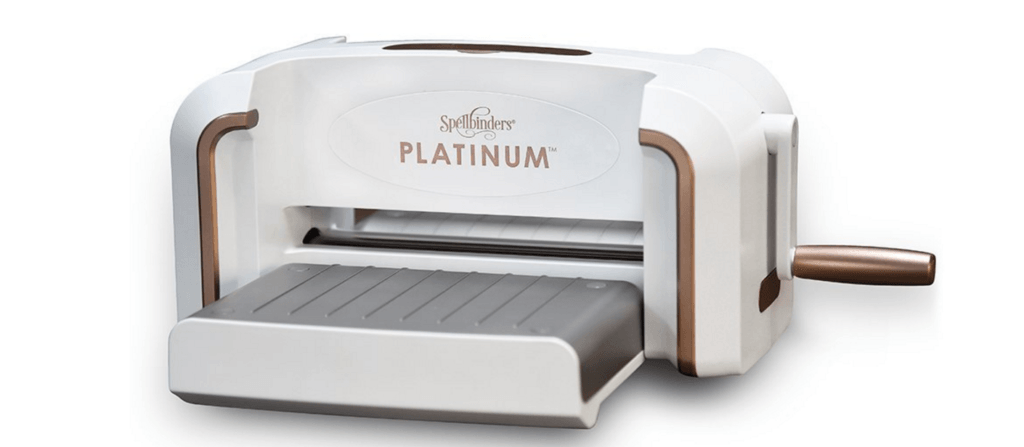
We are two short weeks away from school in Texas. While I’m excited to have my days to myself, I have a hard time watching my kids advance to another year. Why do they have to grow up so darn fast?! Since time is just flying, I really try to make these passing years special. I like to throw together some sort of back to school dinner, party or dessert night every year to get my girls excited for school to start. This year I hosted a SUPER simple neighborhood get together for a few close friends. To decorate, I went with my favorite….paper decor. You may remember my post about the Spellbinder Prizm (which I heart so much)….well this time around, I stepped up my paper crafting game and used my Spellbinder Platinum 6. Whoa baby. This machine is an absolute BEAST. It cuts up to 40 different materials and you can layer up to 7 materials at once. Wahoo! Read below to see how I used this beauty to create my back to school ideas.
BACK TO SCHOOL IDEAS
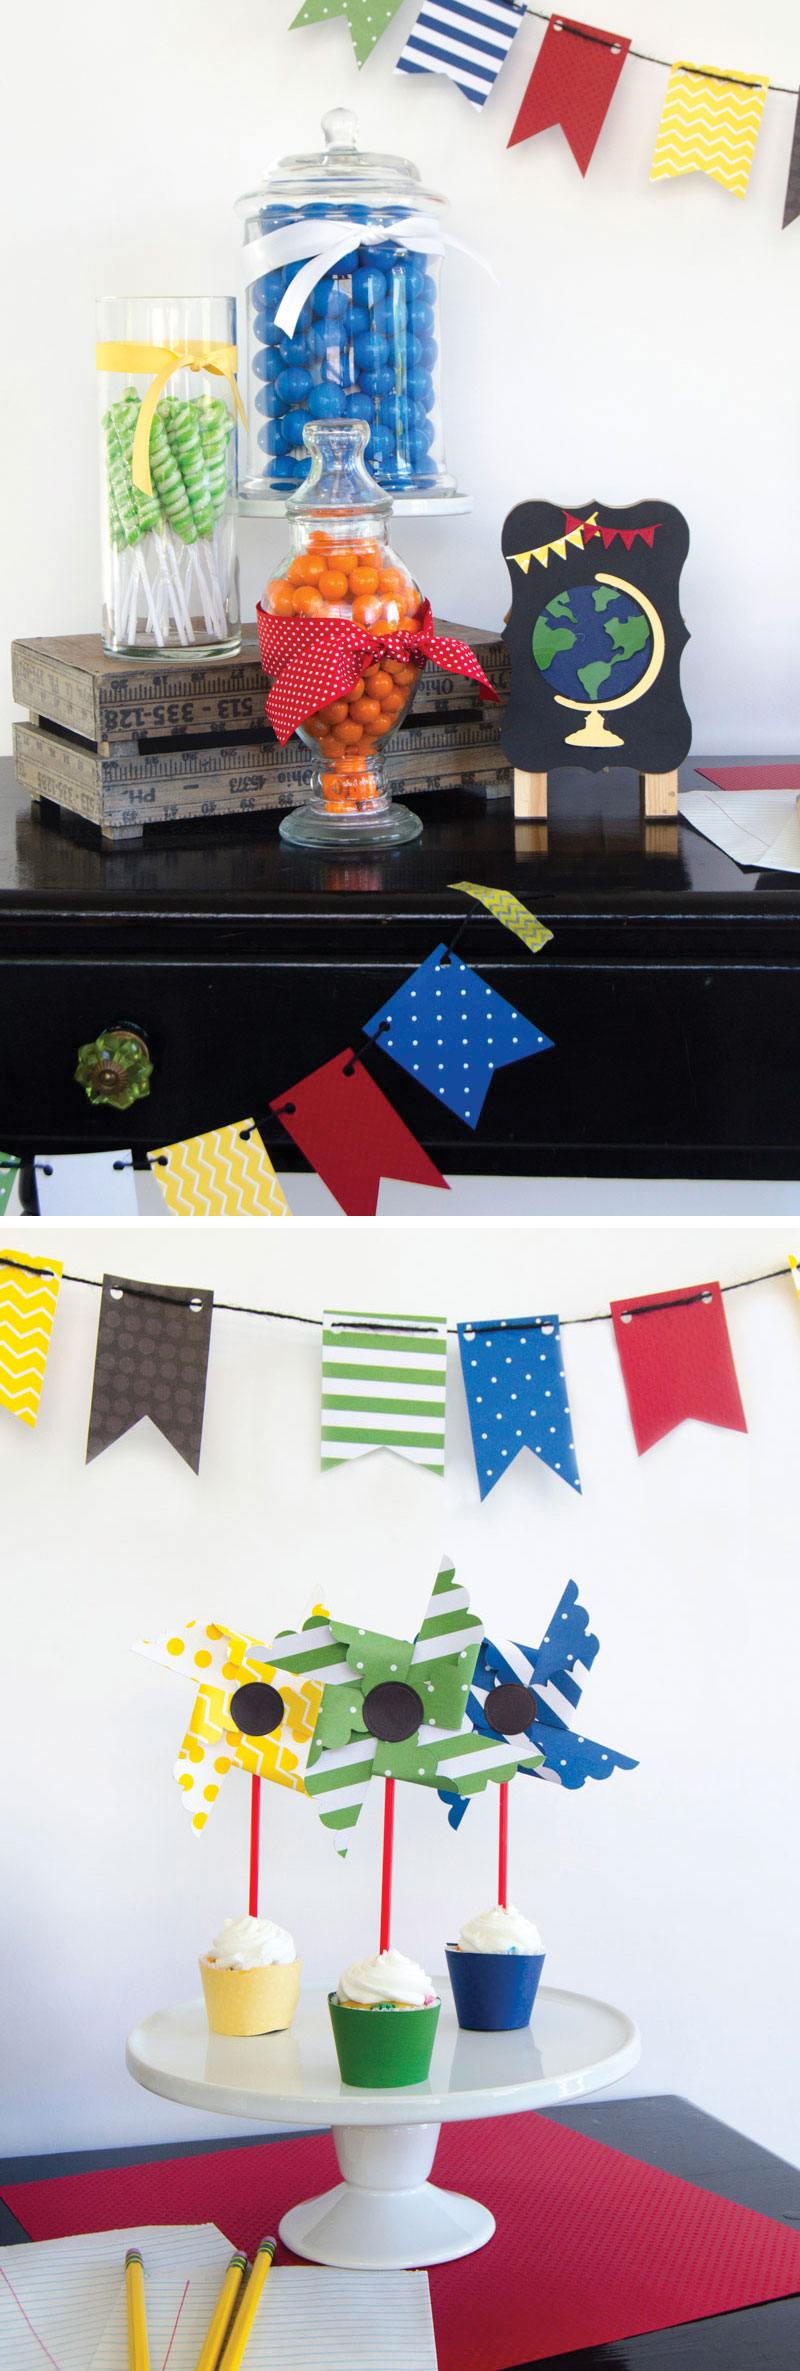
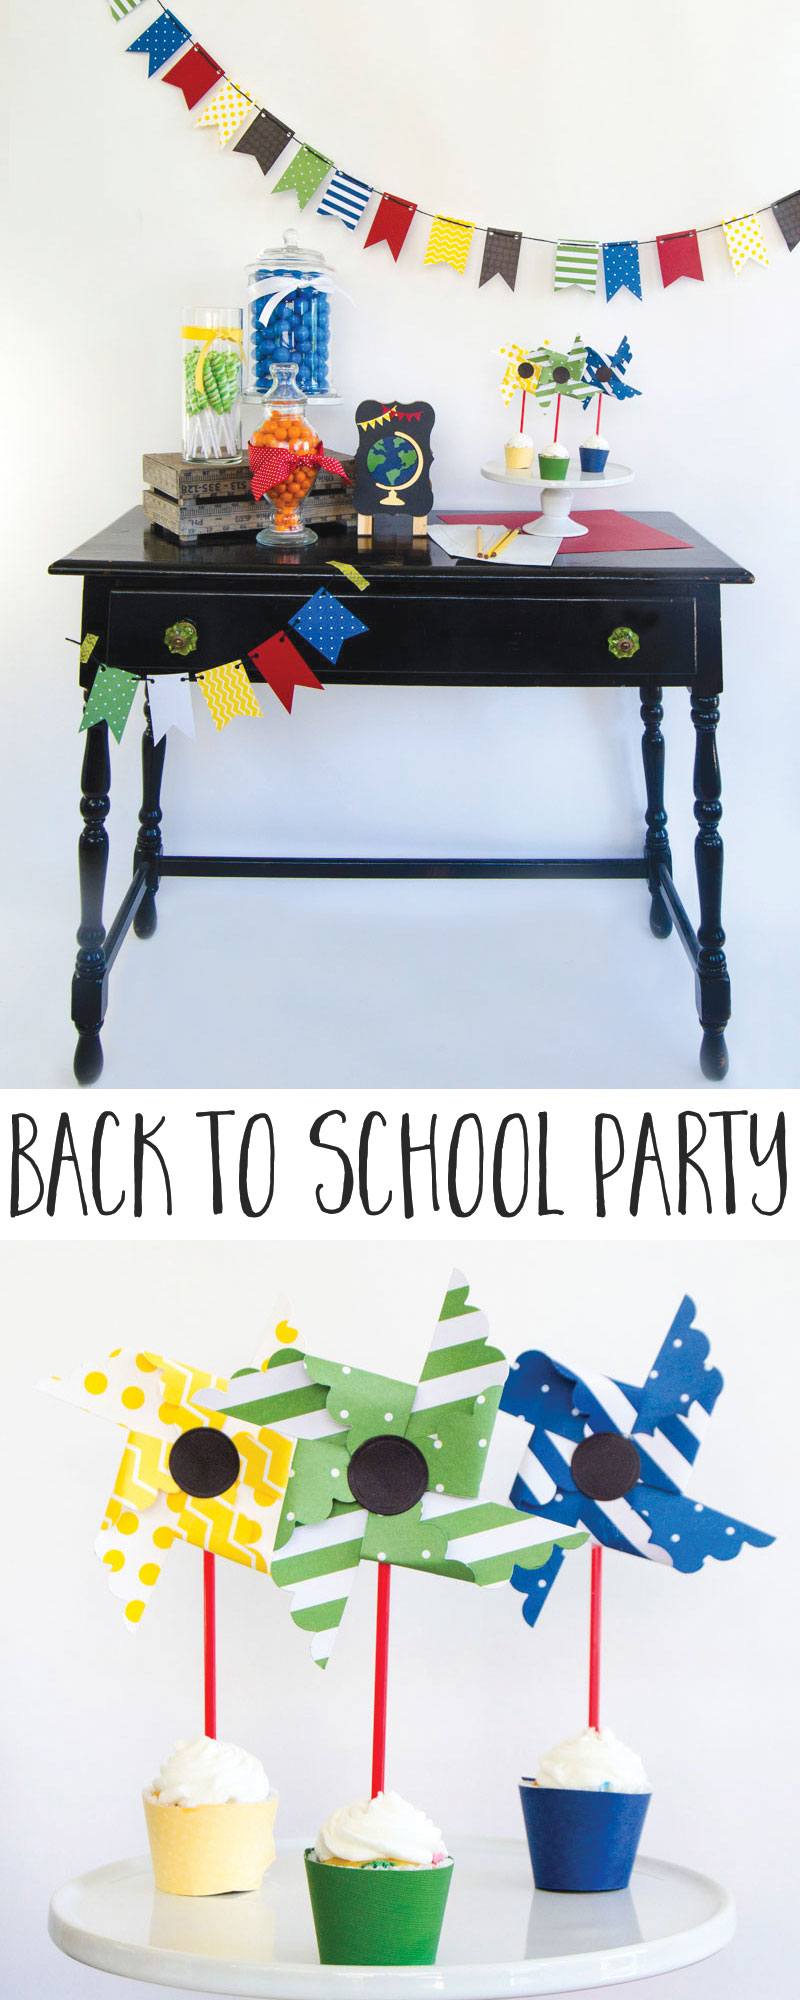
Using my Spellbinders Platinum 6 Machine, I decided to make some fun back to school decorations for a little get together for our neighborhood. Here’s how I did it.
MATERIALS
- Spellbinder Platinum 6 Machine
- Scrapbook Paper
- Contour Give It A Whirl Steel Rule Dies
- Contour Mind Your Banners Steel Rule Dies
- Contour Globe Trotter Steel Rule Dies
- Die D-Lites Sweet Set Etched Dies
- Die D-Lites Amused 1 Etched Dies
- Hole Punch
- Black Baker’s Twine
- Hot Glue
- Red Lollipop Sticks
- Chalkboard Easel
GARLAND INSTRUCTIONS
- Using my Spellbinder Platinum 6 Machine and the Contour Mind You Banners Steel Die, I cut multiple banners in five different colors and patterns.
- I punched holes in the top two corners on the banners.
- Alternating the tall, thin and short and fat banners, I strung black twine through the banners and hung above my partyscape.
PINWHEEL CUPCAKE TOPPER INSTRUCTIONS
- Using my Spellbinder Platinum 6 Machine and the Contour Give It A Whirl Steel Die, I cut multiple three pinwheels in three different colors and patterns.
- I folded and hot glued the corners of the pinwheel to the center (the die cuts tiny holes to help guide this process).
- Using my Spellbinder Platinum 6 Machine and the Die D-Lites Sweet Set Etched Dies, I cut and embossed three black circles.
- I then hot glued the circles to the center of my pinwheels.
- Lastly, I hot glued the pinwheels to the candy sticks.
CHALKBOARD GLOBE DECOR INSTRUCTIONS
- Using my Spellbinder Platinum 6 Machine and the Contour Globe Trotter Steel Die, I cut the globe out with three pieces of paper (blue, green and yellow…yes! you can cut out all three at once).
- I then glued the globe together, gluing the green and yellow pieces to the blue globe.
- Next I glued the globe onto the chalkboard easel.
- Using my Spellbinder Platinum 6 Machine and the Die D-Lites Amused 1 Etched Dies, I cut and embossed two pennant banners.
- Lastly, I hot glued the pennants to the chalkboard easel.
And there you have it! Pure party paper perfection thanks to my Platinum 6. If you decide to purchase a Platinum, I want to hear what you think! And if you use it to create one of these Back To School Ideas, make sure to post it on social media and tag me using hashtag #LTDcrafts.
