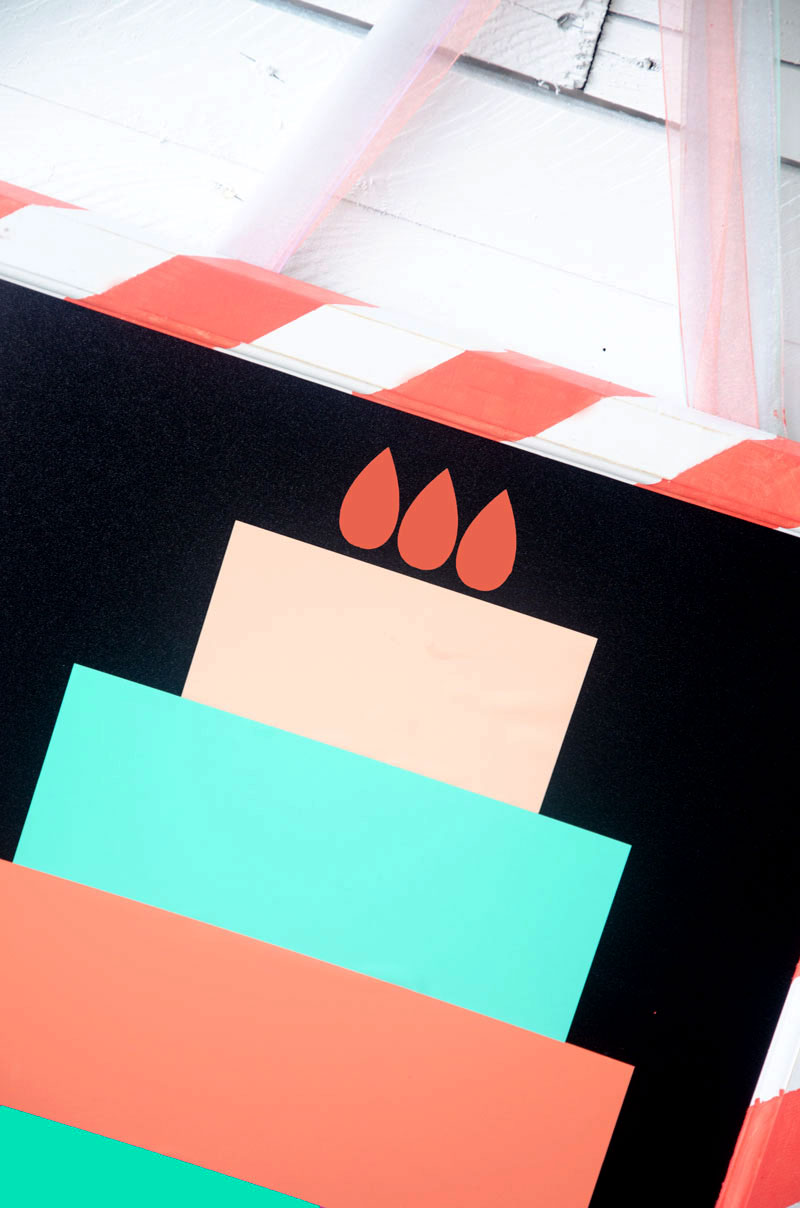
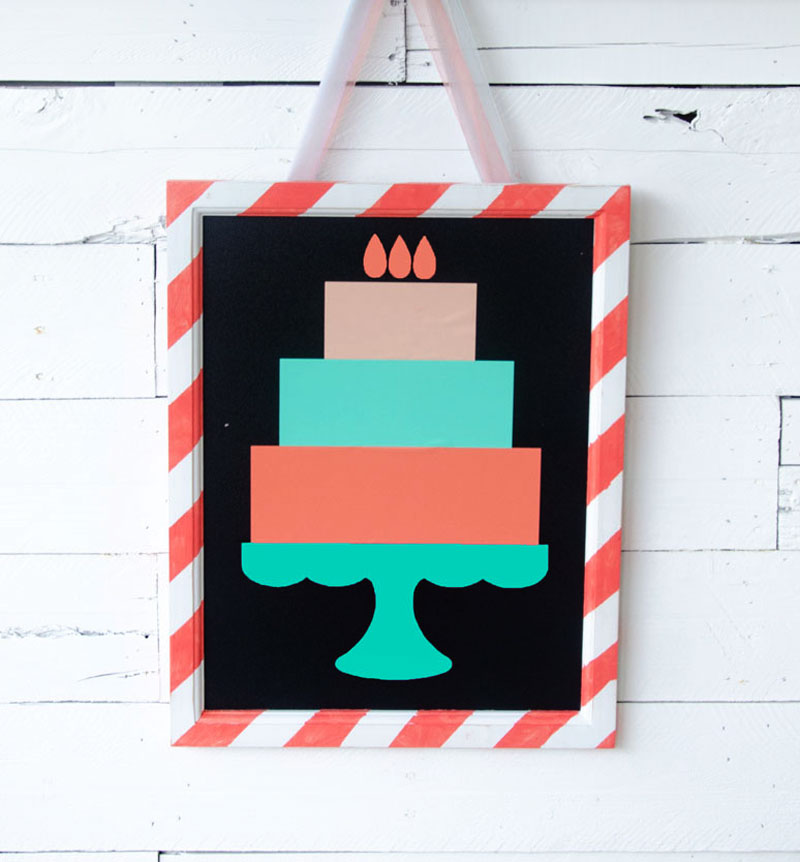
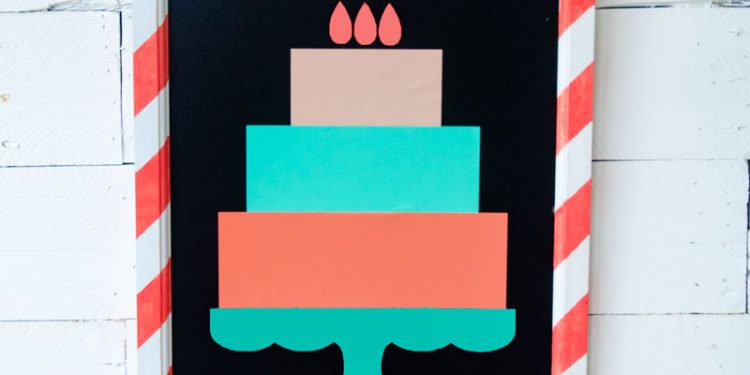
I know it’s only the beginning of July, but fall comes quickly and both my girls’ birthdays will be here before you know it. My youngest daughter’s birthday is on August 7th and it always sneaks up on me. In an effort to prepare, I made this DIY Birthday Vinyl Sign as part of what I hope will become a new tradition! I thought it would be cute to hang the birthday vinyl sign either on the front door or the bedroom door of the birthday girl.
I though you might be interested in starting this tradition for yourself, so I put together a little tutorial how I made the DIY Birthday Vinyl Sign!
 MATERIALS FOR THE DIY BIRTHDAY VINYL SIGN
– Cricut Explore Air 2™ Special Edition Martha Stewart Machine (sold exclusively at Michaels)
– A 13X19 Chalkboard Sign (I found this one at Michaels)
– Acrylic Paint, Painter’s Tape, Paint Brush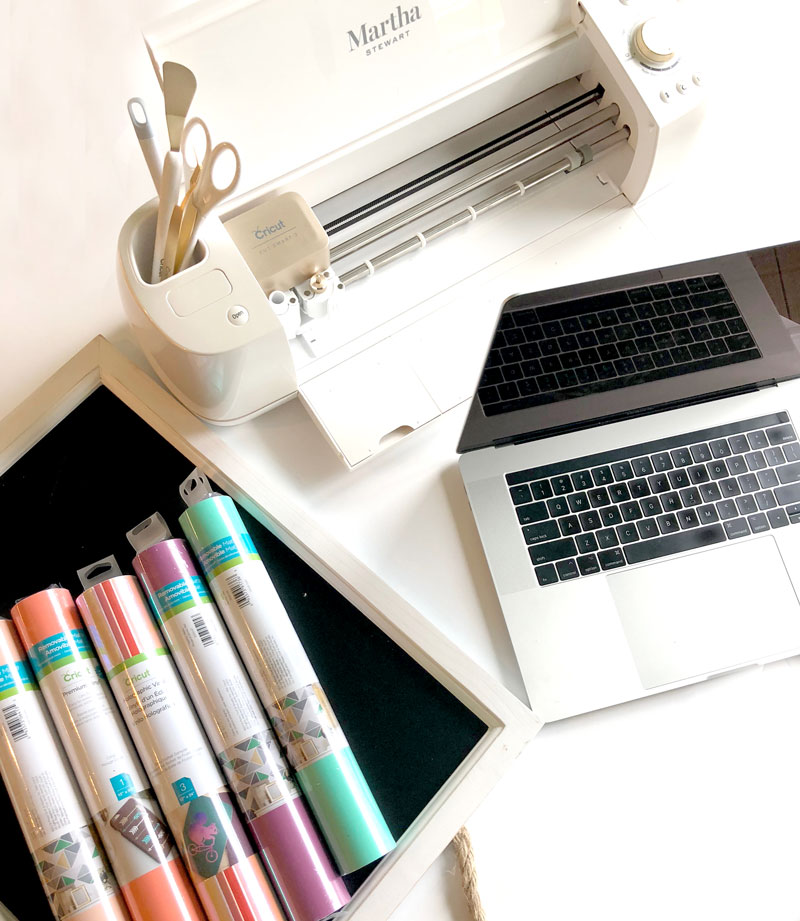
INSTRUCTIONS FOR THE BIRTHDAY VINYL SIGN
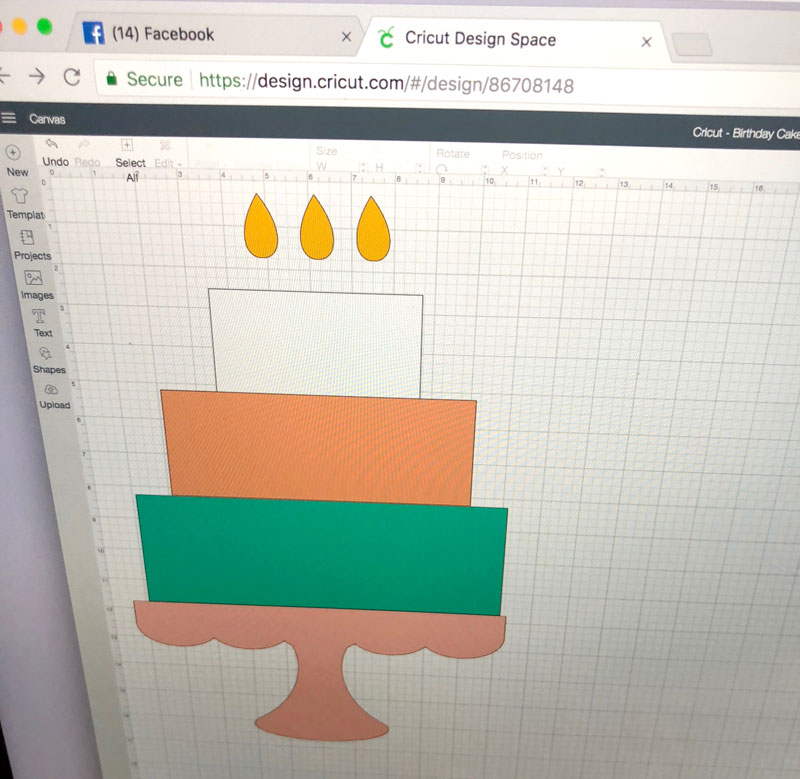 1. Head to Design Space, click projects and search Martha Stewart in the search bar. (Did you know Cricut and Martha Stewart collaborated?! SOOOO awesome. Martha has created over 25 cut files to celebrate the launch of the Martha Machine sold exclusively at Micheals).
2. Click on the Birthday Cake Card and customize the project so only the cake portion of the file will be cut.
3. Resize the cake to fit your chalk-board sign. I had to make mine MUCH larger.
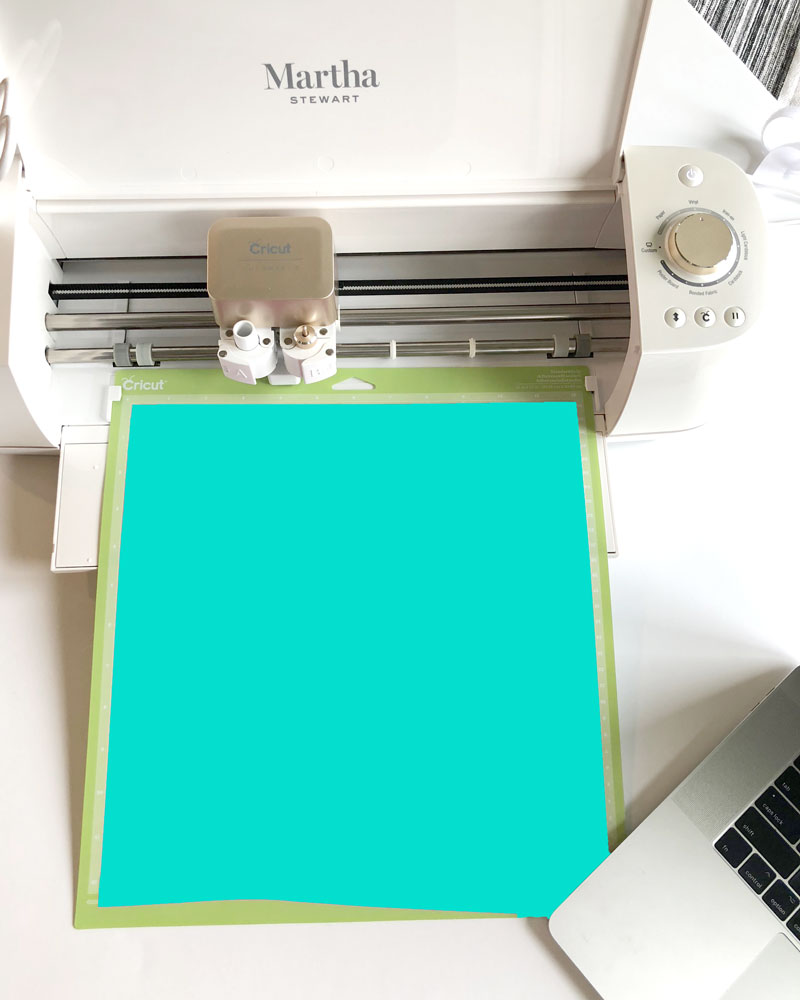 4. Open up your Premium Vinyl and place your first color on a Cricut Mat! Isn’t it dreamy? It’s stronger and better than ever. It’s easier to weed, easier to peel and lasts WAY longer.
5. Press ‘Make It’ and watch as the pearly white Martha Machine cuts the base of your cake stand!
6. You’ll use four different colors of vinyl for your project, so after one piece us cut….switch colors and cut again.
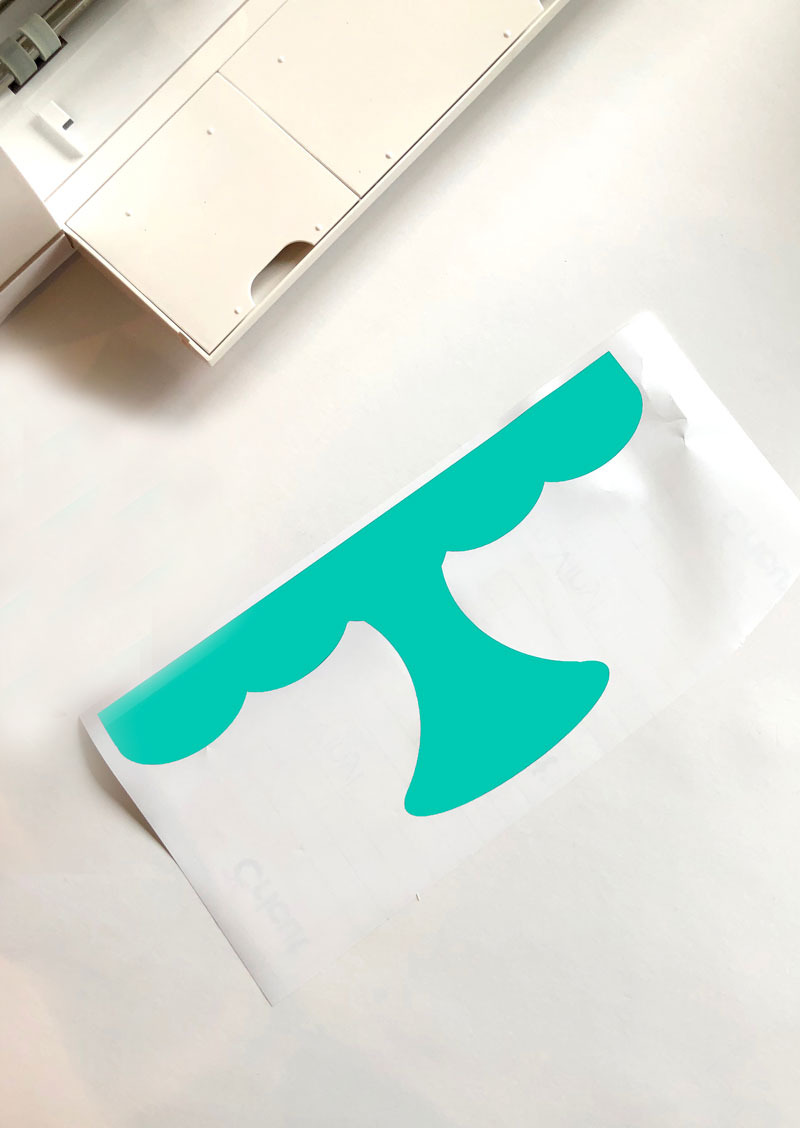
7. Once everything is cut, weed around the cuts.
8. Place transfer tape over your cuts and peel (the cut will now be attached to the transfer tape).
9. Place the cut (on the transfer tape) and place on your chalkboard. 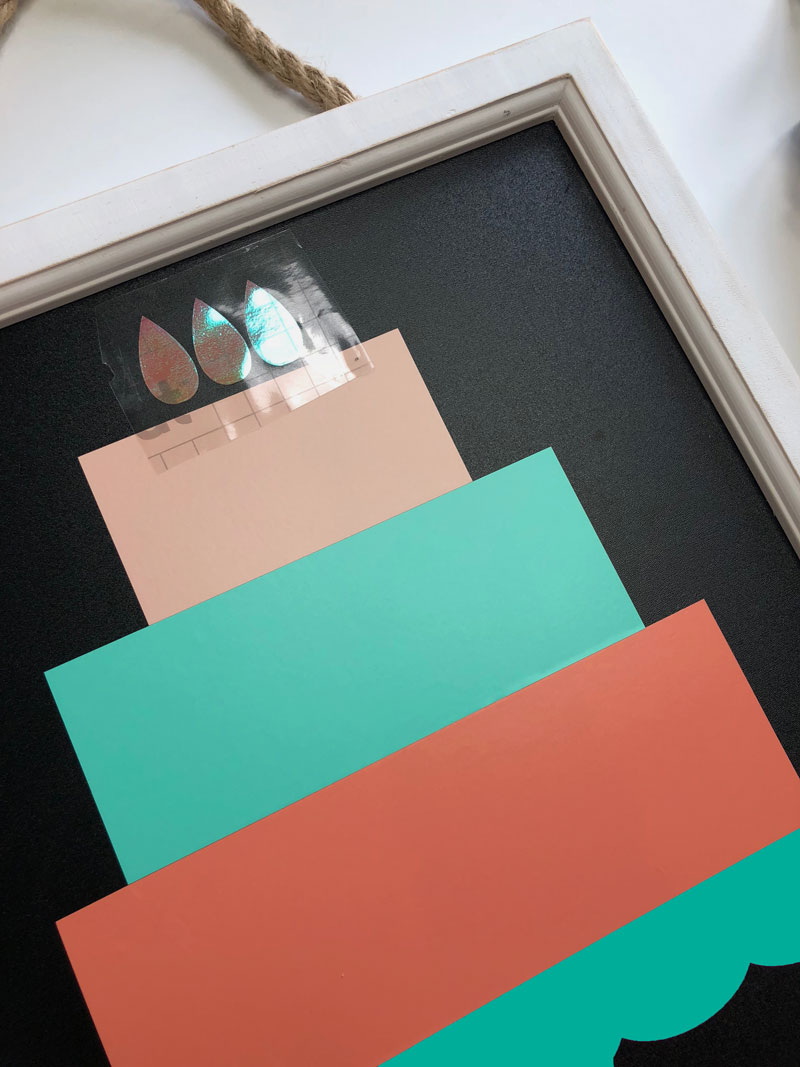
10. Once all the vinyl was place on the chalkboard, I wanted to spruce up the sign even more so I applied painted tape the the frame and painted coral strips on the sign. And that’s it! Wahoo!! So, so easy and so fun.
For more Cricut Birthday Ideas and Projects, check out these posts:
FREE HAPPY BIRTHDAY BACKDROP
CLEVER NEIGHBOR GIFT IDEA WITH THE CRICUT MAKER
POLKA DOT BIRTHDAY BACKDROP
CRICUT BIRTHDAY PARTY IDEAS
This is a sponsored conversation written by me on behalf of Cricut. The opinions and text are all mine.
Comments 1