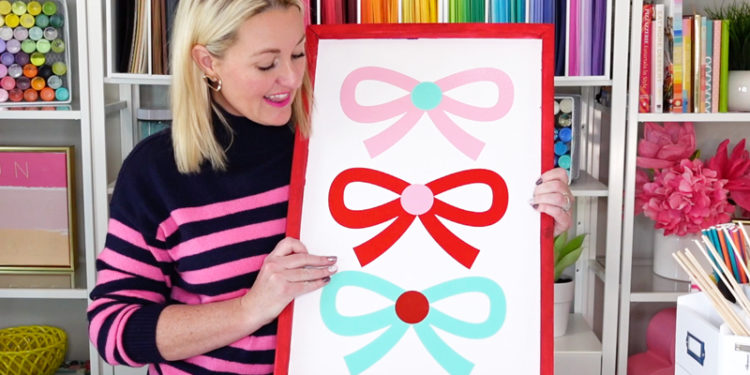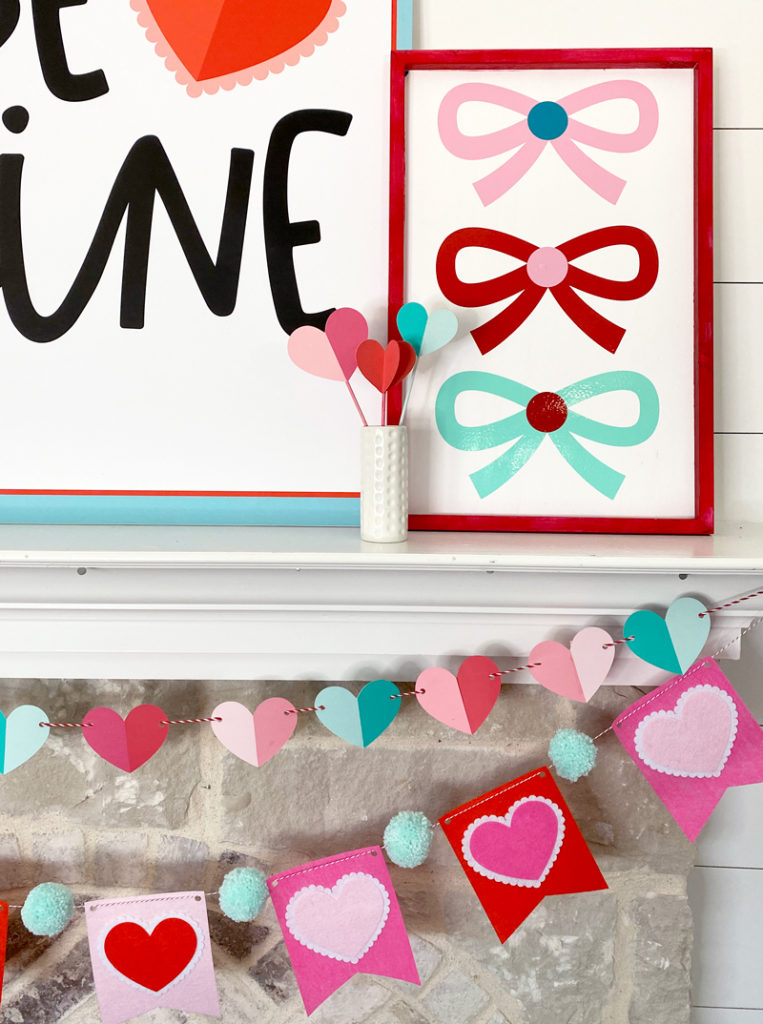
We are full swing in 2021 and I can’t help but look toward Valentine’s Day. The January cold is behind us and this Valentine Vinyl Sign Tutorial will hopefully get you excited for February 14th!
Valentine’s Day decorations can do that. Their bright colors, bows, scallops and overwhelming numbers of hearts help get you out of the January rut. They are just so happy.
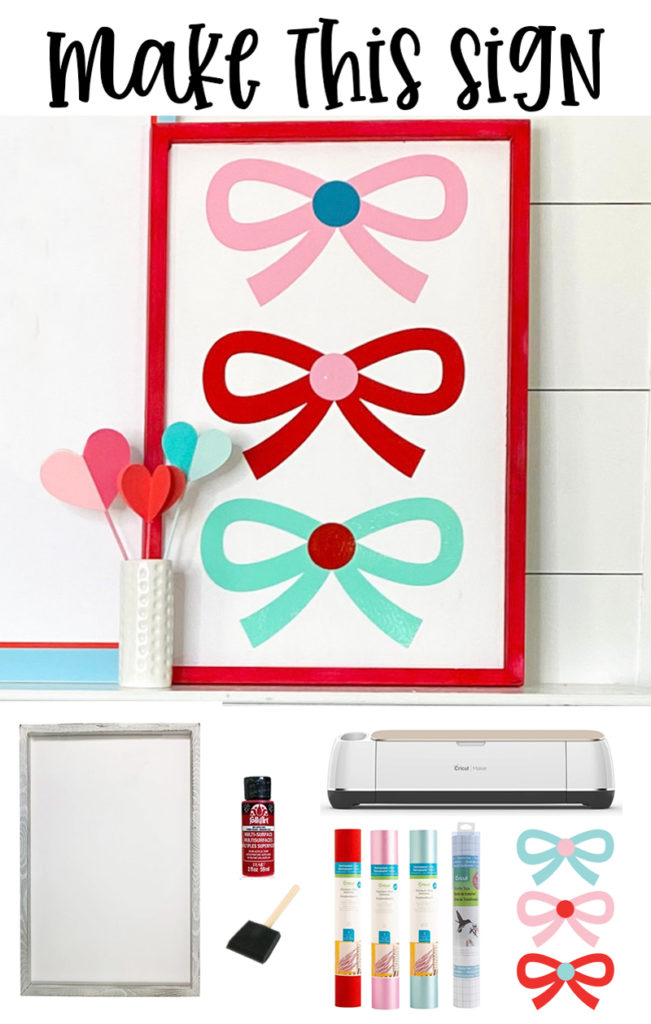
With that being said, here’s a full tutorial and video of how to make a vinyl bow sign with the help of a Cricut Maker!
HOW TO MAKE A VALENTINE VINYL SIGN
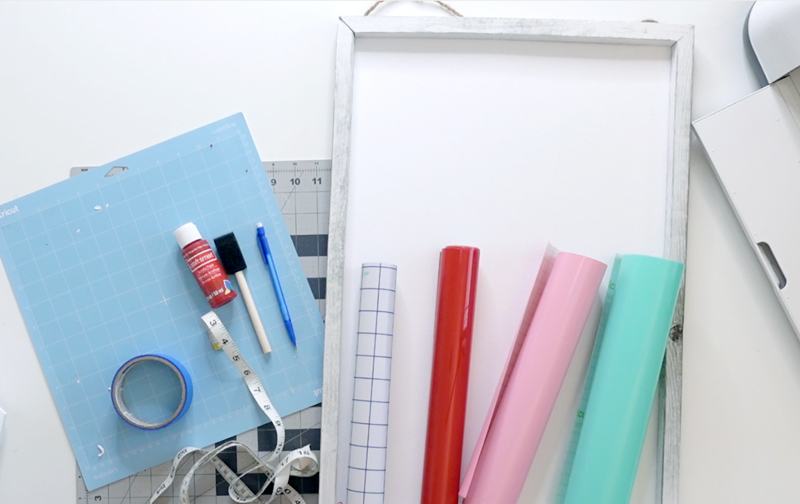
SUPPLIES YOU’LL NEED
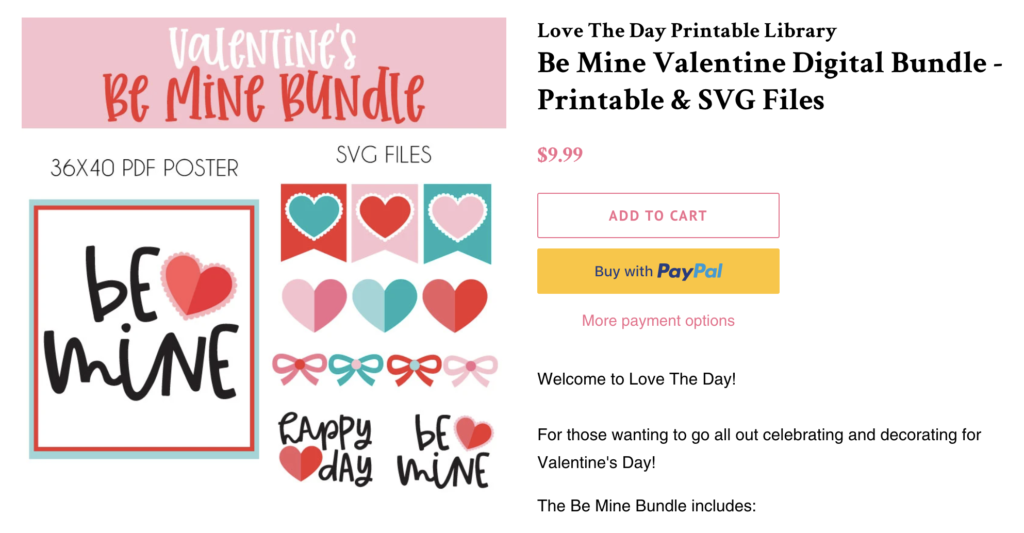
Love The Day BE MINE Valentine Bundle (the scallop heart templates and/por printables)!
24″ Whitewashed Wooden Framed Plaque
3 Sheets of Vinyl (3 different colors)
INSTRUCTIONS FOR VALENTINE VINYL SIGN
1. PURCHASE THE BE MINE BUNDLE!
The first thing you’ll need to do is purchase the Love The Day Be Mine Valentine Bundle from my printable and SVG shop!
The SVG File in the in the Multi-Color Hearts & Bows folder within the bundle.
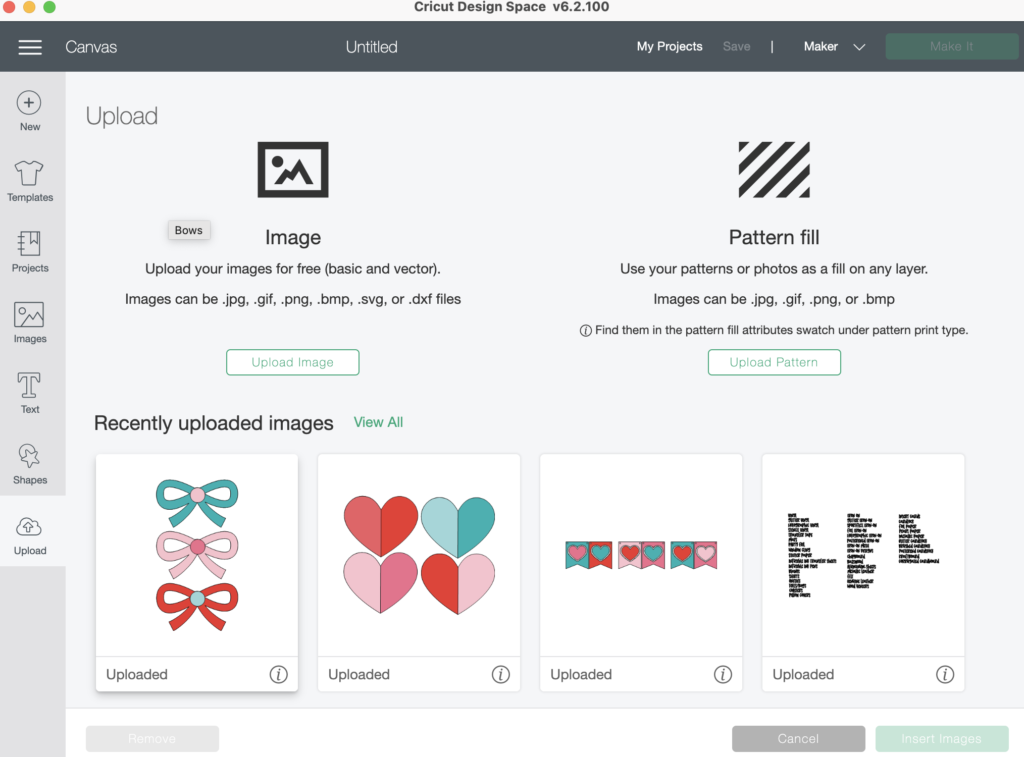
2. UPLOAD THE BOWS SVG FILE TO CRICUT DESIGN SPACE
The next step is to upload the SVG bow file to Cricut Design Space.
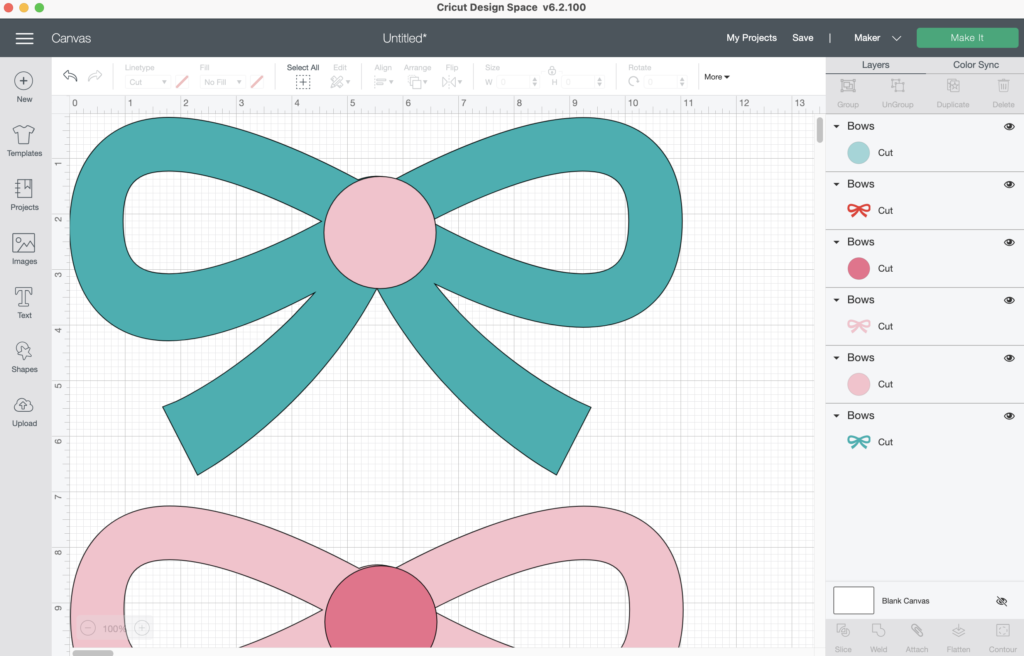
3. INSERT THE FILE INTO A NEW CANVAS
Insert the bow file onto you canvas! Resize if you need.
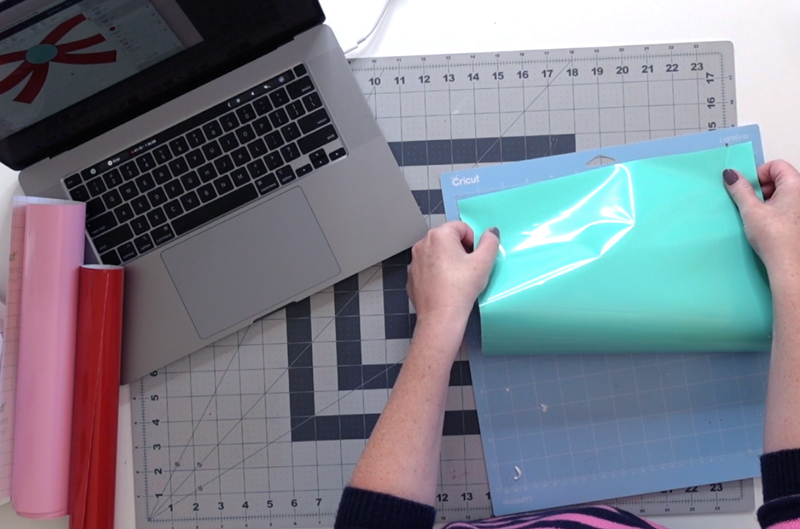
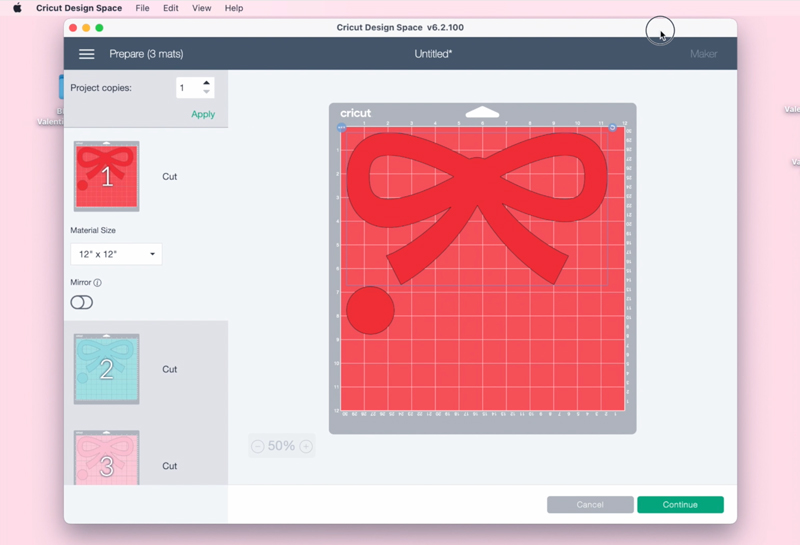
4. PLACE VINYL ON YOUR MAT
Place your vinyl on a Cricut Mat.
5. PRESS MAKE IT & LET THE CRICUT DO ITS THING!
I designed the bow file to fit a 16X24 inch sign. If you have to resize the bow file, go ahead and do it now.
Once it’s resized, press MAKE IT and let the Cricut get to work.
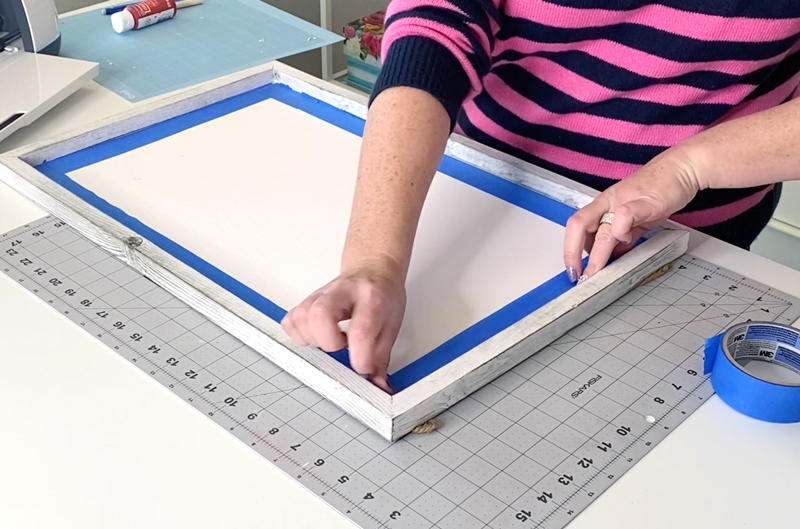
5. TAPE OR MASK THE INSIDE OF YOUR SIGN
While your Machine is cutting the vinyl, take your painters tape and tape the inside of your wood plaque/sign.
This will ensure your paint doesn’t leak onto the base of the sign.
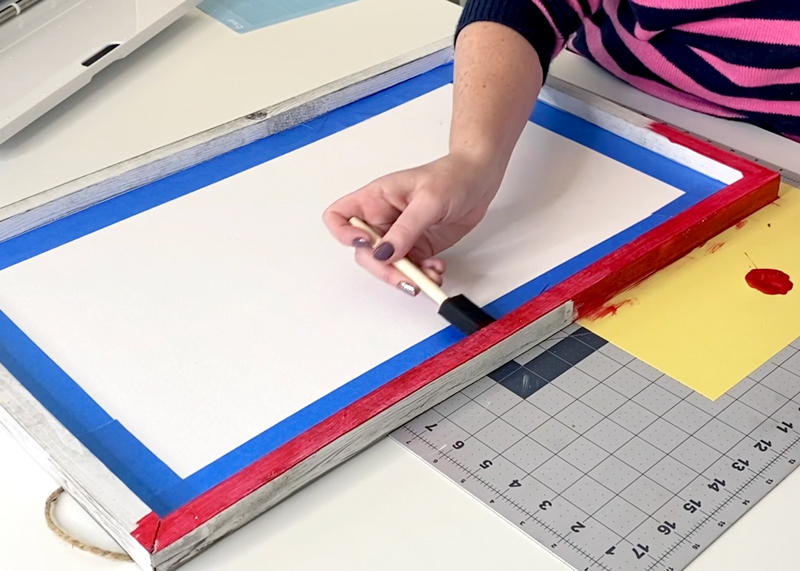
6. PAINT THE FRAME OF YOUR SIGN
Grab your acrylic paint and sponge brush and paint the frame of your sign. I painted two coats!
Set your sign aside to dry.
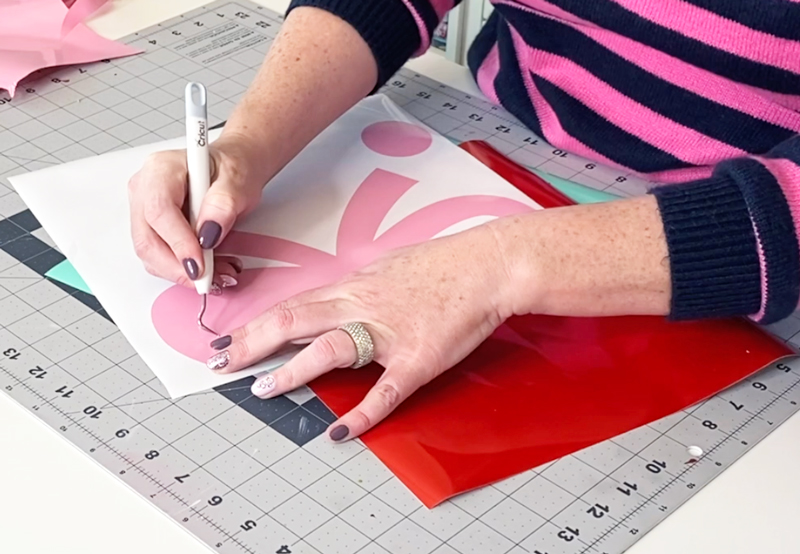
7. WEED YOUR VINYL
Let’s get back to the vinyl and bows!
Taking your weeding tool and weed around the bows, leaving them on the plastic backing.
8. TRANSFER YOUR VINYL
Place transfer tape on your bows and peel the bows from their backing.
Find the center of the bow and transfer the bow to the center of your sign and peel of the transfer tape. Start with the middle bow then add the top bow and the bottom bow.
Transfer the circles (or bow centers) to the top of all the bows.
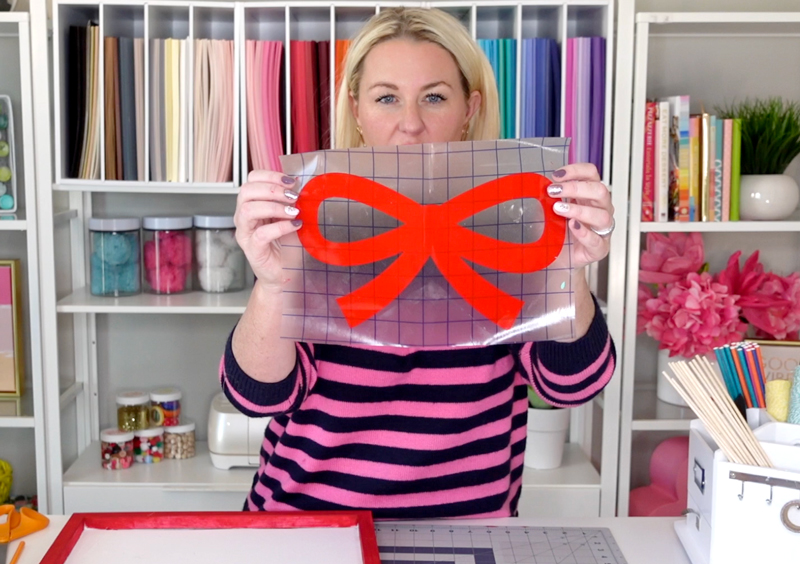
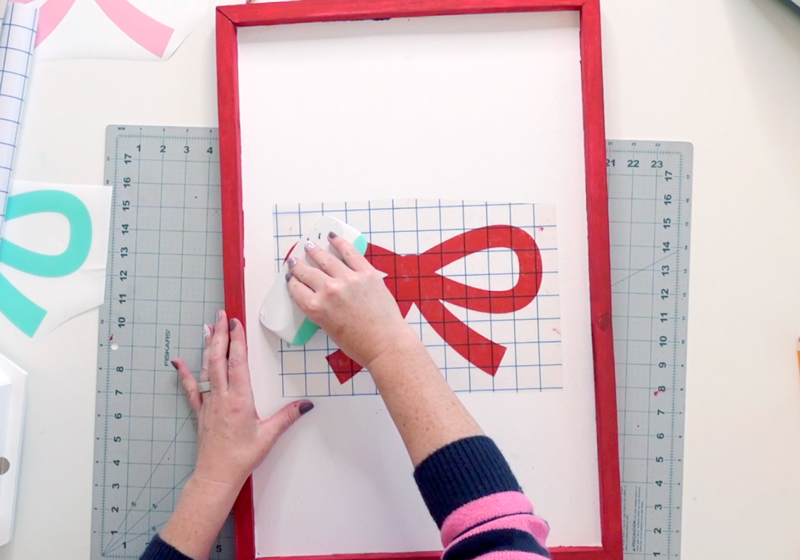
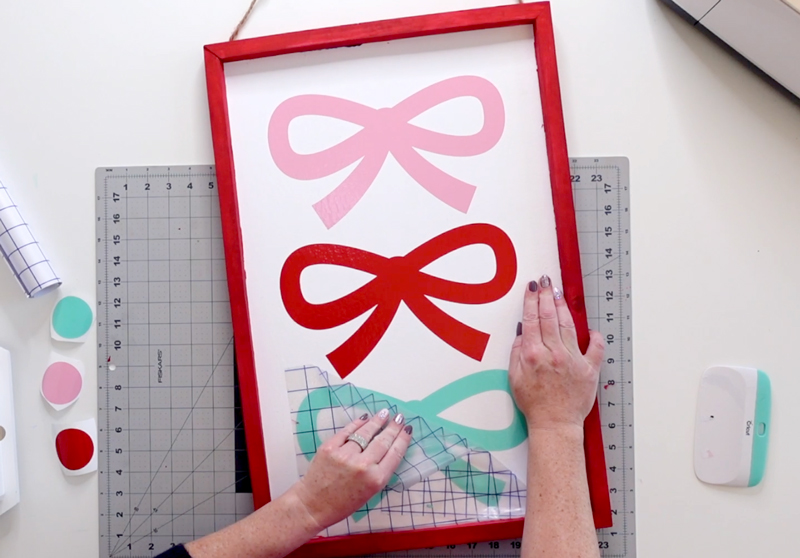

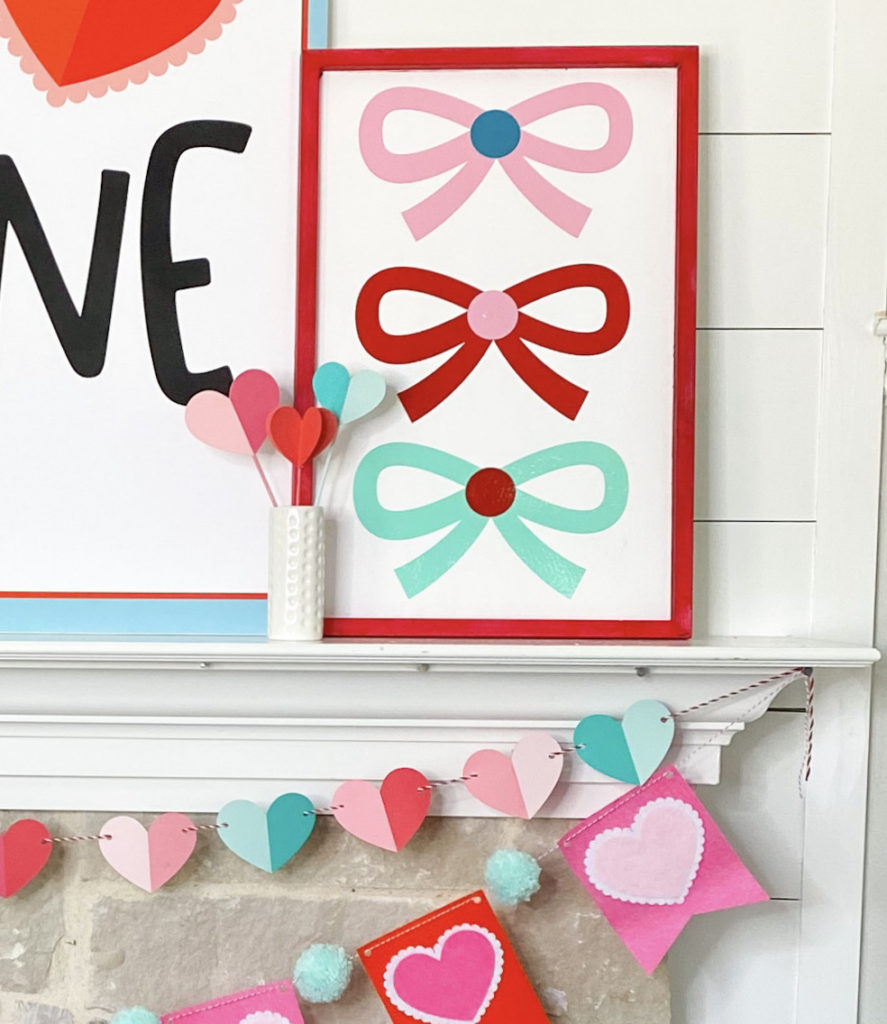
And BAM!! You are finished! How fun are those bows?! The sign looks perfect on a mantel, front door or in an entryway.
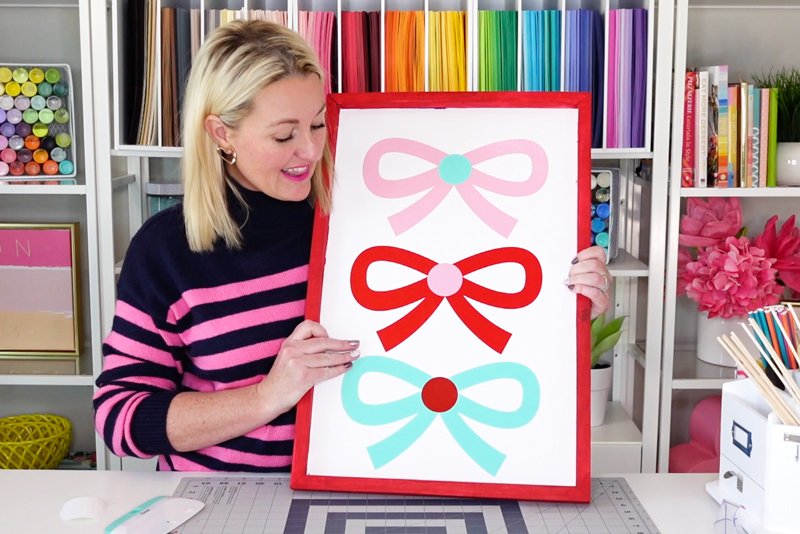
If you create this bow sign, make sure to take a picture and tag me at @lovetheday on Instagram. I’d LOVE to feature you in my stories!
For more BE MINE and Valentine inspiration, check out these posts!
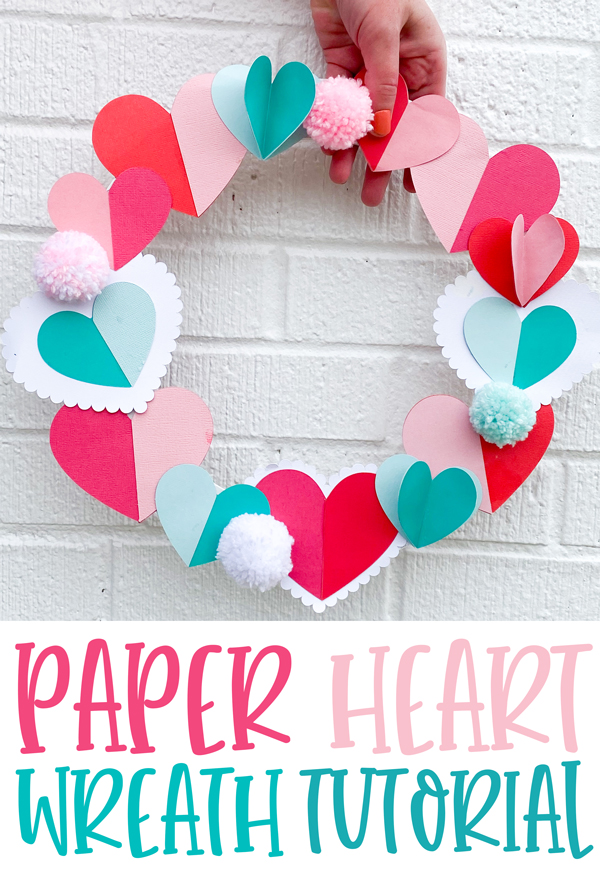
Valentine Paper Heart Wreath Tutorial
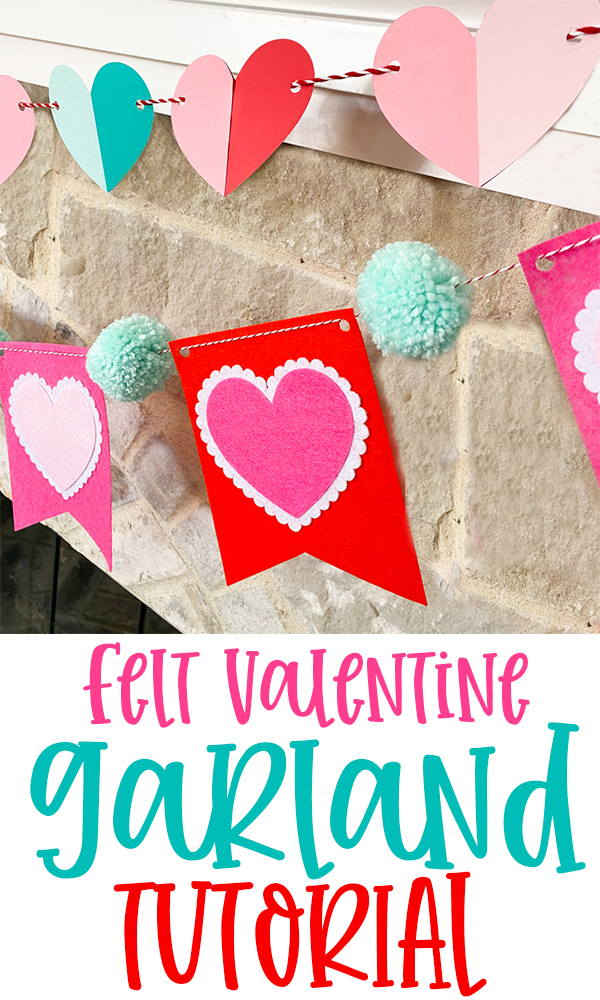
Felt Valentines Garland Tutorial
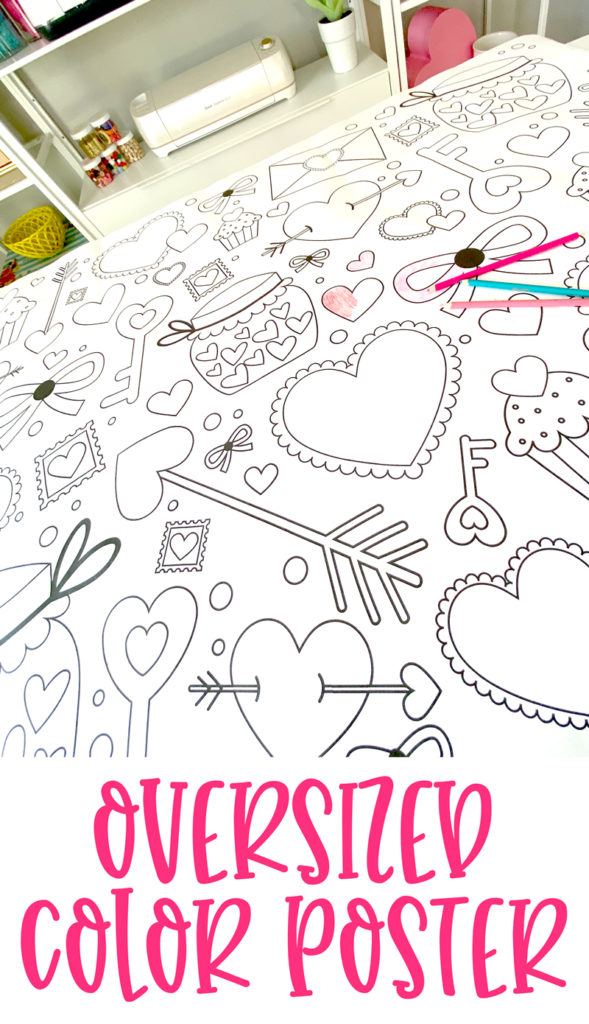
Oversized Coloring Poster for Valentine’s Day

