This post is sponsored by Cricut but please….we all know I’m OBSESSED with Cricut!
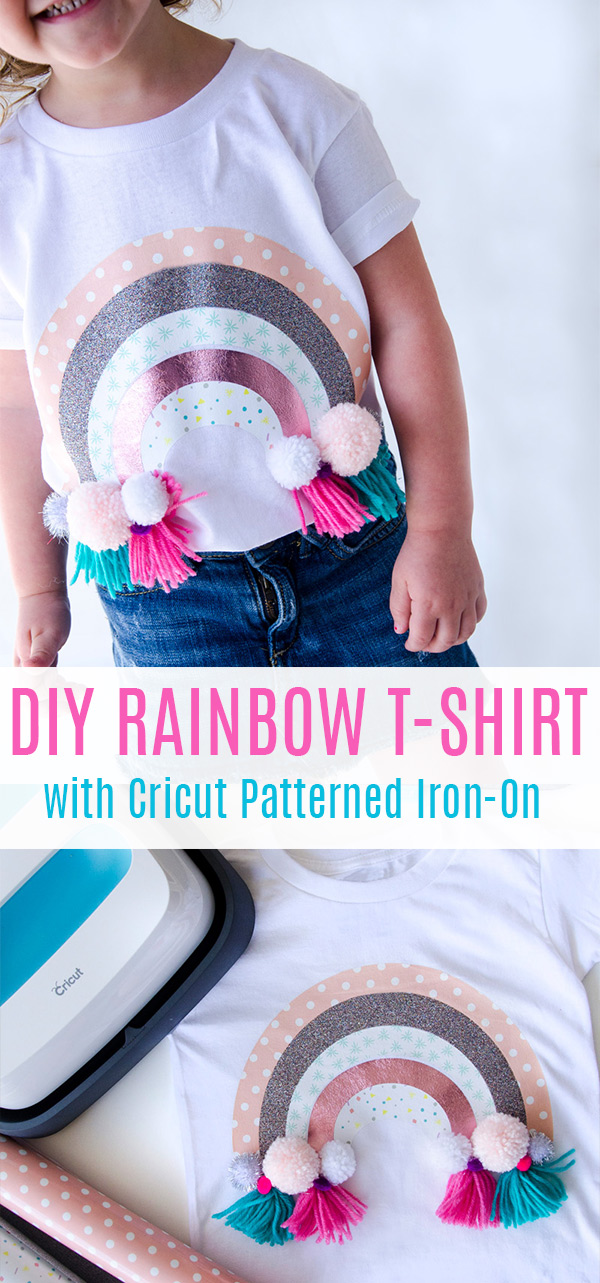
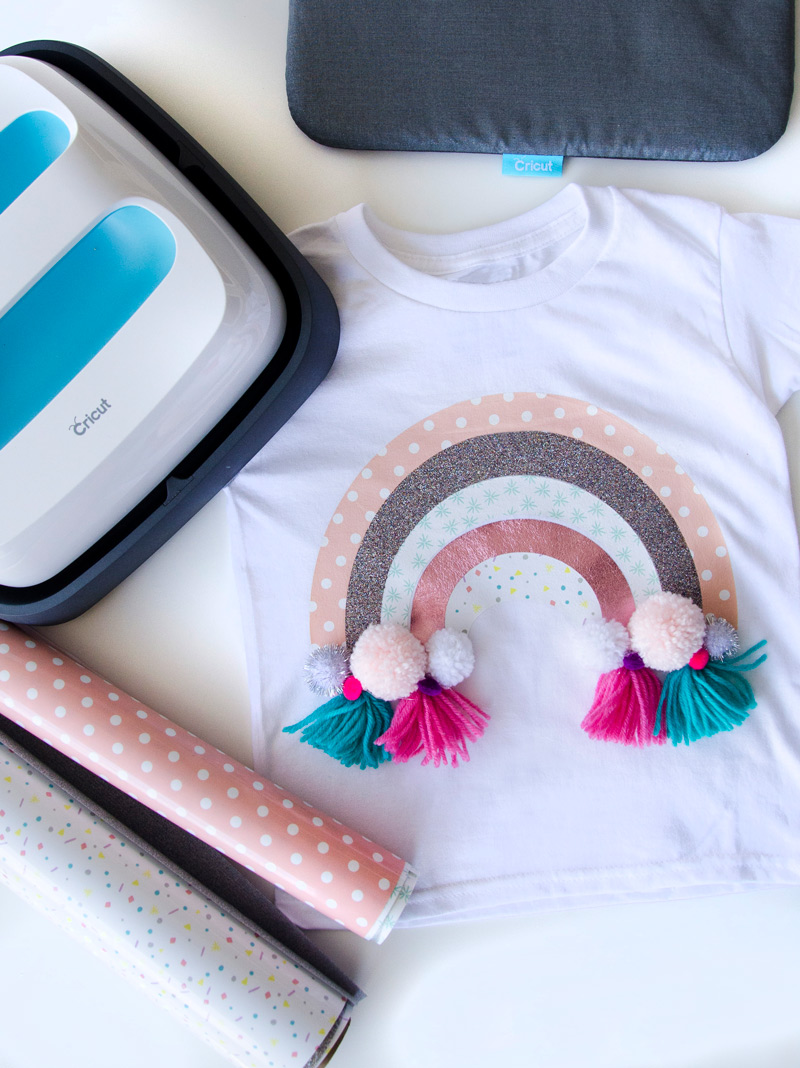
It is full on spring here in Texas and most definitely T-Shirt weather! I decided to make my niece and little best friend a DIY Rainbow T-Shirt because:
- She’s the cutest human on the planet.
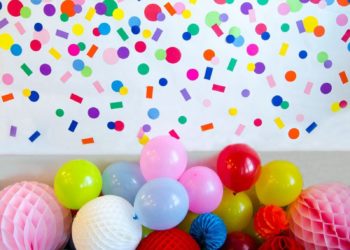
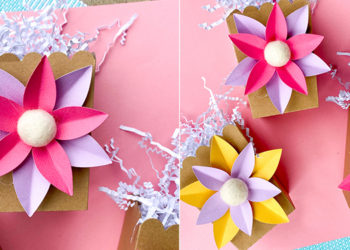
- I’m obsessed with Rainbows (hello RAINBOW BACKDROP, RAINBOW TREAT BOXES and RAINBOW PARTY)!
- Cricut just came out with Patterned Iron On and I’ve been DYING to try it out! The Patterned Iron On™ is a total game changer. I’m such a sucker for pattern, I feel like I’ll be making WAY more iron-on crafts from now on. There are currently 9 sampler packs on the Cricut website and they come with 3 -12” x 17” sheets.
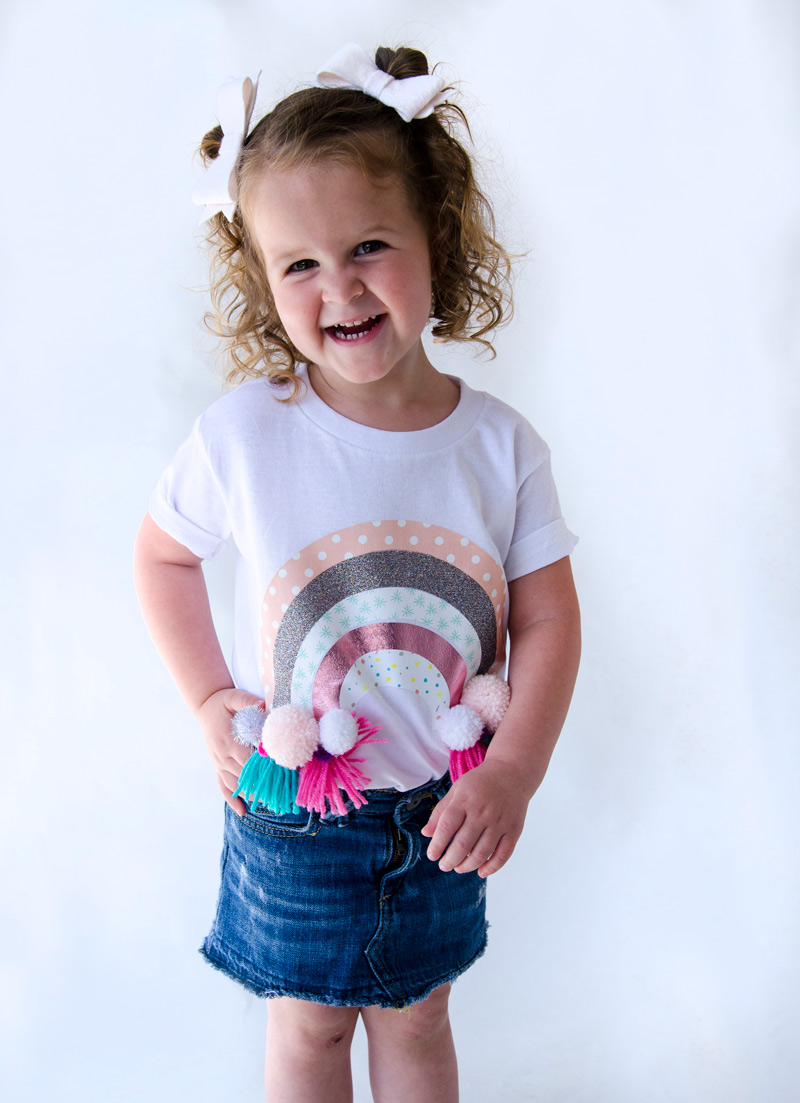 The inspiration for the shirt came from my DARLING friend Rebecca of Make & Do Studios. She is literally the BEST and the most creative person ever. She crafted this DIY RAINBOW POM POM PILLOW and I just about died. Have you ever?! I knew I had to turn the idea into a shirt and maybe add a tassel or two. Keep reading to see how I did it.
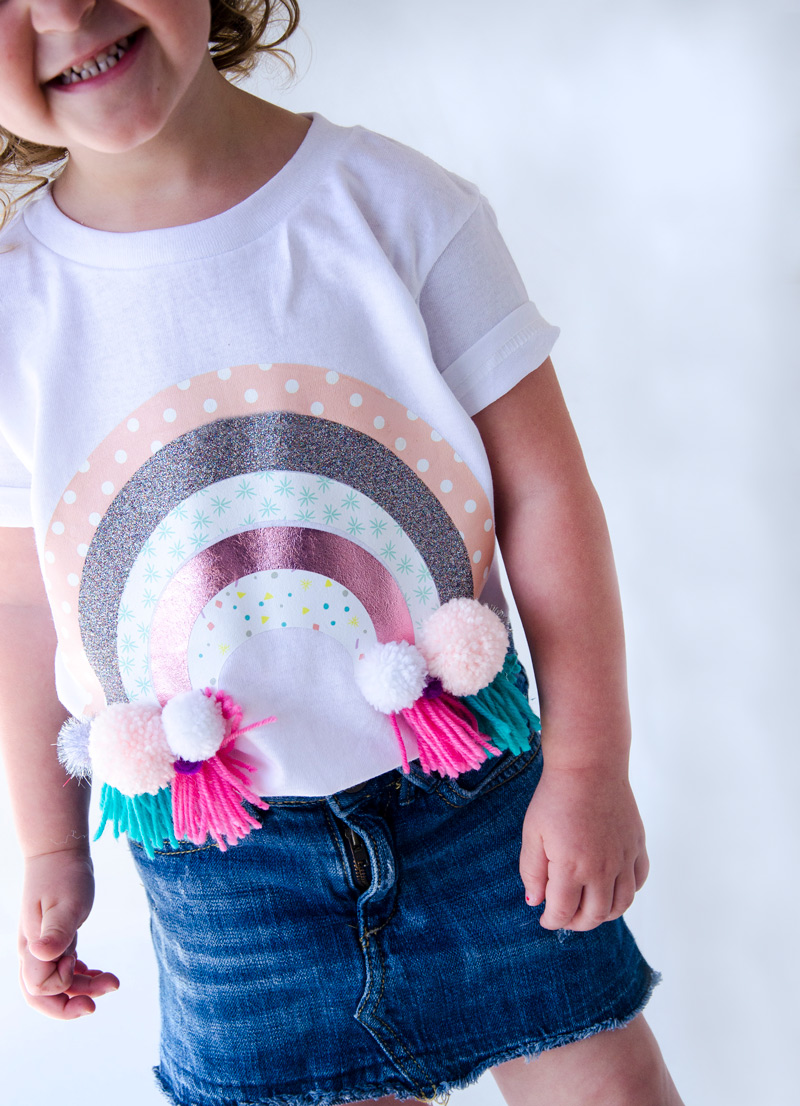
MATERIALS
- 5 Different pieces of Iron On Vinyl (I used three pieces of Patterned Iron On, one piece of Glitter Iron On and one piece of Foil Iron On)
- Cricut Maker or Cricut Explore Air 2
- EasyPress
- EasyPress Mat
- White T-Shirt (pre-washed)
- Pom Poms & Tassels (store-bought or homemade)
INSTRUCTIONS TO MAKE THE DIY RAINBOW T-SHIRT
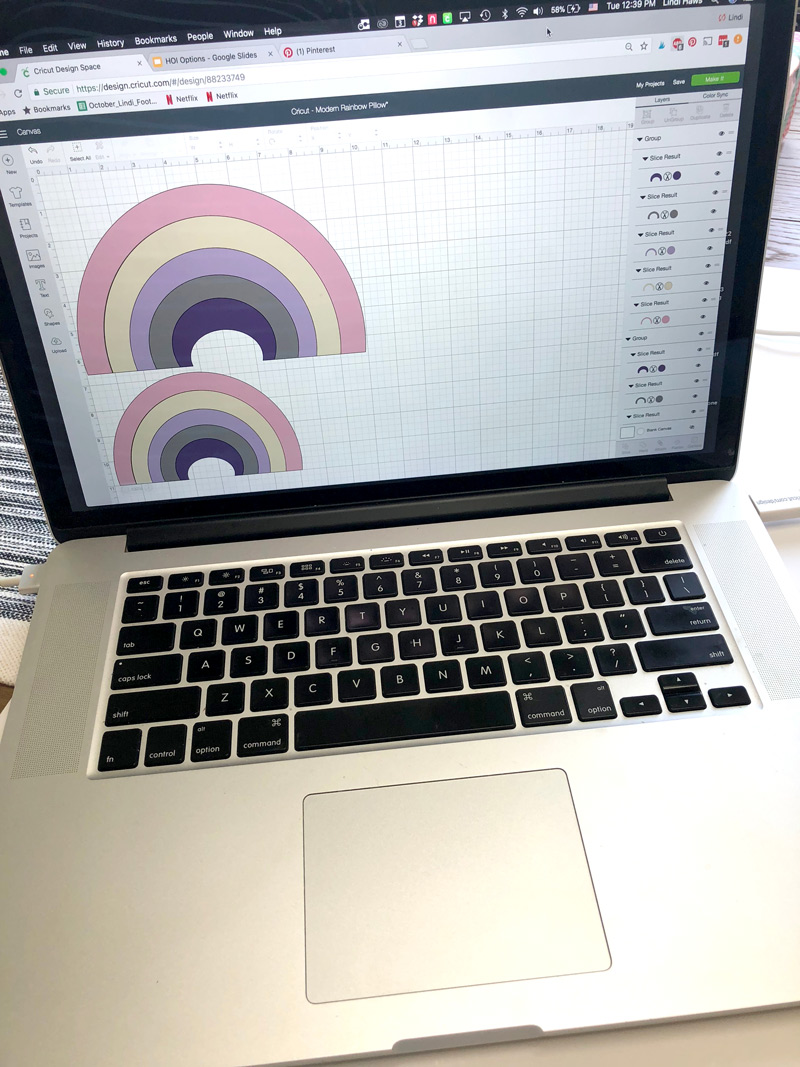
1. Heaven bless Cricut for creating Design Space. So many projects….so many options! There was already a DARLING rainbow vector/project in Design Space so why in the world would I take the time to design a new one!?
I chose to use the DIY Rainbow Throw Pillow project and customized the size. I shrunk the rainbow down to about ten inches for a toddler T-Shirt, but size your rainbow to the size of the T-Shirt you’re using.
2. After sizing the rainbow, I place a piece of vinyl (color/pattern side down) on my Mat and ran it through my Cricut Maker. I repeated this step five times, with five different pieces of vinyl. You should now have 5 different sized rainbow pieces.
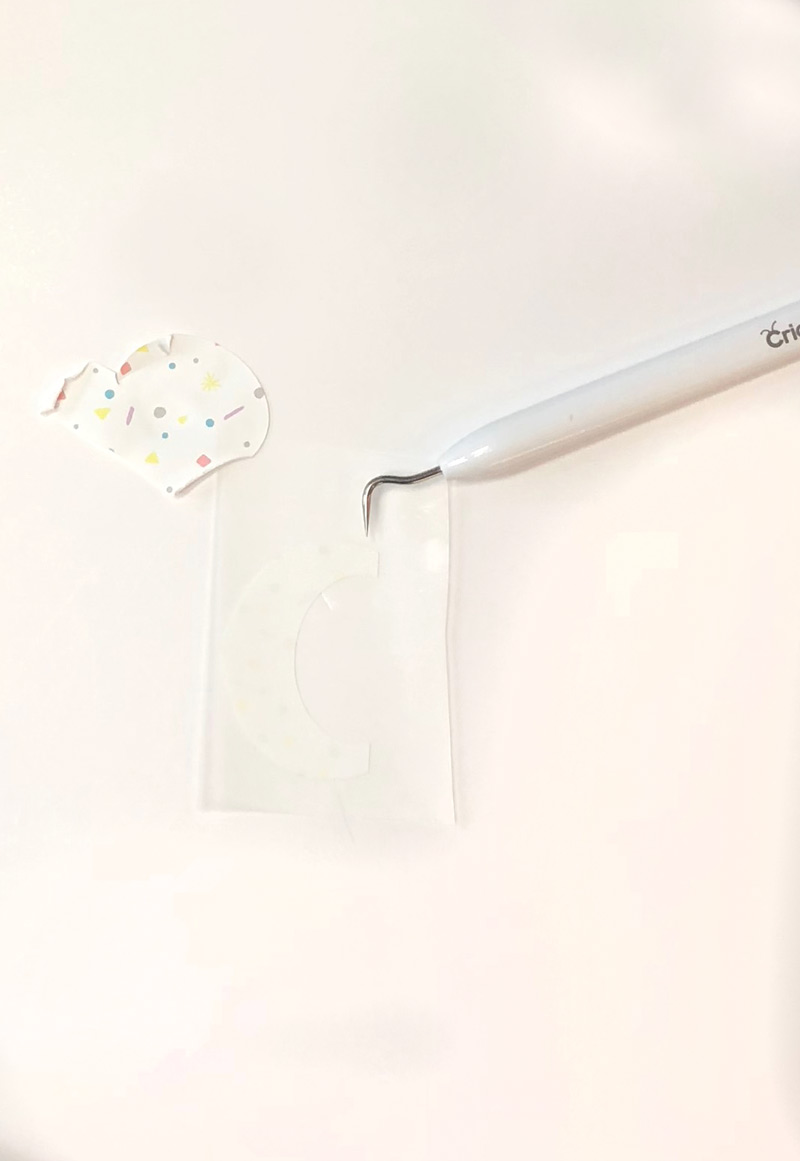 3. Next I weeded out the ‘white space’ around my rainbows.
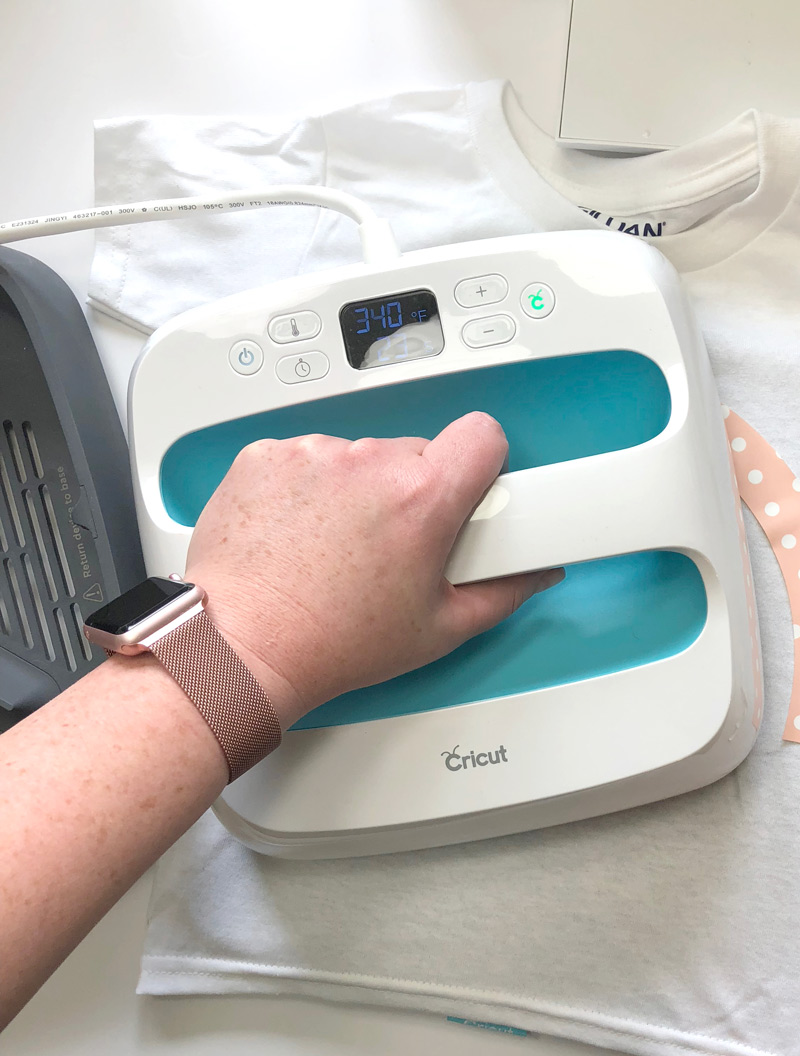
4. The next step was to IRON!
I used an EasyPress and EasyPress Mat, but you can easily use a regular iron. Now the ironing instructions for the Patterned Iron-On are a little different. Here they are:
To apply the Patterned Iron On:
PreHeat the area of the material in which you will be applying your cut image for 5-10 seconds. Set your EasyPress heat for 340 F for 50 seconds on the front of the garment, 15 seconds on the back of the garment, using firm pressure. COLD PEEL!
For an Iron, preheat the area of the material in which you will be applying your cut image for 5-10 seconds. Cotton setting for 50 seconds on the front of the garment, 15 seconds on the back of the garment, using firm pressure. COLD PEEL!
Iron on all five pieces of the rainbow, one at a time. Start with the largest rainbow piece and work your way down. Make sure to peel of the plastic when it’s cold!
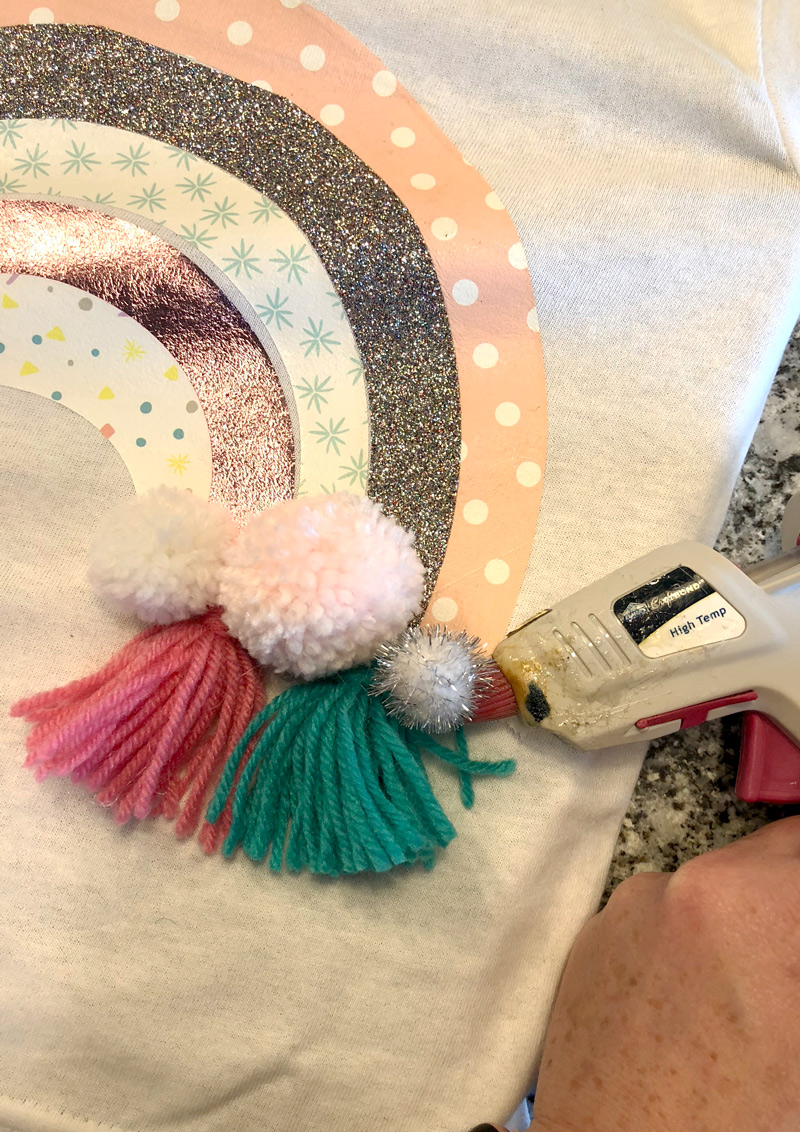
5. The last step is ADORN THAT BABY! I used a regular glue gun and added pom poms and tassels to the bottom of the rainbows! Make sure not to run the T-Shirt in the wash. The adornments will surely fall off!
PIN THIS IDEA FOR LATER
This is a sponsored conversation written by me on behalf of Cricut. The opinions and text are all mine.
So adorable. Love the yarn tassels!!
This is so cute! Im going to make two for my nieces!
I love this! I’ll definitely have to make my daughter one!
So cute! Wish I had a granddaughter to make this for!
LOVE!! this is such a cute idea!! Perfect for my niece!
Love it! I wish I could create this for my grandson!
I like it
it looks amaizing and funky , i like it too